|
The mating part that I'm referring to is on the left. This part will
go inside the brake master cylinder piston (which is slightly larger
than the new part) and has a spherical radius at the bottom of it. I
made the new part from stainless steel (to match the other) and the
rounded end is slightly smaller than the hole in the piston which has a
full radius on the end to match the master cylinder. The reason I made
it in two pieces is because if you remember my old one was drilled all
the way through and I needed something solid on one end. What I did was
drill and tap these two for 3/8-24 threads and will screw them together
making them like one piece. I could have made a new one-piece unit but
that would require me to drill it like I did the old one which wasn't
easy the first time around. I guess you could say I took the easy way
out here but it should work as if it were one piece.....with less work.
To join them together I cut a bolt in two and will use the threaded part
only.
|
|
 |
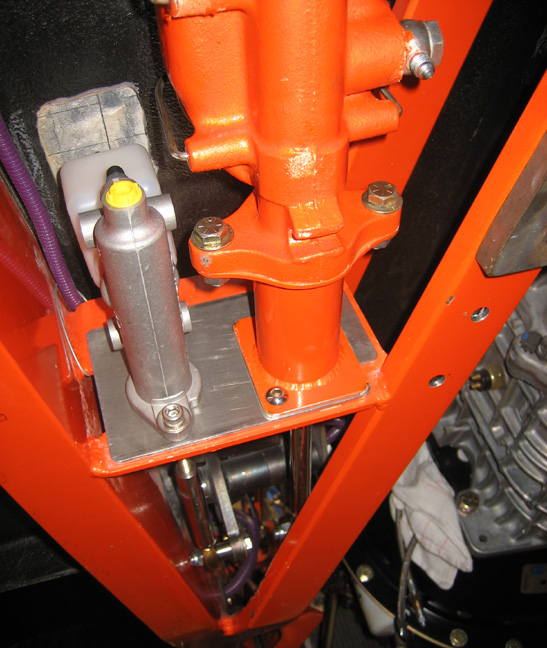
Here you can see both masters bolted in place along with
the pushrods too. In this shot it looks like there are only one bolt
each holding them in place but that's not the case. I actually have more
than enough but you can't seem them all here. I'll also use lock-nuts on
all the bolts once I'm through.
|
|
 |
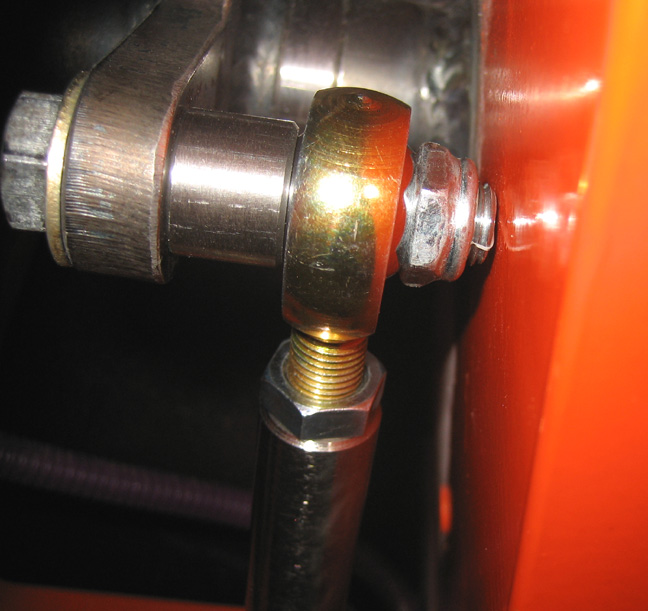
The clutch master pushrod is made out of same stainless steel like the
brakes are but it's about half the length. I didn't need a spacer after
all on the brake side as it seems to be right where it needs to be but I
did need to make one for the clutch side. It's made from the same
stainless bar stock as the pushrods and is .450" long. Also notice the
wrench flat on the clutch pushrod so I can tighten the jam-nut that goes
to the rod-end. I didn't need to do this on the brake side because it
already had one from years ago.
|
|
 |
|
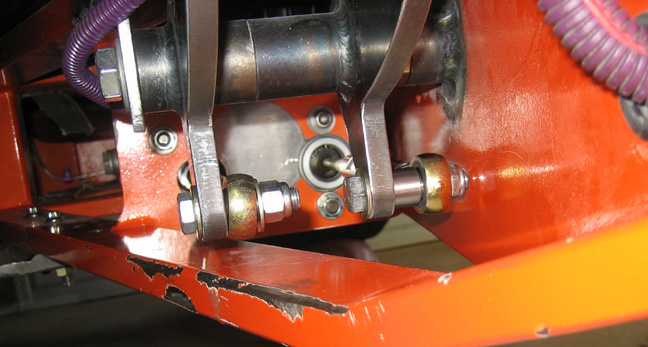
This is the clutch that you're looking at but check out how close that
bolt is from the chassis. More clearance is gained as the pedal is
pushed in because the chassis tapers away from it. I also used a thin
lock-nut here to get as much clearance as I could. I may sand one thread
from this bolt when I take it apart to do some painting later just to
make sure nothing rubs.
I'm almost done with the master cylinders and only a couple of things
remain now. One thing I still need to do is make some hard lines and
then bleed the system to see if it all works. The other is on the
opposite end of the pedal which are the pads that you push on with your
feet. I'm not sure what I'm going to do there yet but I'll be thinking
about it along the way.
|
|
 |
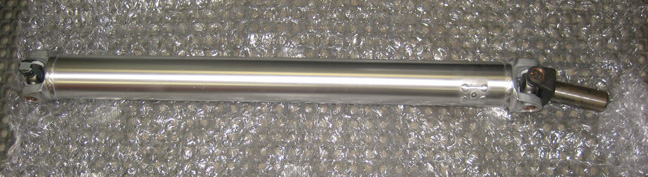
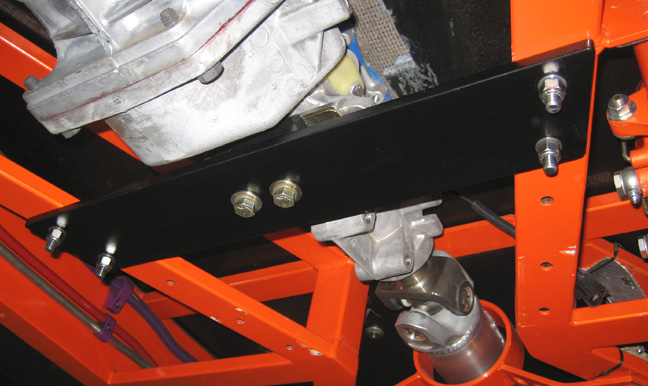
My driveshaft came in a couple of weeks ago and it looks great. If you
remember, I upgraded from steel to an aluminum one. This is 3 1/2"
diameter and has 1350 style U-joints (like my old one had) which are
very strong. It's made by
Inland Empire Driveline
which just happens to be the same company that I used for my original
one. Hurst Driveline has some good venders.
|
|
 |
|
Here is what the new driveshaft looks like and if I didn't know better
I'd say it was my old one. The chips in the paint near those holes are
where my old cross member was located.
|
|
 |
|
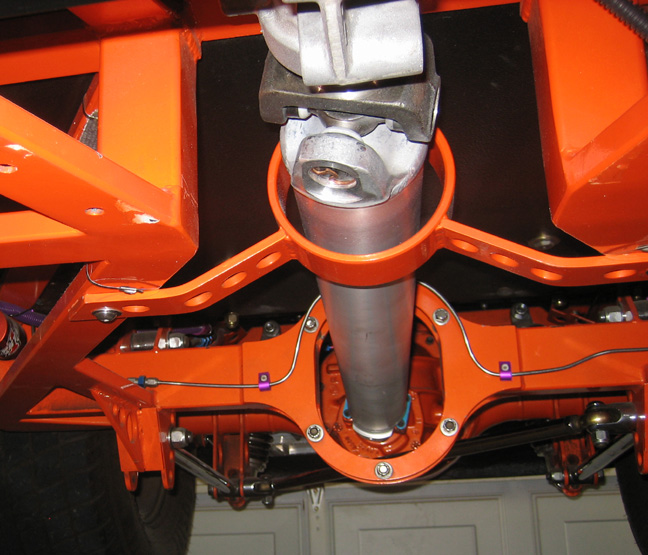
Speaking of cross members, here is the new one that I
made that is now holding up my transmission. All those other holes are
from previous cross members and if I ever decide to switch transmissions
again, I'm sure I'll be able to find a set of holes that would work for
it.
|
|
|
|
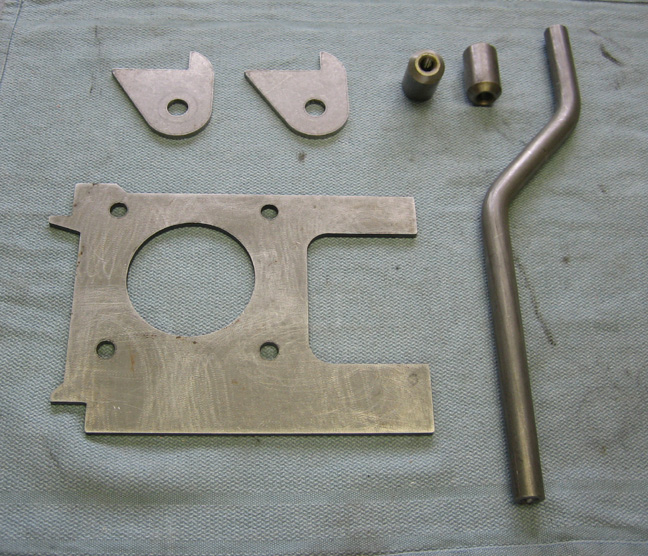
As I was cleaning up the garage, I came across all these pieces that I
bought from Total Coast Involved that I didn't use. All I could do was
shake my head and see dollar signs floating away because I paid good
money for all these. The parts I did use were the two pedals (which I
cut in half and modified) and the threaded bung that goes to the pedals
(which I milled an angle on). If I knew all this ahead of time, I
would've never called them and just made everything myself.
I should be getting my stainless steel tubing soon which means I'll
be able to start making some hard lines and I'll be working on what I'm
going to do about pedal pads too. Maybe next week will be a little more
productive so keep in touch and find out.
|
|
|
|
1
2
3
4
5
6
7
8
9
10
11
12
13
14
15
16
17
18
19
20
21
22
23
24
25
26
27
28
|
|
29
30
31
32
33
34
35
36
37
38
39
40
41
42
43
44
45
46
47
48
49
50
51
52
53 |
|
54
55
56
57
58
59
60
61
62
63 |