|
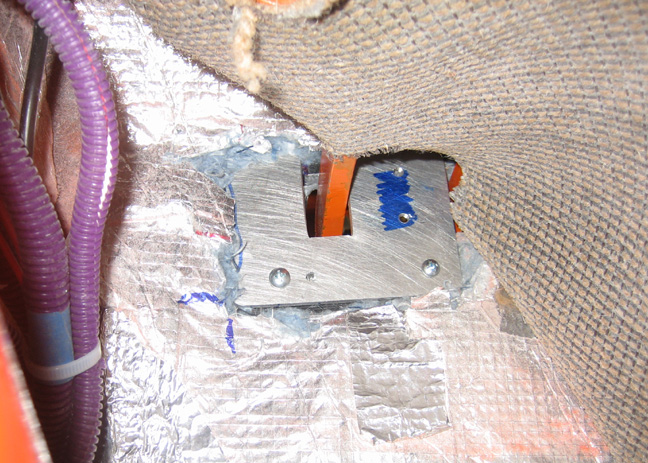
I made this sub-plate (again out of aluminum) to attach the trim
plate to and it has two 10-32 threads (blue area). The sub-plate is
screwed to the toe board using riv-nuts which is under the carpet. If
you look close you can see the brake pedal to the right and the shinny
stuff is insulation.
|
|
 |
|
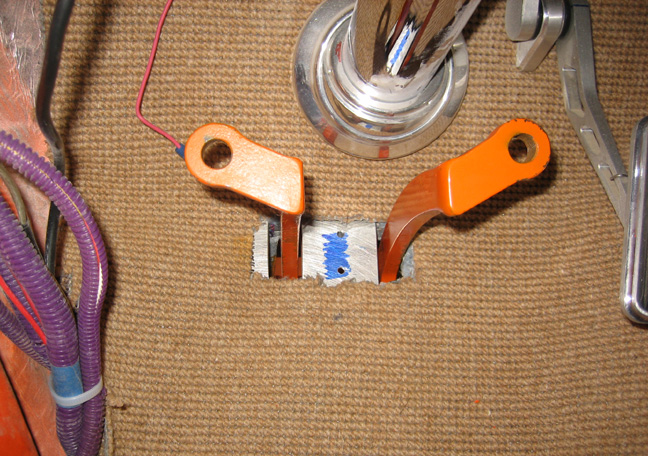
This should give you a better idea of how the outer trim
piece will be attached to the sub-plate. I had all kinds of trouble
installing this because I worked around the pedals and carpet. Plus my
riv-nut gun couldn't get into this tight area without it binding and
when I squeezed the trigger, it ended up breaking the 8-32 threaded rod.
It took me a long time to get that removed so I moved up to the 10-32
size after that to which I had even more trouble. Let's just say it
wasn't a good day.
|
|
 |
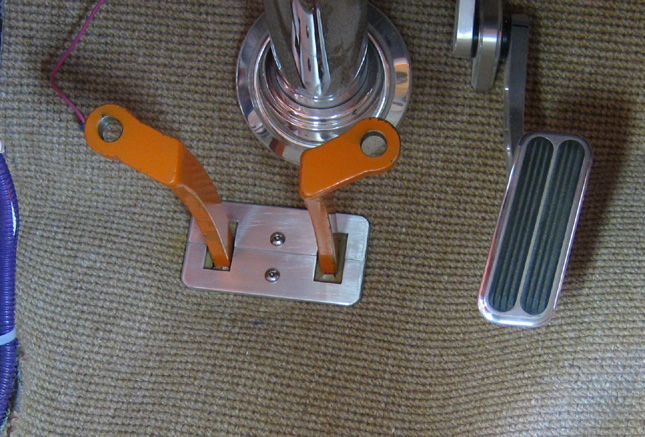
Here is what it looks like with the trim piece installed. I had to cut
the rubber a couple of times because it was binding against the clutch
pedal but it seems to work good now. If you were wondering why I didn't
space the screws evenly it's because the upper one is right against the
top of the opening in the toe board where the cutout is. If I were to
place it any higher, I would have had to remove the pedals again and I
didn't really want to do that. I need to think about what to do for
pedal pads here next.
|
|
|
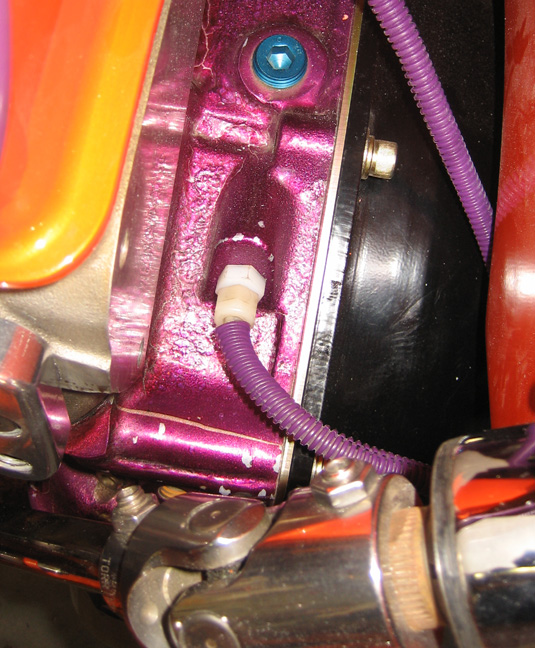
This new fitting is for my oil pressure line which had broken while
taking it out months ago. It fits a 1/4" diameter plastic line which is
larger than normal because most mechanical oil pressure gages use 1/8"
diameter. The reason for the larger line is because it's much more
sensitive and will give you a quicker reading. On the other hand it can
be scary to see exactly what your oil pressure is really doing.
|
|
 |
Here is the new fitting and line reattached. I'm not sure if I like how
it's bent now because I had a 90 degree fitting that went into the
engine block before. The reason I don't have the other fitting anymore
is because it would hit the scatter shield and backing plate so this is
a work around. I may have to make a different fitting or something
because I'm not sure how this will hold up.
|
|
 |
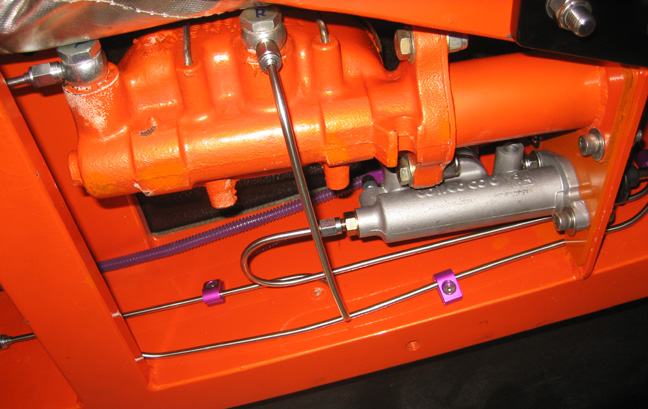
Here are the finished brake and clutch lines in place. I still have to
bleed the brakes but the master has had the bench treatment already. If
things go as good as the clutch went, the brakes shouldn't be a problem
but refilling the master cylinder will be a challenge.
|
|
 |
|
1
2
3
4
5
6
7
8
9
10
11
12
13
14
15
16
17
18
19
20
21
22
23
24
25
26
27
28
|
|
29
30
31
32
33
34
35
36
37
38
39
40
41
42
43
44
45
46
47
48
49
50
51
52
53 |
|
54
55
56
57
58
59
60
61
62
63 |