|
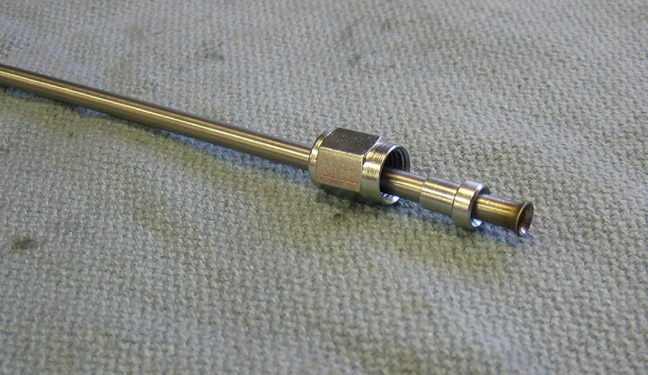
Here you can see the 37 degree angle on the end of the tubing, then
there is a sleeve and last is the nut. If you look close you can see the
angle in the sleeve that mates with the end of the tubing.
|
|
 |
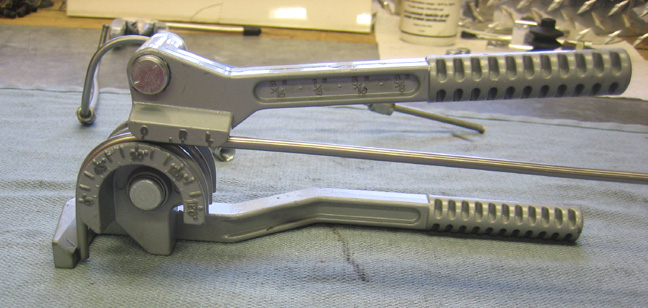
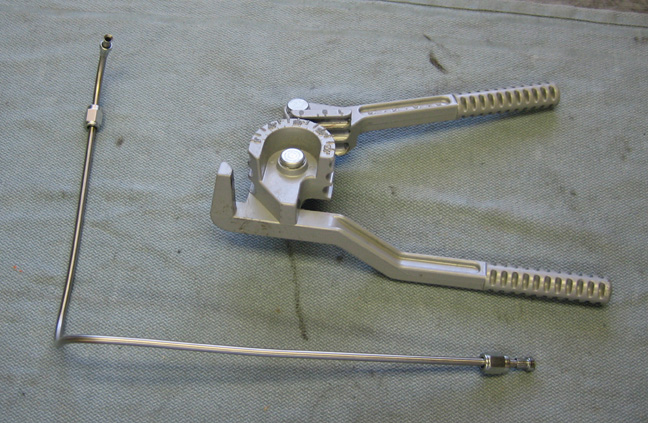
| This is my tubing bender which works pretty good and it's
cheap. It doesn't bend a really tight radius compared to some benders
but so far it's been fine for what I need.
I have a piece of tubing that is bent at a 90 degree angle here. To
do this you need to have one end against the little arm (which holds it
in place while you bend) and then you just pull on the handle to the
angle that you need. You might have to go a little farther than your
intended angle because of spring-back of the material, which is common.
To make another bend on the same material you just open the top portion,
slide the tubing where you want it and then repeat the process. The only
drawback to this bender is that it won't allow you to have short piece
on end once you're done. But I do have a workaround for that.
|
|
 |
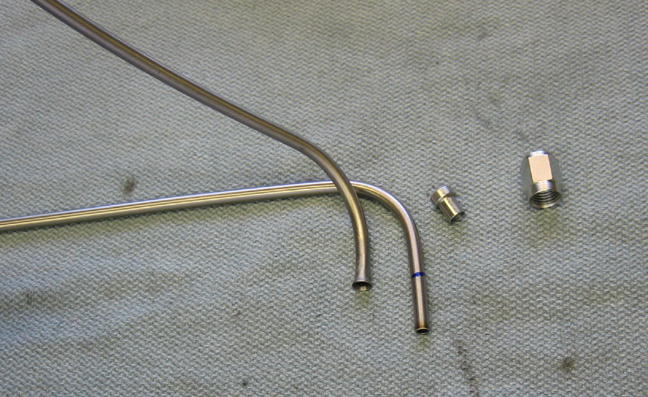
If you need a shorter piece of tubing on one end (like the one on the
left) then there's one more step you'll need to do. After bending your
first initial angle like the one above, mark the tubing at the correct
spot and then cut it to the length you need. Once you have it cut and
chamfered on the O.D. and I.D. you're ready to flare the end. This is
how I have to make a piece with a shorter end because this type of
tubing bender won't do it.
|
|
 |
|
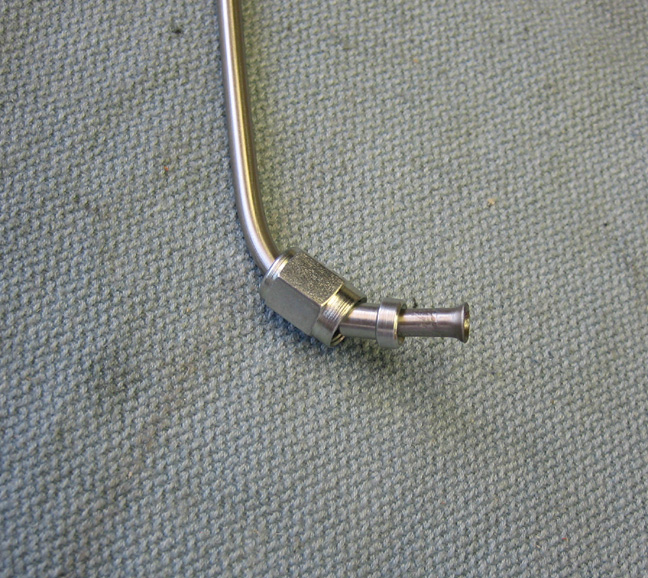
Here is a close-up of the tubing which is much shorter now after being
cut. The only thing you have to be careful of is to not cut it to short
or you won't be able to flare it properly.
|
|
 |
Here is the finished tubing and it came out pretty good. It only has
three bends which makes it easier to make. What I like to do if there
are more bends is to use a piece of welding rod and bend it to the shape
that you need and then bend the tubing to match.
|
|
 |
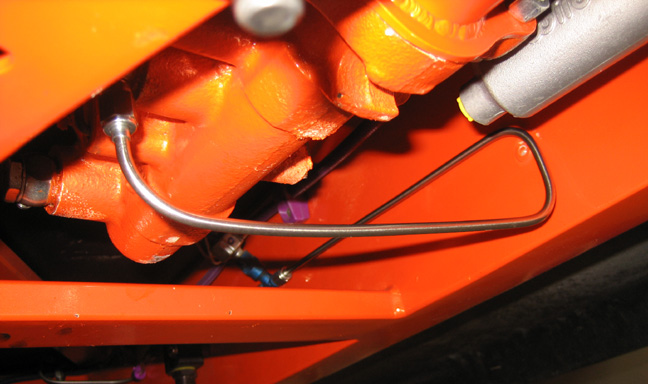
Here you can see it in place and I'll be able to use the same clamp
location for it too. Now it's time to make one for the front brakes and
another one for the clutch. The one for the clutch will require two new
clamps which I'll show you next time so because it's pretty cool. Check
back soon because I'm getting closer to my first test drive every week.
|
|
 |
|
1
2
3
4
5
6
7
8
9
10
11
12
13
14
15
16
17
18
19
20
21
22
23
24
25
26
27
28
|
|
29
30
31
32
33
34
35
36
37
38
39
40
41
42
43
44
45
46
47
48
49
50
51
52
53 |
|
54
55
56
57
58
59
60
61
62
63 |