|
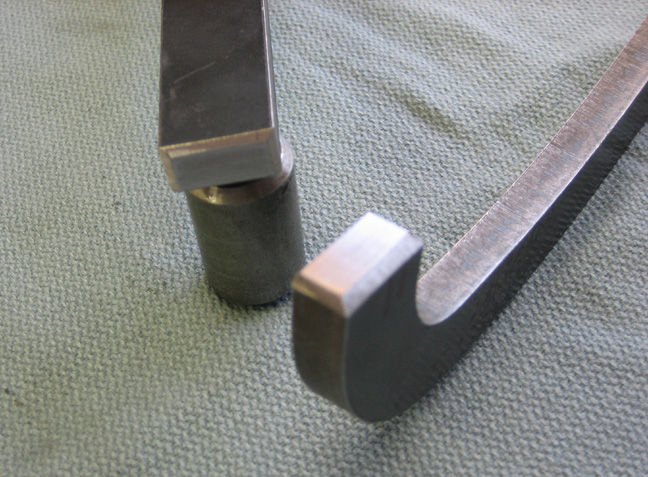
The ends of the pedal arms get the same weld prep as the block did. I
used my belt sander to do these which is really quick and easy. It's
time to stick all these together so let's get started.
|
|
 |
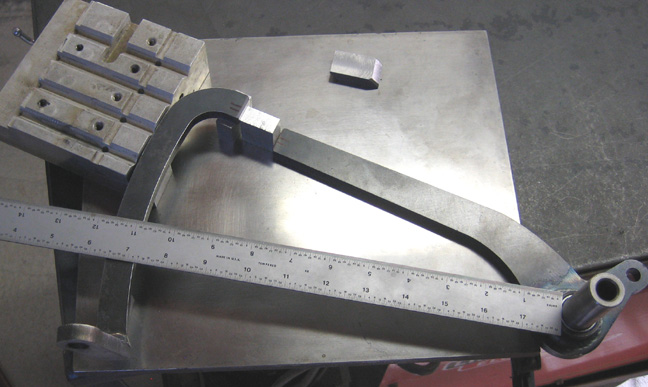
I used a nice flat steel plate that I placed on my
welding table to make sure things lined up nicely. What you see between
the pedal arms is a one inch block to get the correct distance and three
more under the top of the arm for the right height. I'm also using a
scale to make sure the length between the pivot point and arm are
correct.
|
|
 |
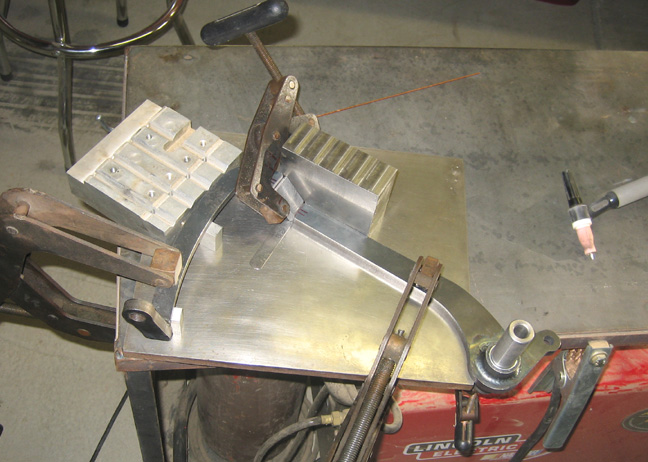
I clamped the two pieces to my table to keep things lined up and I also
clamped the small block to larger block to make sure it didn't move
either. The reason for the clamp on the small block is because once you
put a tack weld in place and it heats things up, the metal wants to move
and can get out of alignment so this is just insurance so that doesn't
happen.
|
|
 |
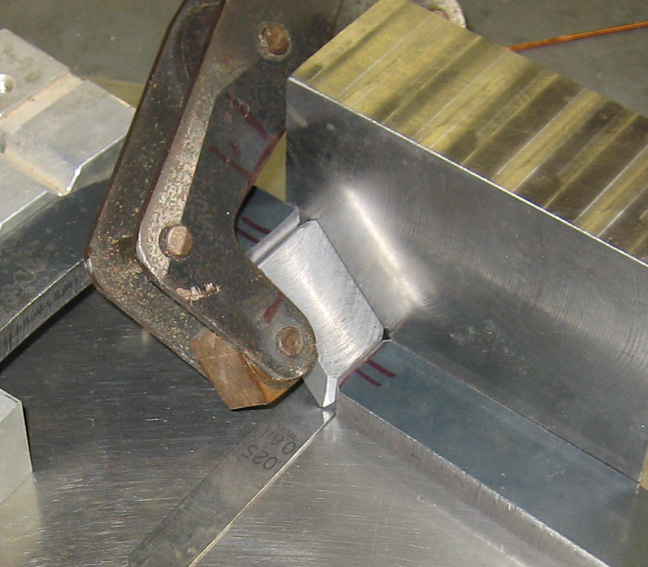
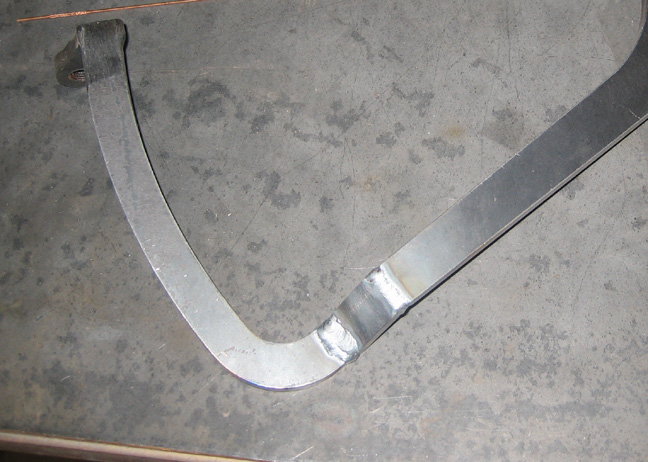
Here is a close-up of the weld prep areas which are on top and on both
sides. I don't need one on the bottom part because it's already V
shaped. What you do is fill the V shaped area with weld and when you're
finish the filler material won't be raised very much but it will still
be very strong. I'll weld three times on the bottom portion with the
first pass called the root pass. This root pass will be a little hotter
to get good penetration and then I'll come back and give it two more on
either side of the first one with a little less heat.
|
|
|
|
Here it is all welded up with a one inch over to the
right. You can't see it very well here but two areas have three pass's
of weld.
|
|
 |
|
In this shot you can see the three pass's a little better. I sure hope
it holds because this is a critical part if it breaks. Now it's time to
see how it fits.
|
|
 |
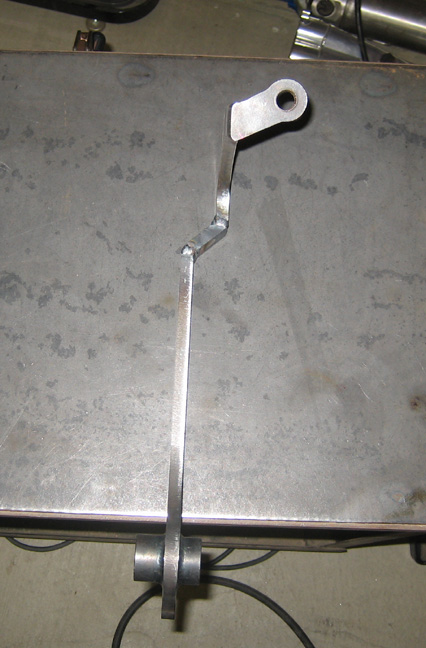
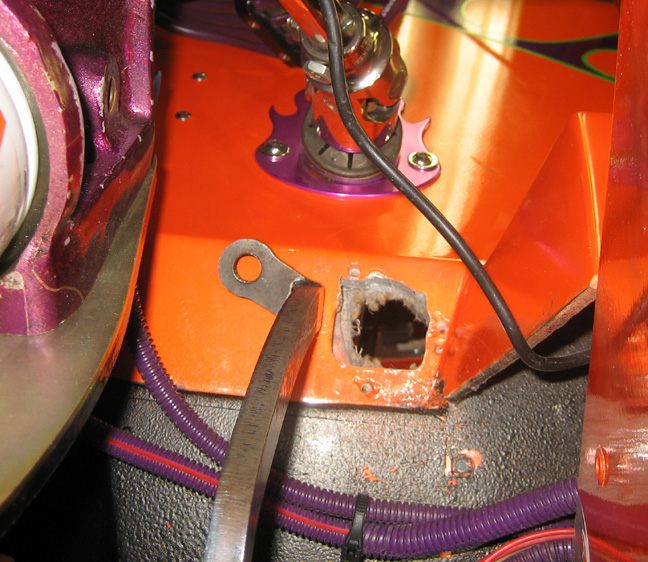
I need to make a larger hole for it to fit through now and then measure,
cut and weld on the clutch pedal too. I'll also need to do some
measuring and machining on the pivot pin that goes through both pedals
and probably make a spacer for that too so come back next week and see
how all that goes.
|
|
 |
|
1
2
3
4
5
6
7
8
9
10
11
12
13
14
15
16
17
18
19
20
21
22
23
24
25
26
27
28
|
|
29
30
31
32
33
34
35
36
37
38
39
40
41
42
43
44
45
46
47
48
49
50
51
52
53 |
|
54
55
56
57
58
59
60
61
62
63 |