|
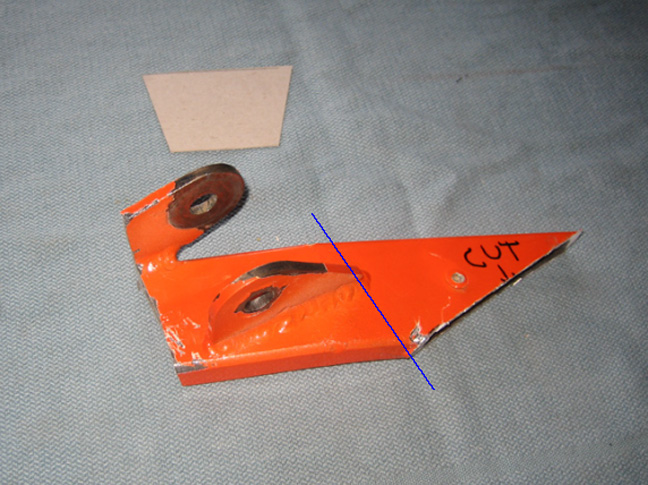
March 11th. Now that I have the cutting part
out of the way, I need to make the chassis structurally sound again. The
piece that needs to be made is the shape of the cardboard that you see
below (I seem to use a lot of cardboard but it works really well). This
small piece will go between the piece I just cut out (which is part of
the X member) and the main frame rail.
My plan is to make the new piece from my old one but it's going to be
close. At first glance it looks like it should be no problem but what
you can't see very well is the bend that it has. The bend runs close to
that blue line which may cause a problem with material that I may need.
|
|
 |
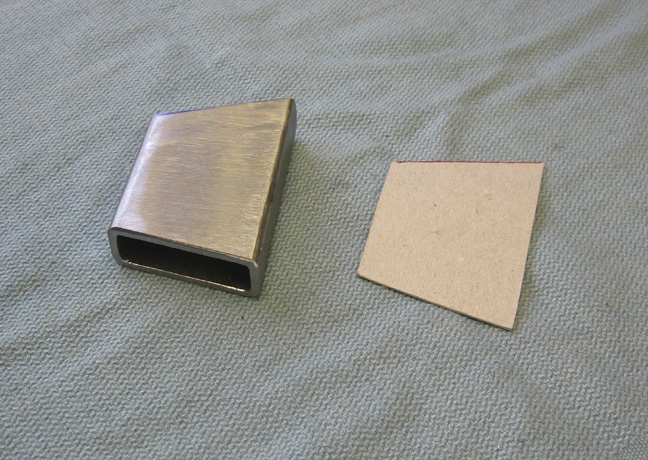
After a saw cut here and some milling there, this is
what's left from the piece above. It still has a slight bend in it but
that really won't matter for my application because this piece will only
serve one purpose, which is tying two pieces together. As you can see I
removed all the paint so it can be welded with no contaminates
introduced into the weld.
|
|
 |
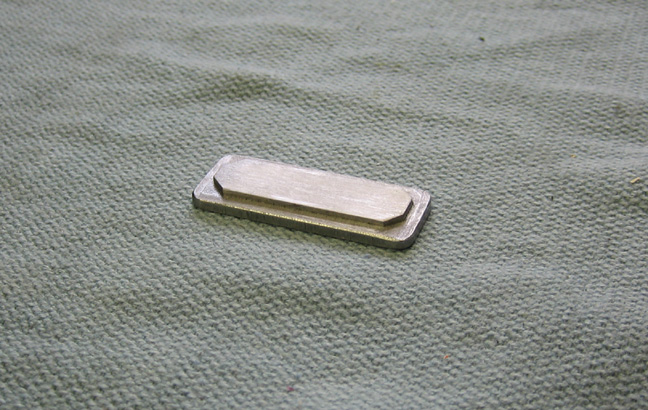
While I was making things I also made this end cap that will plug the
end of the X member that I just cut. It's made from 3/16" mild steel
with a small locating lip that fits right into the tubing. The thickness
of the plate that will show is 1/8" which is the same as the tubing
thickness. The chamfers on the four corners are to clear the radius on
the inside of the tubing.
|
|
 |
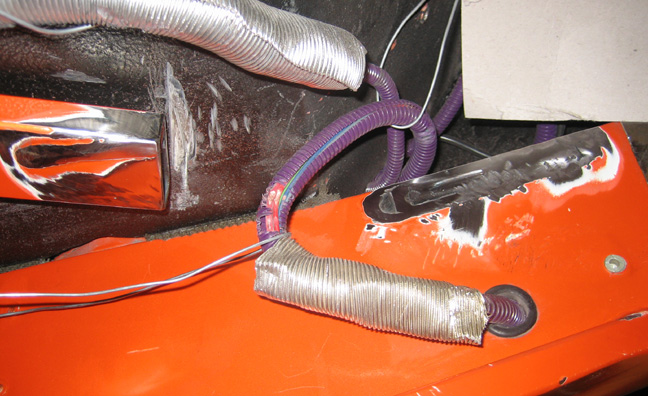
Here is a shot of the area that had the 1/2" saw cut problem which is
now flush with the frame rail. That rotary tool did a good job here and
then I finished it with a disc-sander. And you can see where I wasn't so
careful with my grinder and those wires. Instead of relocating the wires
which would've only taken a minute, I decided to hit one quick area with
my grinder. I hand held those wires out of the way so they wouldn't get
touched but once I let go of them for one second, this happened. It was
my fault for being lazy and what I should have done is untie them and
then use my grinder. I'm paying for that now because I'll have to fix
three of them pretty soon.
|
|
 |
The piece that I made fits really well and by using a magnetic base to
help keep it from going anywhere, I'm ready to tack weld it in place.
The mag base is doing double-duty here as I'm using it as my ground wire
too. I took out the long rod that it came with and screwed in a fine
thread stud in it's place and then clamped the ground strap to the
threads.
|
|
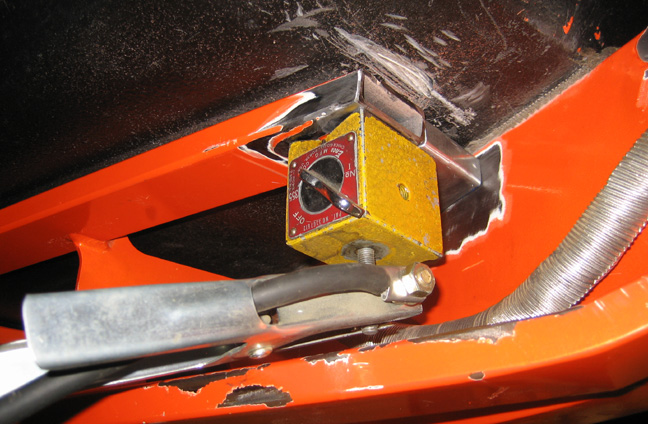 |
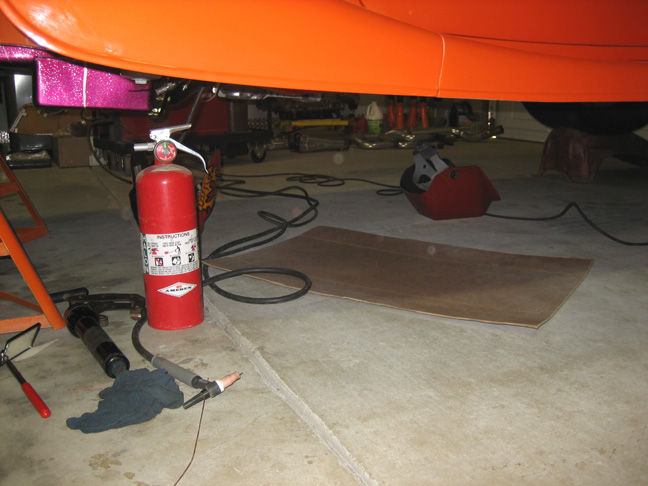
My wooden creeper is just a little to tall while I'm welding so I pushed
it out of the way and used this piece of cardboard to lay on instead.
This is the same piece I used to cover myself while using the rotary
tool (notice the lines that folded around me). Even though I swept the
floor really well, there are still some little chips that I keep finding
there way into my shirt so the cardboard makes life much nicer. In case
you're wondering, that rag is soaked in water so I can dab here and
there when the weld is close to the floor. A bucket full of water is
just out of view to the left.
|
|
 |
|
1
2
3
4
5
6
7
8
9
10
11
12
13
14
15
16
17
18
19
20
21
22
23
24
25
26
27
28
|
|
29
30
31
32
33
34
35
36
37
38
39
40
41
42
43
44
45
46
47
48
49
50
51
52
53 |
|
54
55
56
57
58
59
60
61
62
63 |