|
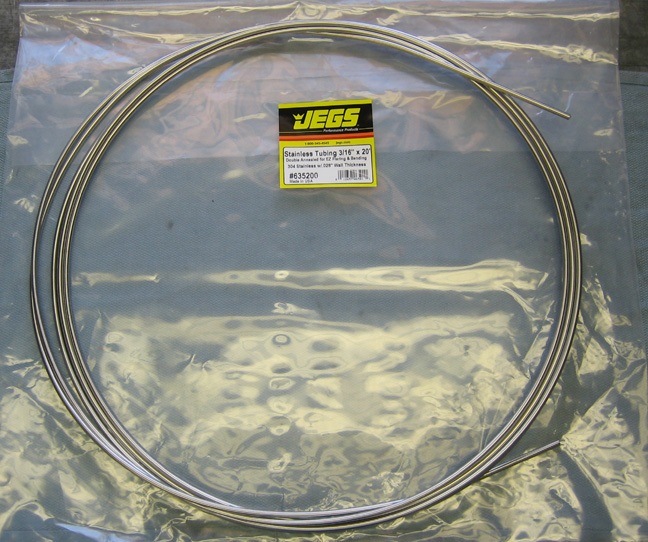
April 8th. My stainless steel tubing came in
a day later than expected but at least it's here. There are many types
of stainless steel with this one being 304. Most of the 300 series of
staginess' are non-magnetic which makes them ideal for using them in the
elements. It's been a few years since I've played with any kind of hard
lines so let's see how many time it takes to make a few lines.
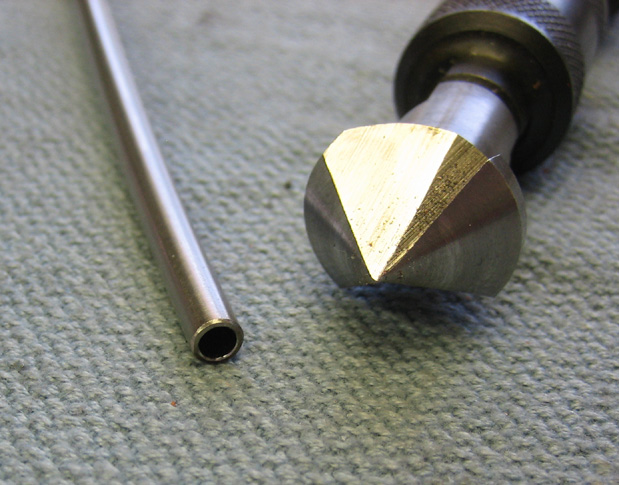
The first thing you want to do is straighten the piece that you need
because it's much easier to work with that way. If you leave it curled
up it seems to be harder (at least it is to me) so after measuring how
long of a piece you need, bend it a little at a time by hand till it's
nice and straight.
|
|
 |
I don't recommend cutting this type of tubing with a
tubing cutter as it tends to push the metal instead of cutting it. I use
a hacksaw or a cut-off wheel in a Dremal to do this while it's held in a
vice. After cutting you'll want to chamfer the I.D. and O.D. very
lightly and then you're ready to put a flare on the end.
|
|
 |
|
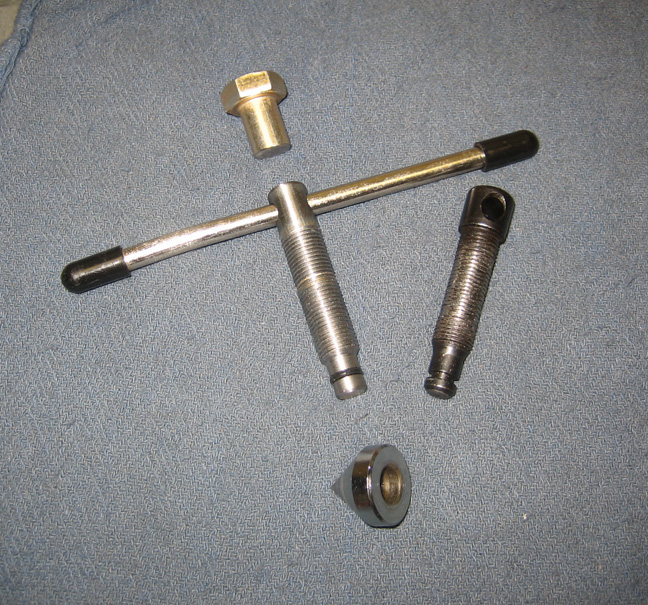
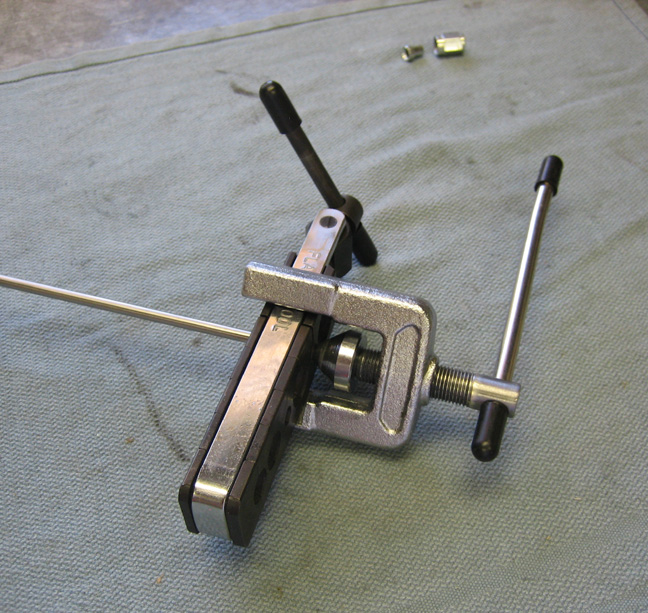
What you see here is part of my flaring tool which I had to rework
before I started. On the right is the threaded piece that came with it
but it didn't last very long. I used it many time while doing all the
brake lines in the car years ago but the threads slowly gave up and I
had to make a new one.
What I did was use a grade 8 bolt that I cut in two and used the
threaded part only. I machined one end for an O-ring and drilled a hole
at the other end for the T-handle. The T-handle was used over again and
if you look close you can see a slight bend in it from being used many
times. The reason for the O-ring is so the angled piece won't fall off
while using it. Speaking of angles, these will be a 37 degree flare
which is standard for AN fittings. The other type of flare has a 45
degree angle and they use what's called a double-flare.
|
|
 |
|
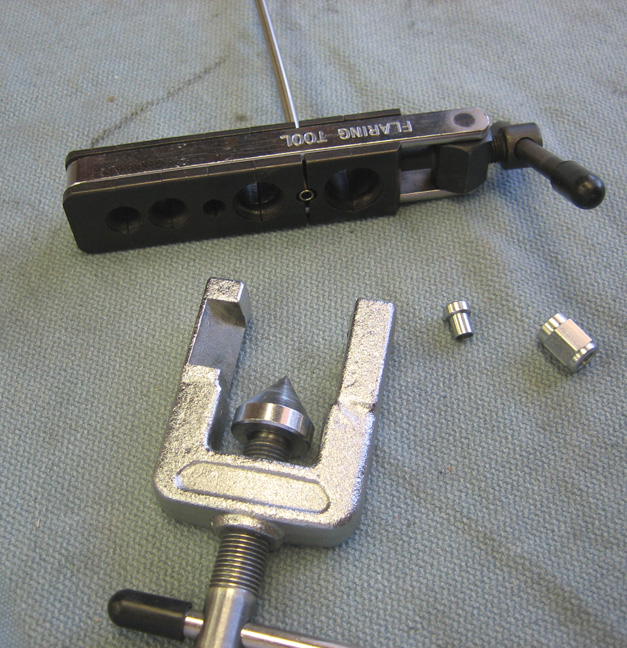
Using one of these tools is pretty easy and after you have the end
prepped, all you do is slide the tubing through the corresponding hole
for the size of tubing being used and then make sure it's flush with the
top surface. Once you have it flush, you clamp it down and you're ready
to put a flare on the end. It's hard to see here but each hole has a 37
degree angle (or chamfer) at the end which helps form your angle. The
two fittings that you see are called a sleeve and nut. The sleeve is the
smaller of the two and has the same 37 degree angle in the end of it.
You'll see how they work together a little later.
|
|
 |
Now you place the clamp on the die and just screw it down till it
bottoms out and the two angled pieces form the metal tubing. If this is
you're first of two flares then you don't have to worry about putting
the two fittings on because they can be put on afterwards. But if you do
forget to put them on, you'll be cutting off the end and then trying
again.
|
|
 |
Here is what it looks like once it's formed. This only takes a minute or
two and works really well. Notice all the lines in each hole. They look
like threads but really they are to help hold the tubing while you're
forming the end. If you end up placing the tubing above the surface
you'll end up with the flare being to big so it's important to pay
attention here.
|
|
 |
|
1
2
3
4
5
6
7
8
9
10
11
12
13
14
15
16
17
18
19
20
21
22
23
24
25
26
27
28
|
|
29
30
31
32
33
34
35
36
37
38
39
40
41
42
43
44
45
46
47
48
49
50
51
52
53 |
|
54
55
56
57
58
59
60
61
62
63 |