|
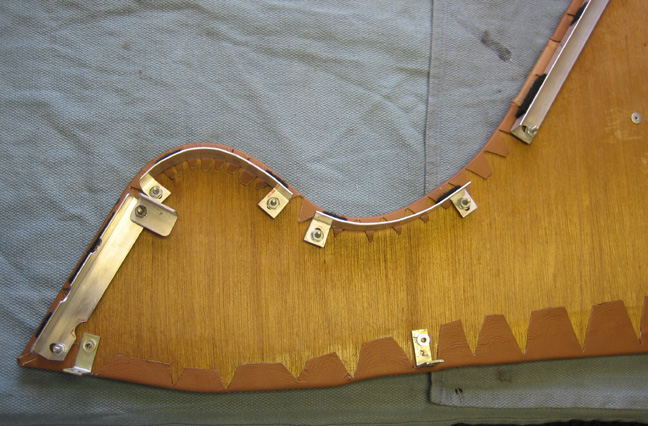
Here is the back of the console and you can see how I fastened the
center piece. I used a bunch of 8-32 screws to hold some 3/4" aluminum
angle in place which has been cut and bent as necessary. This angle is
to help fasten the center piece which is held in with hook-and-loop.
What I did was put half of the hook-and-loop on the angle and then the
other half on the center section. I'm not sure how other people do this
sort of thing but it worked good for me.
|
|
 |
|
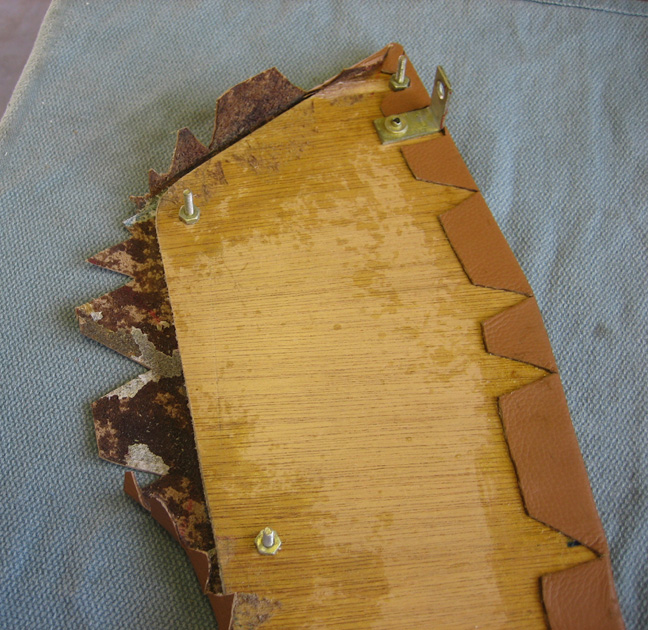
Here you can see the material has been pulled away and
that I've made my cut. I also put a small radius on the wood where is
starts down the angle if you look close.
|
|
 |
In this shot I've trimmed the material and I'm ready to do some gluing.
The hardest part about doing this kind of thing is the corners. What I
do is the longer straight sections first and then slowly cut and shape
the corner areas. I'll go into more detail later.
|
|
 |
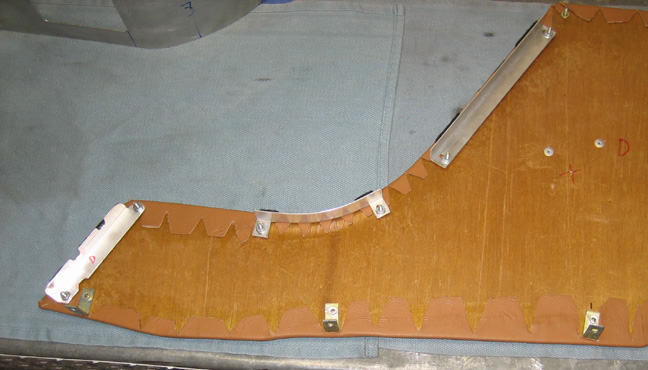
Once I had all the material glued I started placing my support pieces
back on. I made these support pieces adjustable by slotting the holes
slightly which worked out really well. I only used three of the four
supports because after cutting off the one section the support piece was
rounded which I don't need anymore.
|
|
|
|
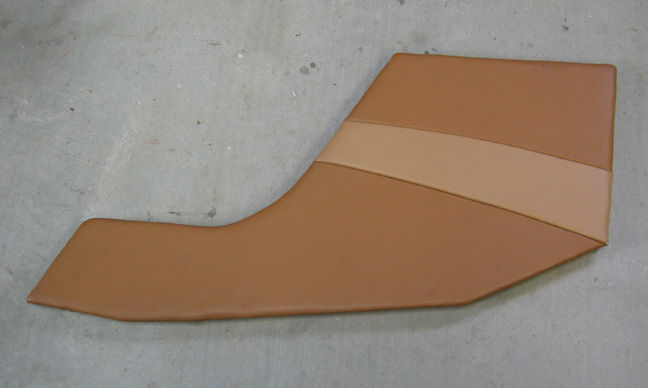
Here is the new look with all the changes and with it
all put back together. Now it's time to get it back in the car to see
how it looks but before I can do that I'll need to take care of some
other details.
|
|
 |
|
What I'm doing here is making a little more clearance for my feet. On
the right you can just see the passenger side console which is ready to
be fastened down. When I screwed down the drivers side (console) I found
out that my feet really could use more room. What I'm going to do is
move the drivers side console towards the center about 1/2" to 3/4".
What you see below is a quick clamp that I made out of aluminum
utilizing one of my old screw holes that held in my console. Under the
clamp is a 6-32 screw threaded into an aluminum block that has been
glued to the firewall. I did this for both places that screw into the
firewall (which is right below this one just out of view). I left the
clamps in place over night to make sure that the glue dried before using
them. I didn't want to use a riv-nut here because the firewall thickness
is about the same as the riv-nut length which means I might drill
through it so I didn't chance it.
|
|
 |
|
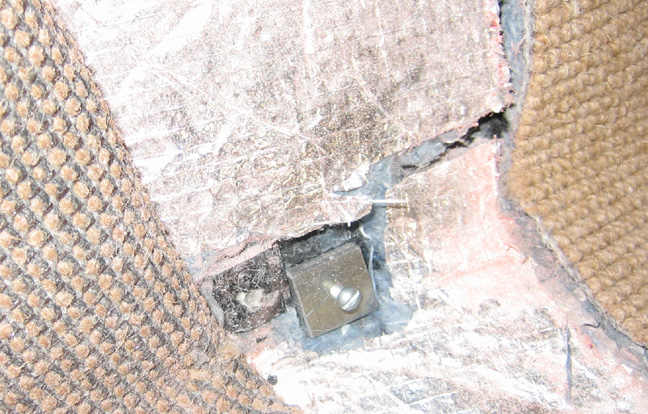
24 hours later.
Here you can see one of the aluminum clamps with the screw still
threaded in. The clamps were pressing against the tops of the screws
holding them in place while the glue dried. To the left of the new clamp
is where my old screw hole was, which was made from some leftover
fiberglass while I was building the car years ago. I would have used
fiberglass again but I couldn't find any pieces so this is why I used
aluminum. They seemed to bond just fine and now it's time to see how
they work.
|
|
 |
|
1
2
3
4
5
6
7
8
9
10
11
12
13
14
15
16
17
18
19
20
21
22
23
24
25
26
27
28
|
|
29
30
31
32
33
34
35
36
37
38
39
40
41
42
43
44
45
46
47
48
49
50
51
52
53 |
|
54
55
56
57
58
59
60
61
62
63 |