|
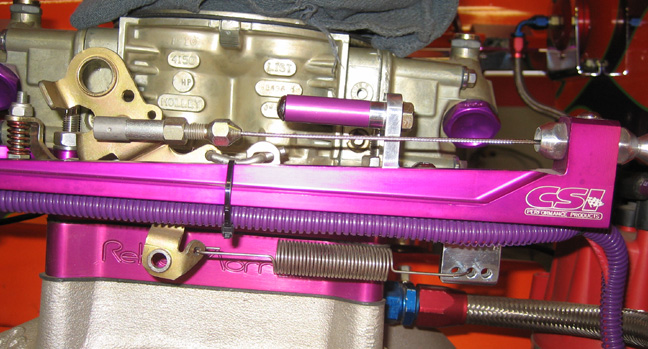
Here you can see the new pieces all bolted up. The throttle stop has a
new look and you can see the shorter piece that I was talking about. To
make up the difference I sawed a piece off the faded one and buffed out
so it looked better. The two pieces are the same length as the other one
and should work just like the old one.
You can also see the new throttle return spring bracket hanging down
with the spring in the center position. After I drive the car for awhile
I'll see if I like it there and if not I can move it. Note the new
throttle cable too.
|
|
|
|
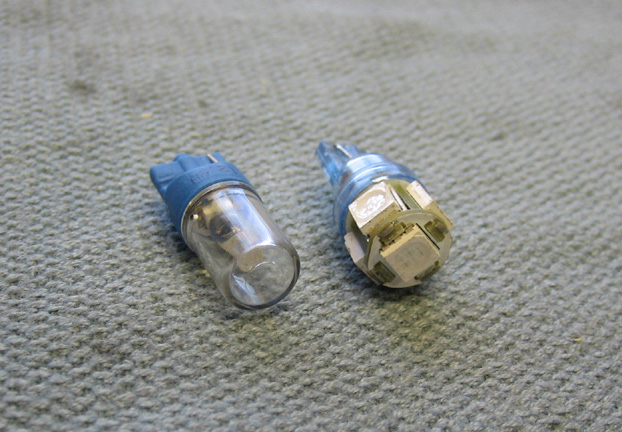
Another thing that I wanted to address is my gage lighting. The bulb on
the left is what I bought from AutoMeter years ago and is blue in color
when you turn the lights on. The original color bulbs that came with the
gages were a white light but I thought the blue ones would look better.
And they did look better but they weren't very bright which made seeing
them in the dark somewhat of a challenge. After looking at some of the
aftermarket bulbs out there I found some made by
superbrightleds which is
what you see on the right. The new ones have five LED's in place
of just one and puts out that many more times of light. I turned them
on in the daytime and they look pretty good but I can't wait to see
what they look at night. I'm sure they will be a lot better now.
|
|
|
|
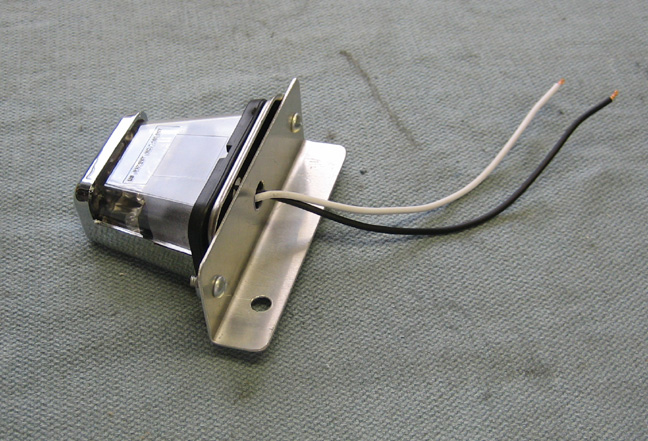
I also needed a little more light inside the cabin and I found these
at superbrightleds as well. I bought two of them and will put them on
the underside of the dash to shine downward. They are suppose to be used
as a license plate light but I thought they would work good for my use.
They have five LED's and the end ones point outwards while the other
three are more centrally located.
I made an aluminum bracket which will be used to mount this one on
the drives side. The hole that you see at the lower left is how it will
be attached because I found an existing bolt that I can use to hold it.
I'll also be adding two more smaller lights on the sides of the console
but more on that later. I ran some wires to these two but left the ends
nice and long so when I mount the others I'll be ready.
|
|
 |
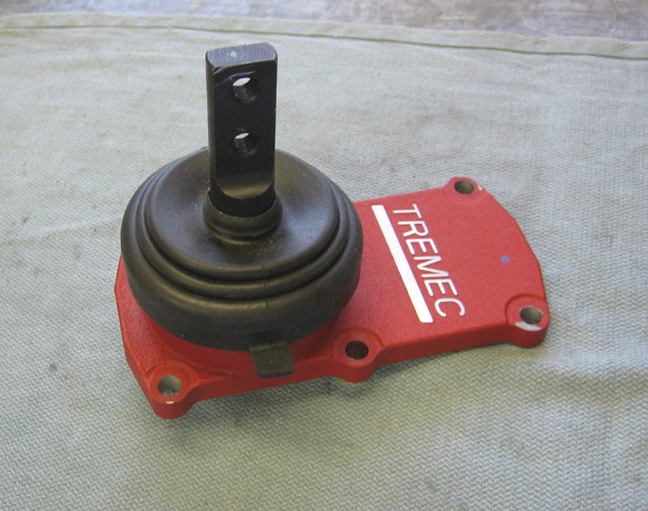
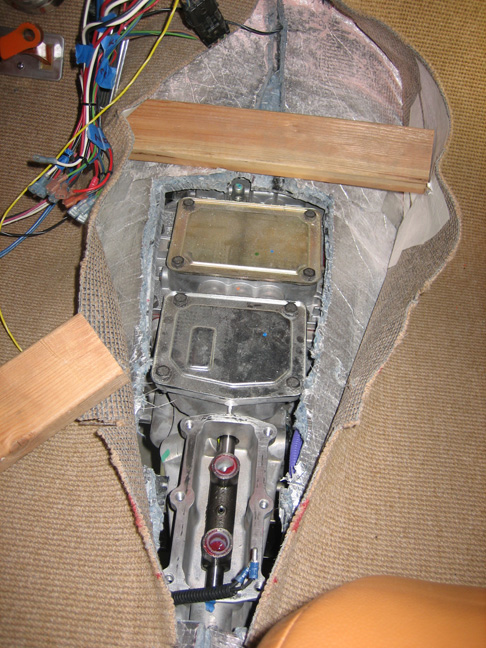
Switching gears here (no pun intended) I'm ready to bolt
my shifter turret assembly back onto the trans. If you remember I had
removed this piece because it was in the way while trying to install the
transmission. I put masking tape over this area to keep it clean this
whole time.
|
|
 |
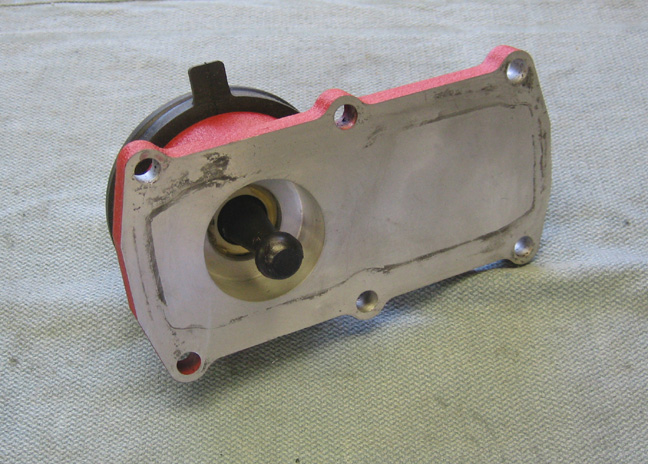
The underside is very basic and as you can see the other end of the
shifter mechanism is rounded. This piece is also interchangeable which
makes placing your shifter in a different location a breeze. All you do
is remove the six bolts, turn it 180 degrees and then bolt it back up.
This will change your shifter location by 2 3/4" which can come in very
handy....and I tried them both.
|
|
 |
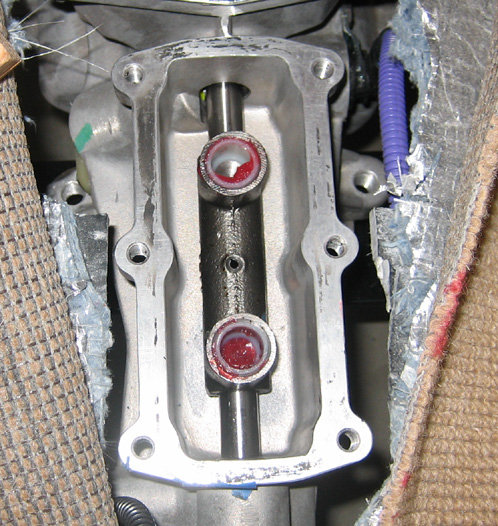
At the bottom is where the shifter turret bolts in place and if you
really wanted or needed to, you can buy a kit to relocate it to the
other two areas that have removable covers. That's a total of four
locations for your shifter if you needed to.
|
|
 |
Here is a close up of the shifter lever socket. This should give you a
better idea of how the shifter works and how easy it is to change
locations. After trying both places for my shifter I'll be using the
forward position.
|
|
 |
|
1
2
3
4
5
6
7
8
9
10
11
12
13
14
15
16
17
18
19
20
21
22
23
24
25
26
27
28
|
|
29
30
31
32
33
34
35
36
37
38
39
40
41
42
43
44
45
46
47
48
49
50
51
52
53 |
|
54
55
56
57
58
59
60
61
62
63 |