|
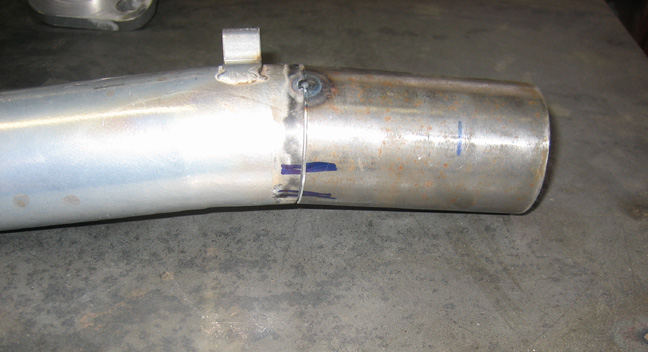
What I do is put a couple of marks on both tubes for reference while
I'm under the car. Then I remove them from the engine and line them back
up again at the welding bench. To hold them together so they don't move
I use blue tape as my extra hands. Then I tack weld them in two or three
spots and once I'm done tacking them I remove the burnt tape. This is
also very time consuming because once you tack weld them together, you
then have to bolt them back in place to make sure things fit and to make
sure everything is where you want them. If it's not right you end up
grinding away the tack welds, sand the tack welds off, line them up one
more time and then try again. Once you're happy with the results you
pull them off the engine and then weld them up for good.
|
|
 |
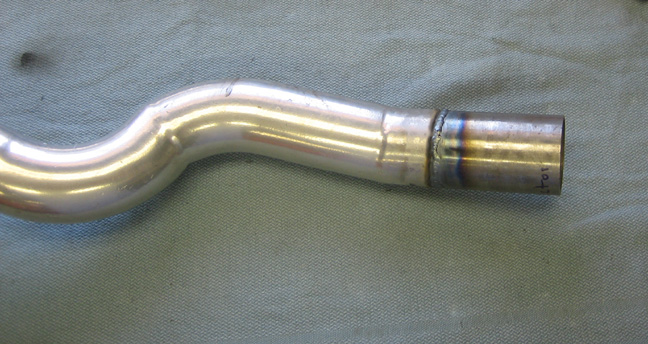
This is not the same tube from above but they all got the same process.
I start near a tack weld and then weld a small amount, stop, reposition
the tube and then weld a little more. You have to get creative while
doing this because the tubing wants to roll and move around on you. I
end up using all kind of things to prop it up like blocks of wood, metal
and other things to keep it in place. I've even wired them to my rafters
to get them in the right spot. Whatever it takes you know!
|
|
 |
|
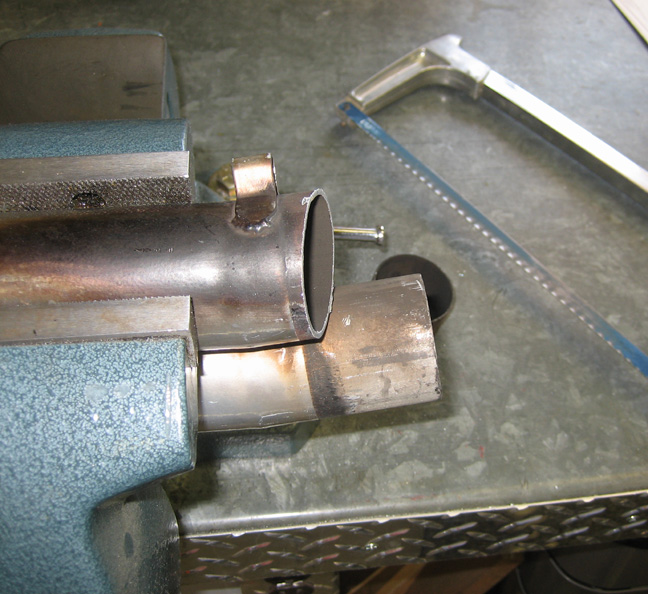
When it came time to do the center tubes, I decided to make one easy and
the other a little harder. The first and second generation of small
block Chevy's have the exhaust laid out like this: running from front to
back one port, two ports, one port. The tubes that I started with were
the ones with one port but now I need to deal with the two in the
center. What I plan to do is cut one tube a different length than the
other so I can do the welding easier on the longer one. The shorter one
will be harder because I'll have to make my way around the longer tube
that will be in the way. Here you can see my first cut which is at an
angle that I thought would be a good starting point for me.
|
|
 |
|
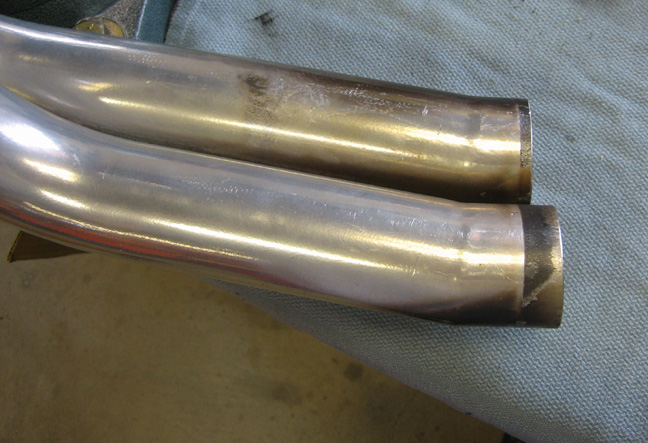
And here is the second tube cut about 1/2" longer than the other one.
Now you can see if I welded the longer one first I can go all the way
around it with nothing in the way.
|
|
 |
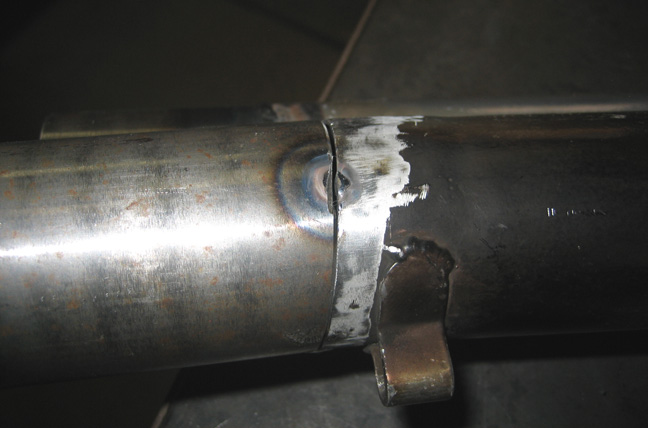
Here is a good example of not being happy with one of your tack welds.
There were three tack welds on this tube and after removing the tape
that was holding it together I noticed that I had a small gap between
the tubes. I wondered how it would fit even though the tubes didn't
touch so I bolted it to the engine and then tried putting the collector
on. I was able to get the tube in collector but it was very hard to do
so I thought better of it and decided to try again. I used my Dremel
with a cut-off wheel because they're thin and I ground through the weld.
Once it was cut free I tried to push them together but it wanted to
spring back.
|
|
 |
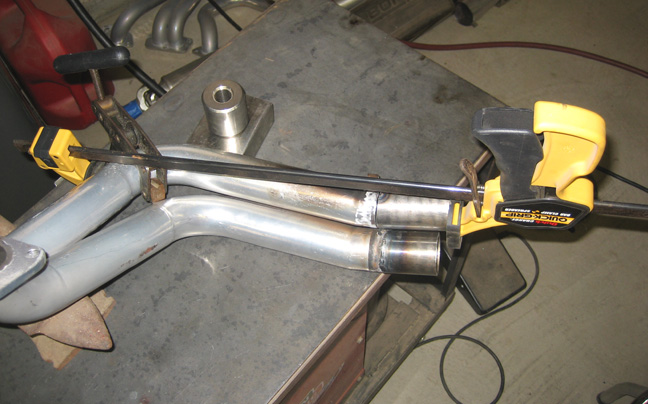
I used one of my long clamps to help pull the tubes together and a short
one to help hold the first one in place. This worked great as I was able
to tack the tubes without a gap this time and it fit the collector much
better too.
|
|
|
|
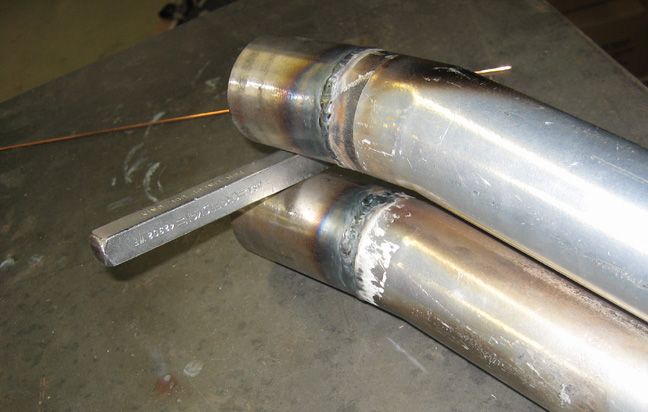
To get between the tubes I spread them apart with a 1/2" punch that
provided enough gap to weld in. It's not pretty but it shouldn't leak.
Once I was through welding here, I pulled the punch out and the tubes
went right back into place.
The next thing I'll be working on is more exhaust work. Now that I've
relocated the headers and collector, the remainder of the exhaust system
on the other side won't line up so I'll have to do more cutting and welding
here. And I'll be moving the master cylinder for the brakes and mounting
clutch master cylinder as well. Join me again in a week and see how that
goes.
|
|
|
|
1
2
3
4
5
6
7
8
9
10
11
12
13
14
15
16
17
18
19
20
21
22
23
24
25
26
27
28
|
|
29
30
31
32
33
34
35
36
37
38
39
40
41
42
43
44
45
46
47
48
49
50
51
52
53 |
|
54
55
56
57
58
59
60
61
62
63 |