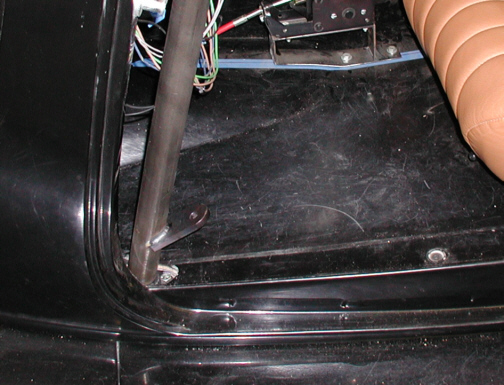
This is one of the 3/8" plates
that have been welded on. I had to have this located off the floor a
couple of inches because I had to be able to get at the bolts that hold
the tube to the floor. It also aids in clearing the seats a little
better too.
|
|

|
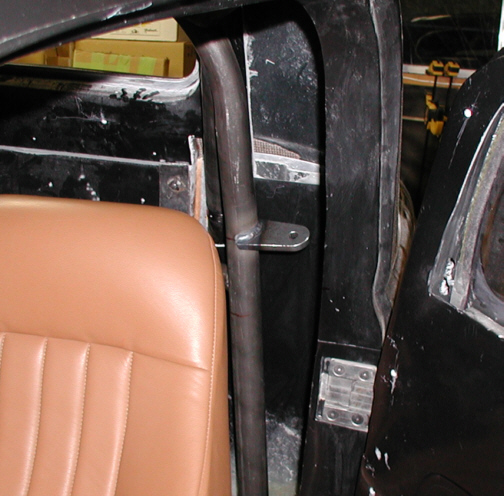
This is where I ended up at on the
main hoop. By placing the plate outward gave me 3" to work with
which made the tube that I was using straight in place of a bent one. I originally
had the tubes bent but didn't need the bend after locating the plates
like you see below. I cut the bend off the tube and used it straight
which worked out fine.
|
|

|
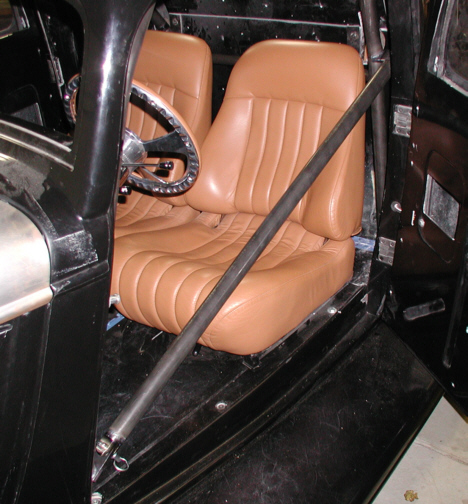
This is the finished door bar in place
with a bolt on one end and a quick release pin on the other. I can still
get in and out with this in place but I wouldn't want to make a habit of
it. I had to make sure that this bar would clear everything that might
come in contact with it so the first thing I installed was my door
panel. If you remember
some
time ago, I had placed a piece of blue tape on the inside of the
door at the same angle that the door bar would be to give me an idea
where I needed to place the arm rest. All that planning worked out as
the arm rest clears just fine. The one thing that looked like would give
me a problem was the speaker grill because the door bar went right in
front of it. After installing the speaker grill, I had clearance between
the two but not much. Once I knew that everything was going to work, I
welded the plates in. This finishes the cage so now I need to finish the
two panels behind the seats which will need cutouts that go around the
down bars along with trimming and fitting and then cover them with
leather. Next up, upholstery again.
|
|

|
| 12/12/04
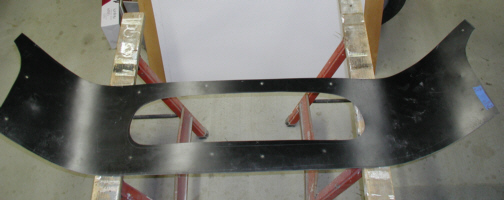
Now that the cage is finished, it was time to turn
my attention to some more upholstery. I have two panels to cover and
they're both curved. This panel wraps around the seats and has the rear
window in the middle of it. Now this is the first curved panel that I'm
going to be working with so I hope I can figure things out. I sanded the
surface so the foam would stick and I've made sure that all the edges
line up and fit. Being that the headliner is still installed, I needed
to make sure this panel fit like it needed too. I found out that once
the headliners thickness made a big difference in how this panel fit
because I had to remove a lot of fiberglass on this piece so it would
fit right. I have to cover this piece with it in it's curved state so I
don't end up with any wrinkles so I thought about making a wooden jig
but came up with a different way.
|
|

|
|
1 2
3 4
5 6
7 8
9 10
11 12
13 14 15
16 17
18 19
20 21 22 23
24 25
26 27
28 |
|
29
30
31 32
33 34
35 36
37 38 39 40
41 42
43 44
45 46
47 48
49 50
51 52 53 |
|
54
55
56 57
58 59
60 61
62 63
64 65
66 67
68 |