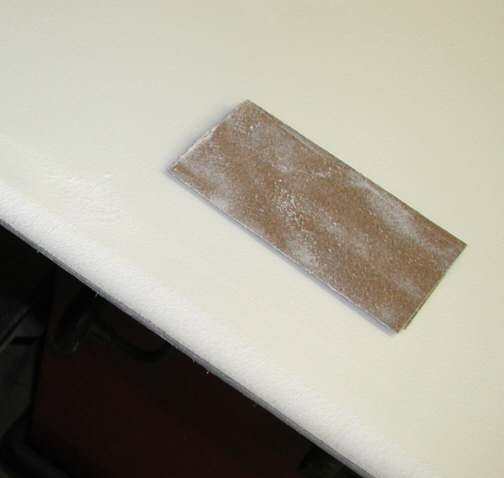
What I did next was blend the edges
of the foam with some 100 grit paper. The reason for this was so when
the material is installed, it will blend better with the panel that
comes in contact with it for a better fit.....at least that's the plan.
When the panels had nothing (no foam or material) on them, they fit
close so if I added the thickness of the 1/4" foam and 1/8" material, the panels might not fit right so this was just some
for-sight in my part. Now it's time to layout a pattern and cut out some
more foam.
|
|
|
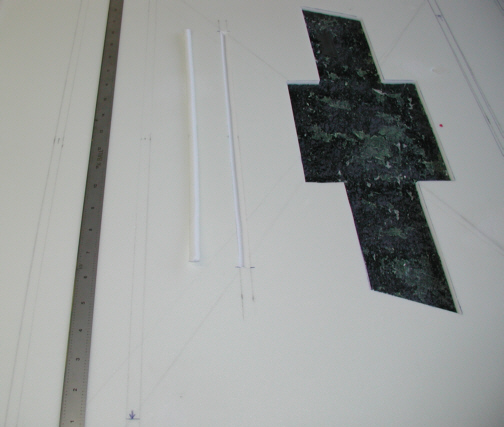
After many pieces of paper with
different patterns and scribbles on them, I finally settled on one. I'm
going to use two colors here with the primary one covering the panel and
the second one in the Chevy Bowtie that you see cutout below. Now I've
never tried anything like this before so let's see what happens. The
lines that you see next to the bowtie are going to be recessed lines.
There will be three recessed lines on each side of the bowtie, with the
one next to it the smallest and then progressively getting longer. I
used a razor blade to do the cutting which was held at about a 45 degree
angle. I used a straight edge to aid in keeping the lines straight as I
cut. The cutout piece of the bowtie will be used so that didn't get
tossed out.
|
|
|
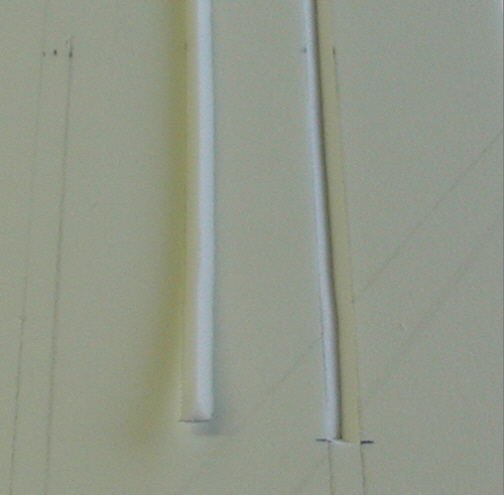
Here is a close-up of the cutout
recessed lines. Once the material is glued to the flat surface, it then
gets worked into the recess and then back to the flat surface. Simple
right? At least that's the plan. The lines that are marked to the left
are going to be cutout next. All I did was hold the straight edge on the
line and then held the blade at an angle to do the cutting.
|
|
|
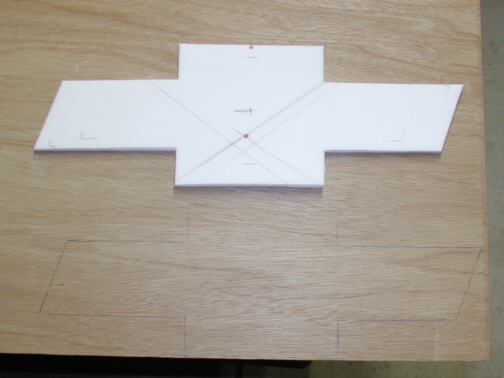
Now that all the recessed lines are
cut, it's time to work on the bowtie. What I'm going to do is glue a
piece of 1/8" thick paneling to the back of the foam. This is so I
can fasten the new piece to the headliner but I'll show you that later.
I traced around the foam with a pencil and then cutout the piece of
wood. The bowtie measures 17" long and the square section is
6". To arrive at these dimensions, I used different size paper
patterns till I found the size I liked. I hope it isn't to big looking
when I finish.
|
|
|
|
1 2
3 4
5 6
7 8
9 10
11 12
13 14 15
16 17
18 19
20 21 22 23
24 25
26 27
28 |
|
29
30
31 32
33 34
35 36
37 38 39 40
41 42
43 44
45 46
47 48
49 50
51 52 53 |
|
54
55
56 57
58 59
60 61
62 63
64 65
66 67
68 |