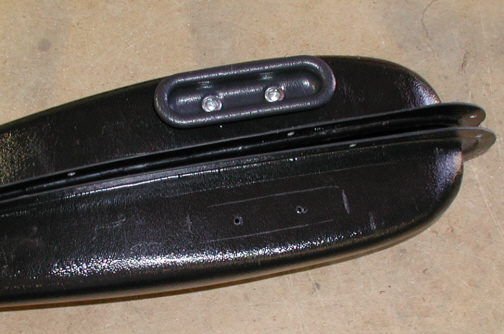
To make the slots for the
finger-pulls, I first used a scribe to mark some lines and then drilled
a 3/8" hole in the middle of those lines. Then I used my Dremel to
cut away the material and fit the finger-pulls. This plastic melts if
you go to fast so you have to take your time while cutting. Even taking
my time it only took about two minutes to rough out the slot and a few
more to finish one.
|
|

|
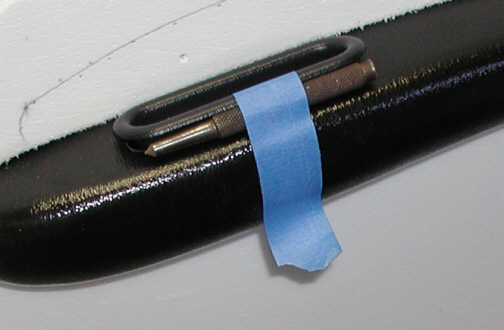
Now it was time to fasten the metal
bracket to the door. By taking off the protective paper on the tape and
placing the door panel on, I might end up having it stick in the wrong
spot. To be sure it was in the right place, I screwed the bracket to the
finger-pull first, then I installed the door panel using all the door
panels metal
clips. After the door panel was where it needed to be, I then released the
blue tape that was holding a spacer (in this case, a center
punch that I made in high school) under the finger-pull. What this did
was angle the metal bracket that was connected to the finger-pull to the
door at the place that it needed to be. I then unscrewed the two screws
that were holding the bracket inside the finger-pull and removed the door panel.
This left the metal bracket in the correct place to be mounted.
|
|

|
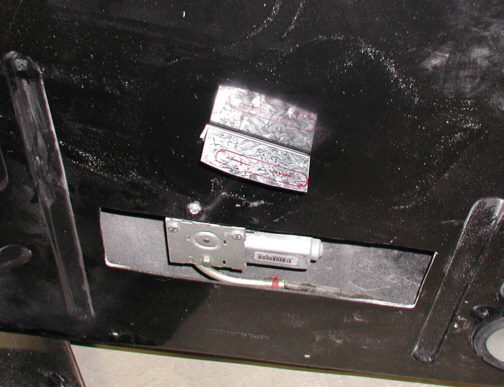
This is how it looked when I removed
the door panel. The bracket was where it needed to be now so I drilled two
holes through the bracket and into the door. I then removed the bracket
and the double sided tape and then drilled some clearance holes for the
screws in the metal bracket. That tape idea worked great that RodDoors
supplied.
|
|

|
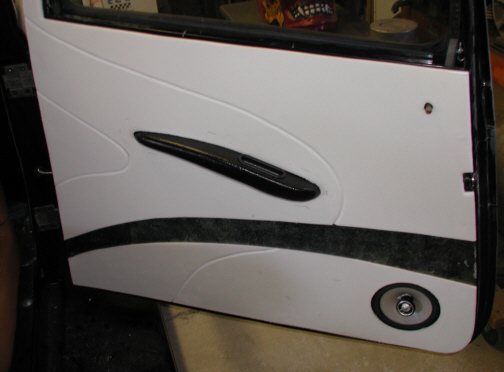
Here is what it looks like with the
panel in place and you can also see the pattern that I'm using a little better too. I'm
going to add one more thing next to the speaker but I'll show you that
later. Time to get out some material and start gluing!
|
|

|
|
1 2
3 4
5 6
7 8
9 10
11 12
13 14 15
16 17
18 19
20 21 22 23
24 25
26 27
28 |
|
29
30
31 32
33 34
35 36
37 38 39 40
41 42
43 44
45 46
47 48
49 50
51 52 53 |
|
54
55
56 57
58 59
60 61
62 63
64 65
66 67
68 |