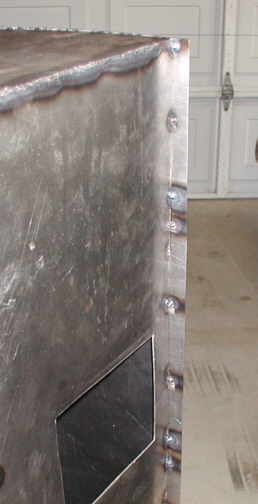
Once I had the top welded on, I had a little left
over that needed to be trimmed. Now this was extra material was part of
the plan from the start. I figured that it was better that I had a
little to much than not enough so I added about a 1/2" extra which
is how much I had to trim off. I tack welded the top to the bottom and
then trimmed and sanded to within 1/16" and then welded it.
|
|
|
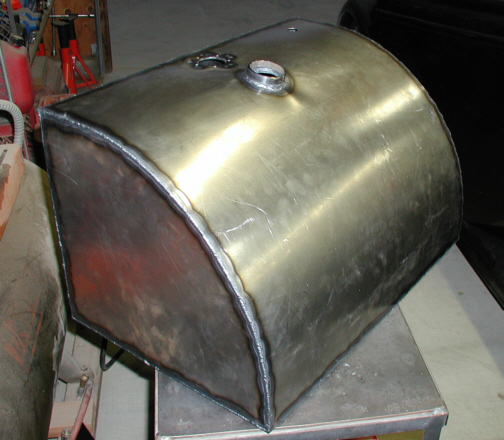
This is what it looked like once the
top was welded on. Notice the wrinkles next to the filler cap opening.
This material is so thin that it didn't take much heat to have this
happen. Once I tack welded the filler neck on, it buckled right away and
it will need some body work to fix it. The area around the sending unit did
the same thing. I plan on painting this later on so I guess I'll have to
add this to the list of things that get bodywork and paint.
|
|
|
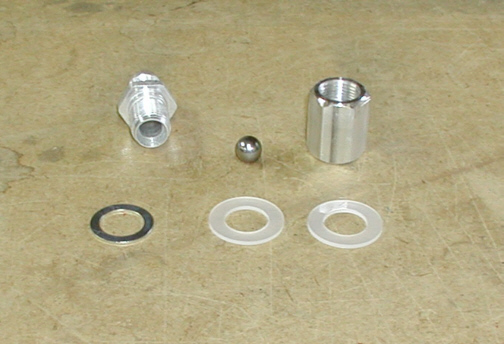
What you see here is a roll-over vent
that will be installed in the top of the tank. Now this acts as a way to
vent the tank but in the event that the car ends up upside-down, this
will prevent fuel from spilling out the vent. The way the valve works is
that the steel ball comes in contact with the bottom of the piece on the left
and locks against the angle not allowing fuel to pass through it.
|
|
|
This is what it will look like when it
gets installed later. The top has threads for a # 8 AN fitting which
will have a hose that runs to the underside of the body so the gas fumes
get vented to the outside of the car. I'll have to remember to install
this before the last piece gets welded on (sump) because it gets tightened from
the underside.
|
|

|
|
1 2
3 4
5 6
7 8
9 10
11 12
13 14 15
16 17
18 19
20 21 22 23
24 25
26 27
28 |
|
29
30
31 32
33 34
35 36
37 38 39 40
41 42
43 44
45 46
47 48
49 50
51 52 53 |
|
54
55
56 57
58 59
60 61
62 63
64 65
66 67
68 |