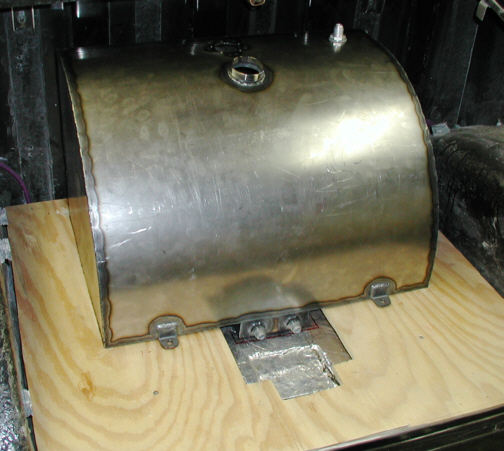
| This is what it looks like finished.
Notice the hold-down brackets in the front. These are made from
1/8" thick angle iron which measure 1" X 1" X 1 1
3/16" with a clearance hole for a 5/16" bolt. In the back of
the tank I
ended up using the 5/16" studs that held in my other tank so that
made it easy for the rear but I'll have to drill new holes for the front
mounts. I also had to make sure where the new holes were going to end up
under the car so they wouldn't interfere with something else. I'll be
using some stainless button head cap screws on the two that will
show.
I took the tank outside, capped off the two
fittings in the sump and filled it with water so see if I had any leaks.
Sure enough, it had a few so I marked the bad areas and then welded them
up and then retested again. I had to do this three times till I had all
the leaks fixed. I do have one more problem that will have to be
addressed and that's the filler neck. When I cut and relieved the inside
of the neck for welding reasons, I went just a little to far because it
leaks through the threads when I was shaking the tank from side-to-side
with water in it. I think I can use some kind of sealant on the inside
of the filler neck to fix this problem. The fuel sending unit screws all
leaked too so I'll have use some sealer on those as well. I thought it
would leak around the outside of the sending unit because of how warped
the tank ended up after welding. I didn't think that the screws
would leak so this was a good test to see what would happen and I'll
have to fix it.
|
|
|
| 10/26/04
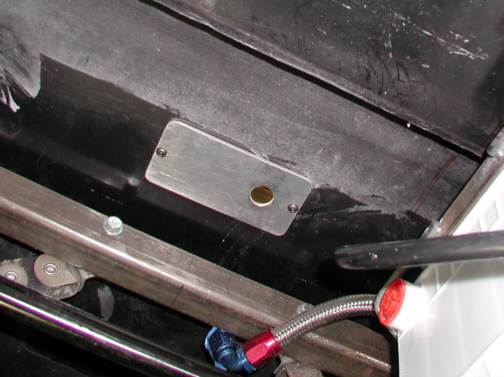
Now that the tank is in position, I needed to redo
the fuel lines because my new tank is in a different place than the old
one is. What I needed to do was make the lines four inches longer on the
inside of the car and
while I was doing that, I also needed to cover the hole in the floor of
the trunk where the fuel line exited.
|
|

|
I made an aluminum plate that is 5" X 2 1/2" X
1/8" and put a 3/4" diameter hole in it for a 90 degree #8 AN fuel
fitting. I used two 10-32 Riv-nuts to hold the screws in place and inserted
them from the top surface.
|
|
|
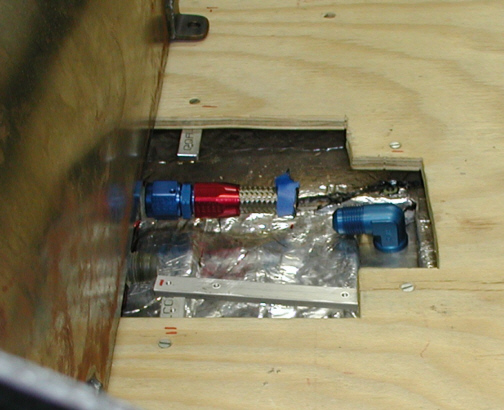
After installing the 90 degree
fitting, I noticed that it didn't sit like I wanted. Notice how it tends to
point downward. I couldn't get the threads to start on it because of this
angle so I had to come up with a way to fix it.
|
|
|
|
1 2
3 4
5 6
7 8
9 10
11 12
13 14 15
16 17
18 19
20 21 22 23
24 25
26 27
28 |
|
29
30
31 32
33 34
35 36
37 38 39 40
41 42
43 44
45 46
47 48
49 50
51 52 53 |
|
54
55
56 57
58 59
60 61
62 63
64 65
66 67
68 |