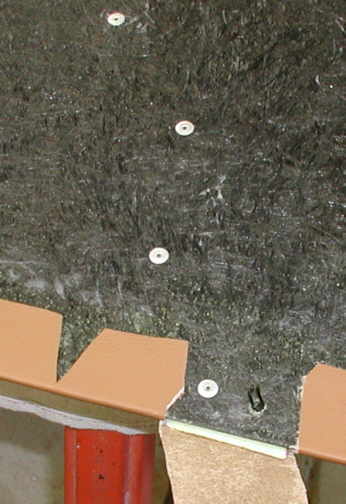
Here you can see the rivets that have
been installed on the narrow end. Trimming the ends of the contrasting
color was very tricky....at least it was for me. I've never done
anything like this so cutting a little at a time was they way to go till
I figured out how to do it. To have the ends look right took some time.
I had a spot here and there that could look better but I guess I'll be
the only one that sees it.
|
|

|
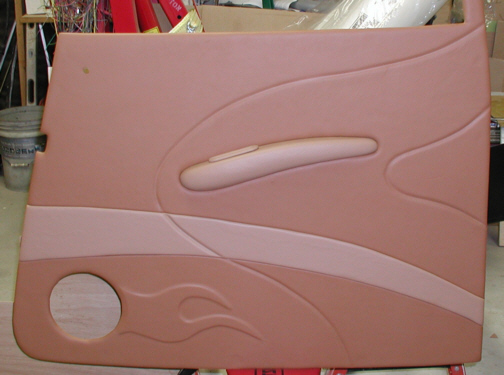
Here it is all done. The contrasting
colors break-up the panel pretty good I think. It has a flaw here and
there but it's not too bad for my first time. After installing it on the
door, it fits very good so that's a good thing. One more thing to add
and that's a custom speaker grill.
|
|

|
| 8/29/04
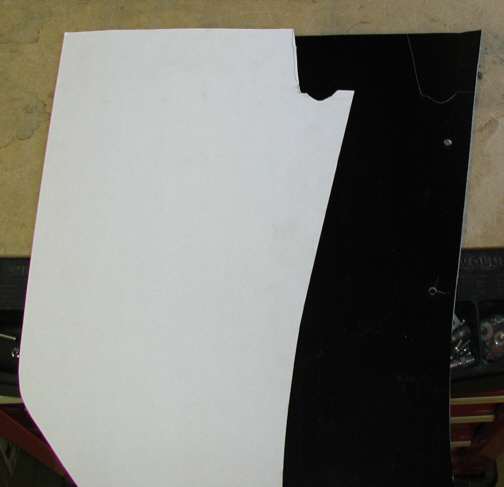
The next panel to get covered would be the kick
panels. It just seemed like the logical pieces to do after the door
panels. What you see below is the passenger side covered with foam and
the drivers side waiting for some. I'm going to continue the pattern
that the door panels have into these panels. That means that this will
have two different colors when I'm done.
|
|

|
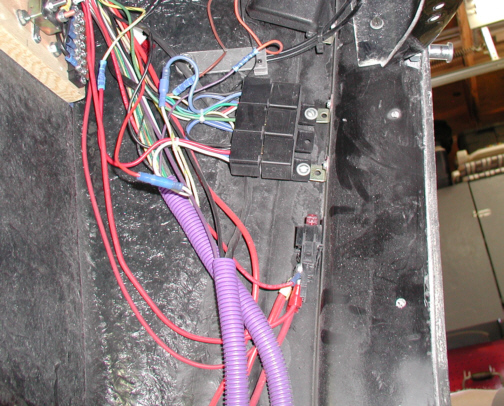
This is the area that the kick panel
will cover when installed. Lots of wires to hide and protect when this
panel is finished. Most of these wires will be shorter when I'm
sure everything is finished along with a couple of plugs to undo a group
of wires if need be.
|
|

|
|
1 2
3 4
5 6
7 8
9 10
11 12
13 14 15
16 17
18 19
20 21 22 23
24 25
26 27
28 |
|
29
30
31 32
33 34
35 36
37 38 39 40
41 42
43 44
45 46
47 48
49 50
51 52 53 |
|
54
55
56 57
58 59
60 61
62 63
64 65
66 67
68 |