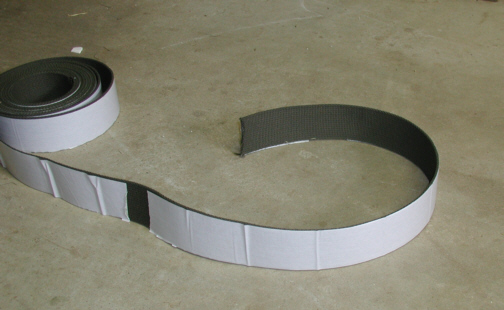
You can see the adhesive backing on
the webbing here. This stuff is very tough, like extra thick cloth that
has a cross pattern in it which
means I won't be able to drill holes in it so I came up with another way
to make clearance for the bolts.
|
|

|
After cutting two lengths and laying
it out on the frame rails, I then made marks with a red felt marker to
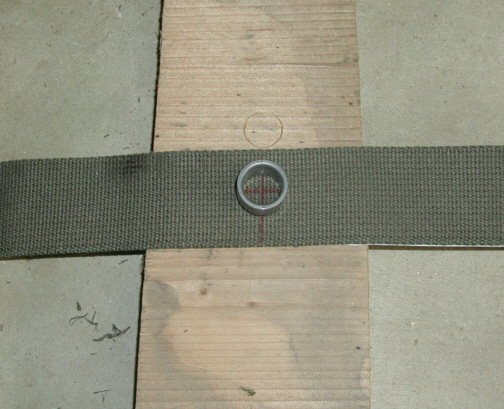
line-up with the inserts in the chassis. Now it was time to cut some
holes and to do that I made a tool out of a drill bushing and ground a knife edge on
it. A drill bushing is made out of hardened steel which means it will
hold an edge like a knife does. Drill bushings come in lots of sizes and
this one was 1.00" on the outside diameter, 3/4" on the inside
diameter and 3/4" long. Aligning the tool over the layout marks was
easy as you can see.
|
|

|
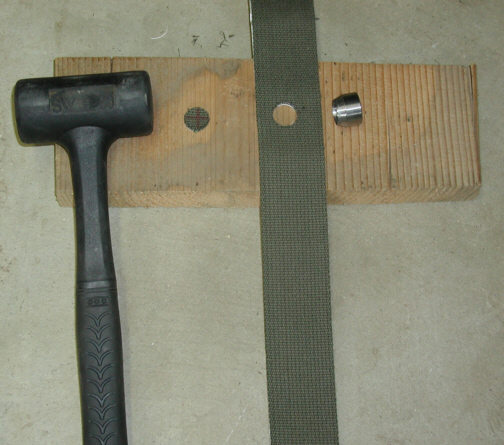
By using a soft-face hammer and a
piece of wood under it, the holes came out nice. The diameter of the
hole that got punched out is 3/4" and should provide plenty of
clearance for my bolts to go through. If your wondering why the hole is
off center, the chassis had a lot holes that were on center and some
that were not. I guess there is a reason for this but I don't know why.
The hole below is in the right place...trust me.
|
|

|
|
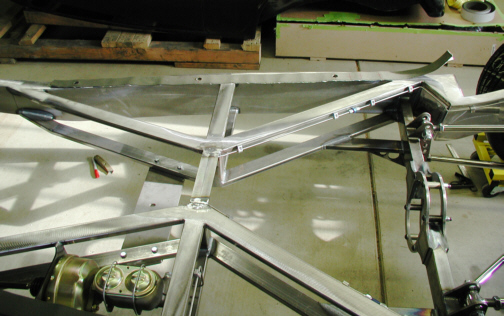
The piece of webbing on the frame rail
has four holes in it and is ready to stick down. After making sure
all the holes were in the right spot, I made one for the other side.
Lets get that body on there and see how it looks!!
|
|

|
|
1
2
3 4
5 6
7 8 9
10 11
12 13
14 15
16 17
18 19
20 21
22 23
24
25
26 27
28 |
|
29 30
31 32
33 34
35 36
37
38 39
40 41
|