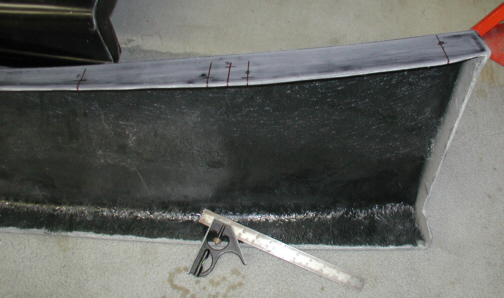
This will give you a better idea of
how I found the right hole location for the rest of the panels. By using
an combination (adjustable) square, I placed it against the bottom of the frame rail
and marked the center of each bolt hole with a red marker. Then when you
clamp the panel back on, the "red" line extends below the
bottom of the panel so you have a reference point. Now I had a guide to
use where the holes had to be.
|
|
|
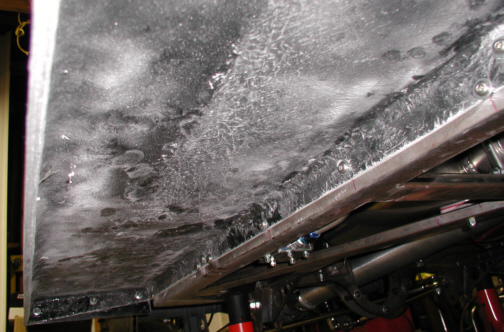
Here you can see that I marked the bottom of the panels edge
where the lines were on the frame. Then I removed the panel and transferred
those lines with my square onto the side that needed to be drilled. What
you see here is the side of the running board lightly sanded with 80
grit paper to make sure the panel was in full contact with the frame,
eliminating and high spots.
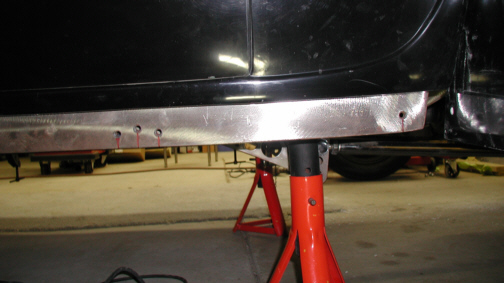
Now all I had to do was measure from the bottom of the body down to the
hole in the chassis and this would be my dimension that would be from the top of my
running board down to the hole to be drilled. After drilling one hole
and checking it for fit, things were lining up nicely.
|
|
|
|
After doing one hole at a time (12
holes just for the running board), I ended up with only having to use my
Dremel a small amount.
|
|
|
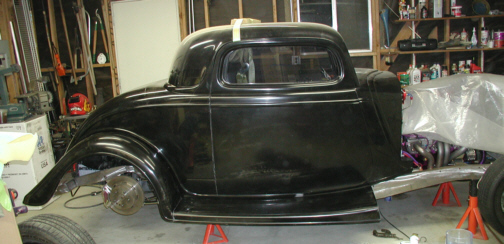
This is what it looks like with the
fender and running board in place on the passenger side. It's starting
to look more like a car. Now it was time to do the drivers side.
|
|
|
|
1
2
3 4
5 6
7 8
9 10
11 12
13 14
15 16
17 18
19 20
21 22
23 24
25 26
27 28 |
|
29
30
31 32
33 34
35
36 37
38 39
40 41 |