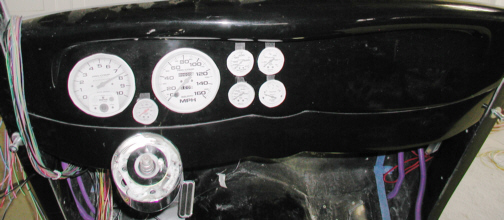
I've been giving the dash a lot of
thought to where I want to place everything. It's a hard decision so I
printed out all the gages that I would be using and stuck them on with
tape. This way I could move them around to see how they looked in
different places. Now I'm not really sure where everything is going to go
but for now, this looks like the layout. The key is going to placed to
the right of the steering column down low. I'm right handed so this
seemed like the logical choice.
|
|
|
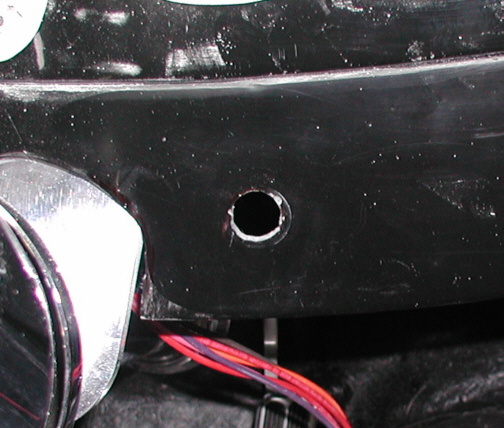
I know it's not much to look at but I
had to drill a small hole and then use my Dremel to enlarge it. The
reason for enlarging the hole is because the sides of the switch has
flats on it. This is so when you turn the key, the switch won't turn. I
had to sneak up on the size to make sure I didn't go to big.
|
|
|
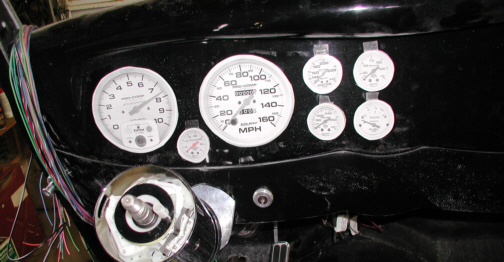
I know it's not much to look at but
it's done. I cut all the wires to length and connected them to the
switch. I hope it works when the time comes. I also wired the steering
column while I was under there. The steering column has a GM style plug
on it and my wiring harness had two different types of plugs so I just
had to pick the one that fit. One thing I want to say about this plug
hook-up, you have to cut and strip eight different wires and then crimp
on some connectors that get installed into the plug. If you put a
connector into the wrong slot in the plug, you might as well order
another plug because it's next to imposable to take them out once there
installed. I double checked my work before I made the final assembly. I
hope this works later too.
|
|
|
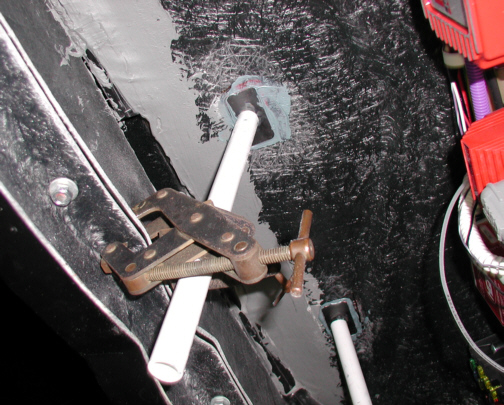
While I was under the dash, I thought
I would need more places to hold wires once they were being run to
different things so I made two more hangers. These were placed on the
underside of the dash on the top (your looking up under the drivers side
in this picture). If you remember awhile back, I bonded three of these
to the firewall to hold all of the electrical components to a piece of
wood. These are not going to be holding any wood but will have plastic
hooks which will be held on with nuts. After removing the clamps and PVC
pipe, the hangers were solid and ready for use. The thread size is
1/4" and I've already placed some wires up there just to get them
out of the way for now. I might have to add some more to the other side
because these seem to work great.
|
|
|
|
1
2
3 4
5 6
7 8
9 10
11 12
13 14
15 16
17 18
19 20
21 22
23 24
25 26
27 28 |
|
29 30
31 32 33
34 35
36 37
38 39
40 41 |