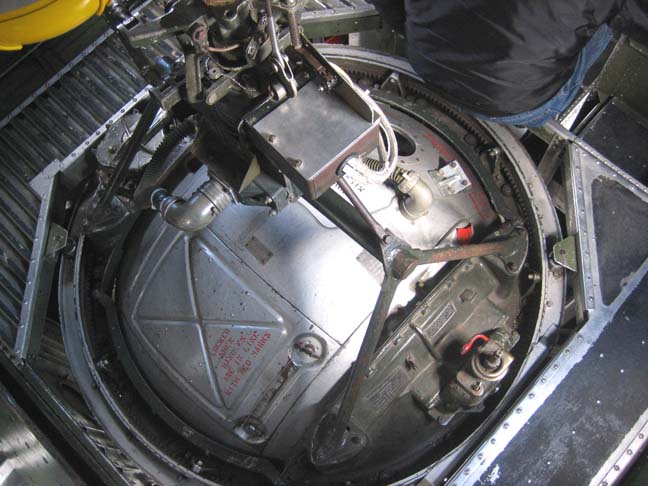
| The B-24 had a ball turret like the B-17 had except this
one was retractable. The ball turret was lowered once the plane was off
the ground and the landing gear up. This was necessary because of its
very low ground clearance. To the left side of the ball is the
rectangular hatch that a man would enter through. Statistically, the
ball turret was one of the safest crew positions during WW II as ball
turret gunners had the lowest loss rate. In case you can't read what's
on the hatch this is what it says: 'Locked when handles are inline with
marks'. Looks like this hatch would be locked then.
|
|
 |
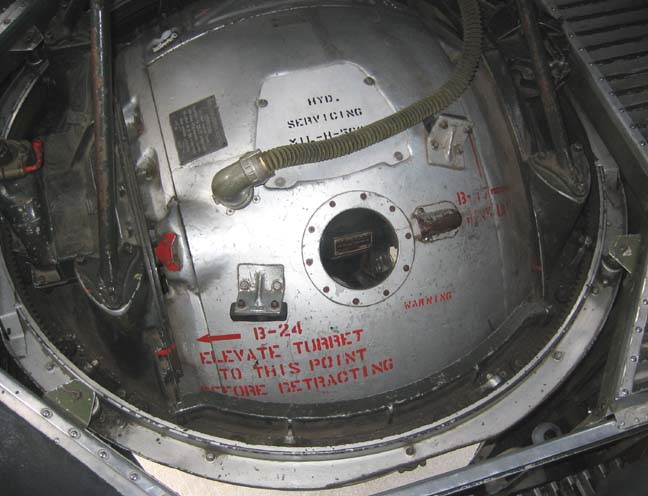
Here is the other side of the ball turret. This side has a red arrow
that lines up with another red mark. Right below the arrow says: 'B-24 -
Elevate turret to this point before retracting'. Better not get this
wrong if you were coming in for a landing.
|
|
 |
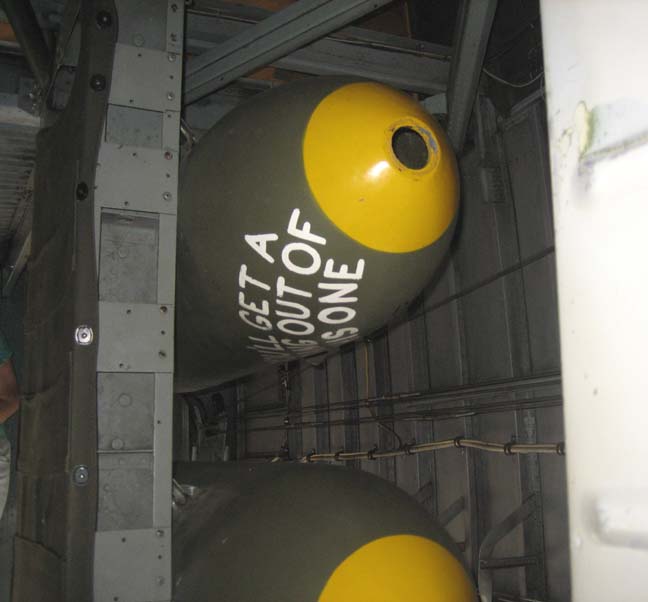
This is the bomb bay area which had a few mock ordinance in place. In
case you can't make out what it says: 'You'll get a bang out of this
one'.
|
|
 |
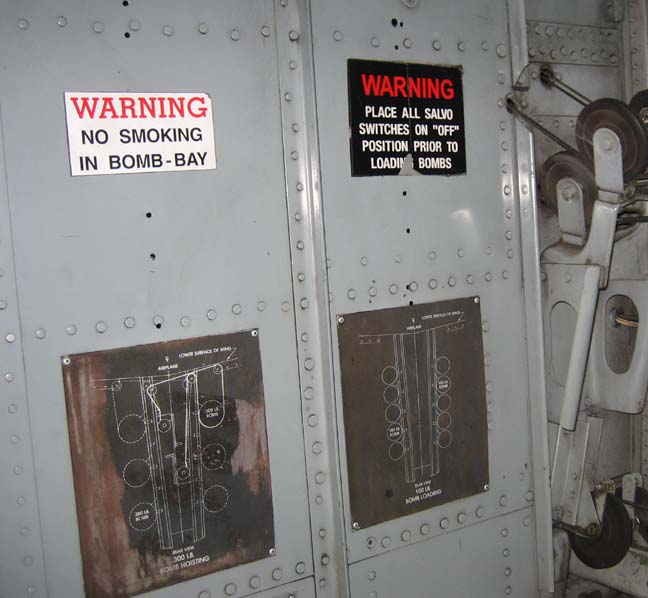
The signs at the bottom are how to arrange the bombs depending on their
weight. The chart on the left is for 300 pound bombs and the right one
is for 100 pounders. The cables on the right is how they would raise
them in place. And you better make sure to obey the warning signs when
your in this area too.
|
|
 |
|
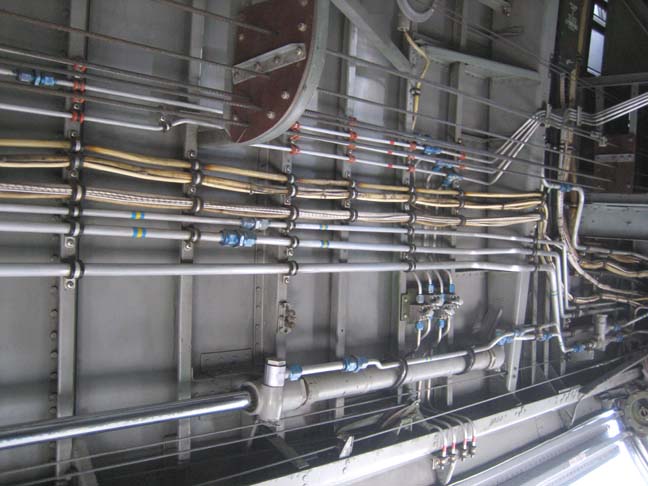
It wouldn't take much for one of these lines or wires
to fail due to a well placed bullet.
|
|
 |
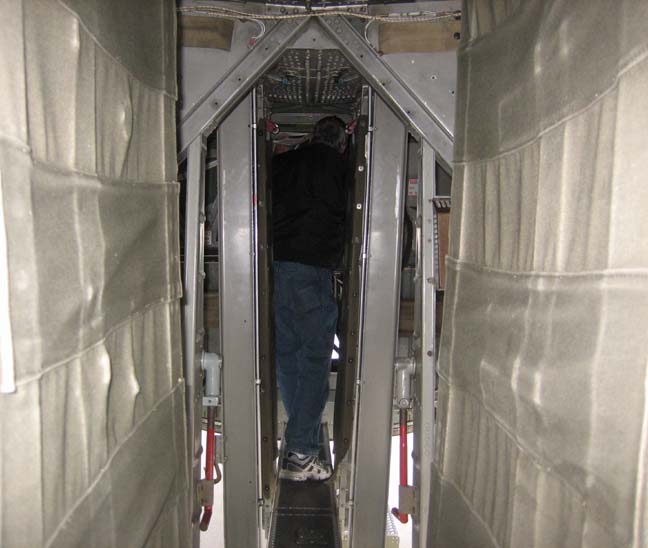
Here is the cat walk going through the bomb bay room towards the front
of the aircraft. It's very narrow and some people decided to turn around
and go back because they didn't think they'd make it. To get through you
have to walk sideways.
|
|
 |
|
1
2
3
4
5
6
7
8
9
10
11
12
13
14
15
16
17
18
19
20
21
22
23
24
25 |