|
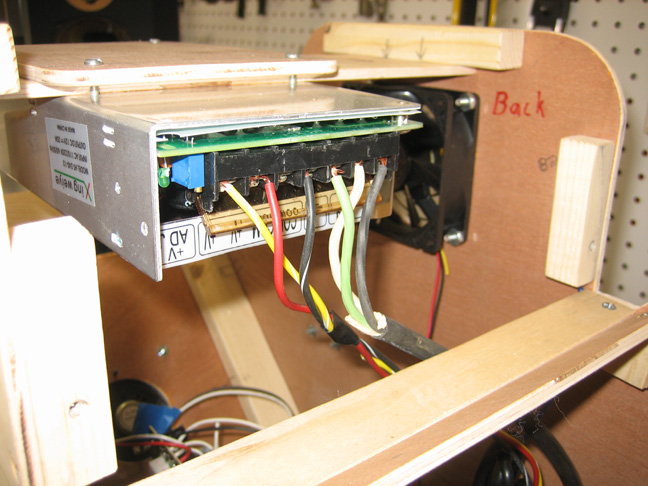
After cutting and striping some wire, the power supply is ready to go.
On the right side is 110 volts (green, white and black) and to the left
is for 12 volts. The yellow is hot all the time (for the presets), the
red runs down to the switch and next to that is ground.
|
|
 |
|
Here you can see the power cord that plugs into the wall.
I made it longer than normal so I wouldn't have to use an extension
cord.
|
|
 |
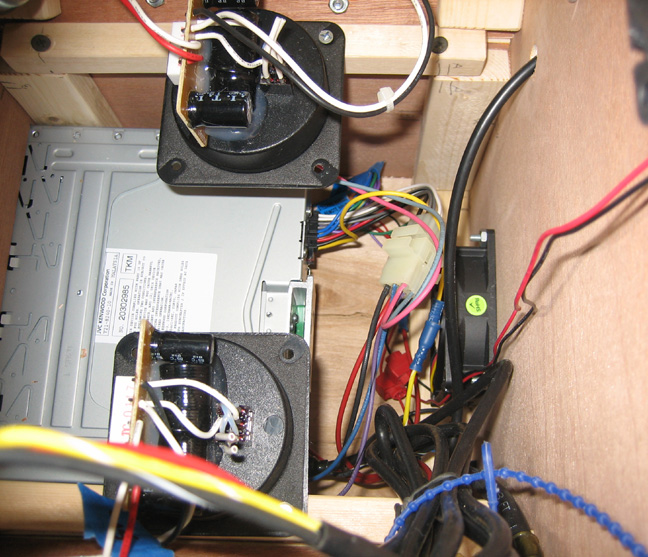
Here you can see the head unit installed along with most everything
else. I mounted the speaker crossover units above the head unit by about
3" and as you can see things aren't to cramped but there is a fair
amount of wires.
|
|
 |
I mounted the tweeters on the side of the enclosure... or the side of
the engine block...which should work pretty good. Notice the piece gone
from the wooden surface. This happened in a few places throughout the building process because I
don't think the laminate finish was applied very well to begin with. I
should have used the back side because that surface looked fine
after every cut. Live and learn.
|
|
 |
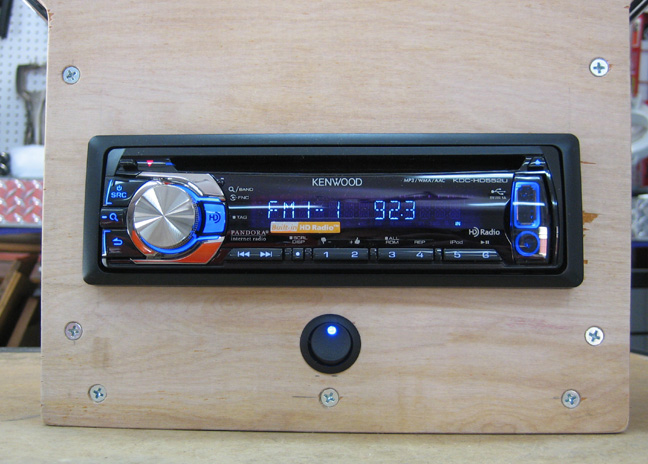
The moment of truth...smoke testing the new unit. After plugging it in
and flipping the switch, everything worked like I planned without any
pops, sparks or drama of any kind. I set a couple of things and then
tried various FM stations with most of them coming in fine. Now that
everything seems to work I'm going to add a couple more things.
|
|
 |
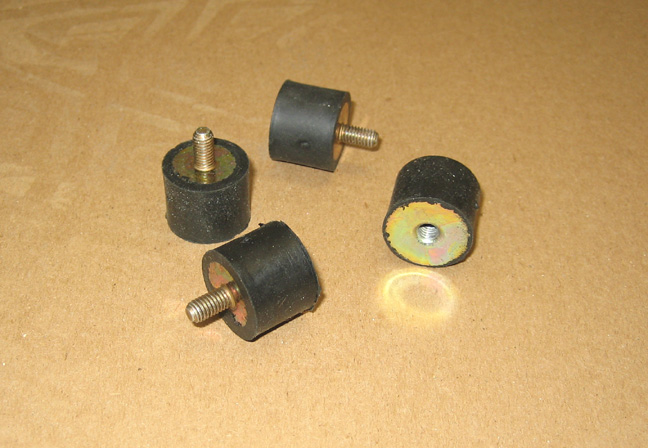
What you see below are rubber isolators that came with my MSD ignition
system for my 33 Coupe that I never used. I thought these would work
good as feet for the bottom of the enclosure to raise it up about an
inch. The reason I'm raising it up is because the top of my cabinet has
about a once inch step on the top of it. By adding something to the
bottom of the system will put my on/off switch just above the lip at the
top of the cabinet.
|
|
 |
|
1
2
3
4
5
6
7
8
9
10
11
12 |