|
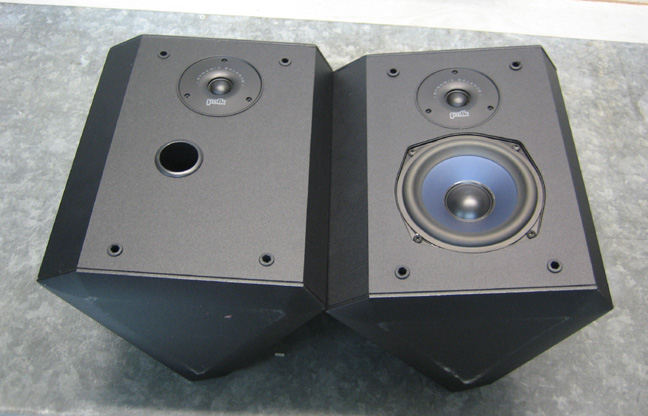
With the covers removed you can see what's under the hood a little
better. They have three speakers in each unit, one being a 5 1/4"
mid/low range dynamically balanced composite driver and two 2 3/4"
dynamically balanced silk dome tweeters.
I don't plan on putting these speakers next to my new system but
instead I'll be taking these apart and incorporating two of the three
(from each one) into my new enclosure. I figure that it will make the new system a
little more compact by doing it this way (think boombox).
|
|
 |
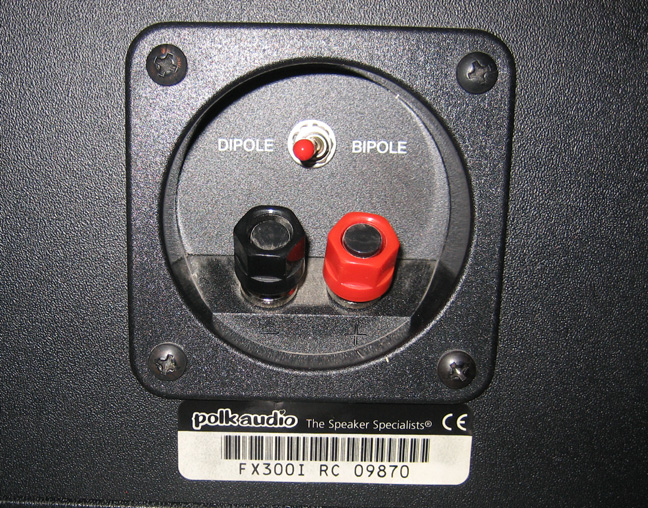
This switch activates the second tweeter if you so desire
using it or you can just use one depending on your room or need. I plan
on using only one. The red and black knobs are where you hook your
speaker wires to. The two knobs are threaded and have a hole going
through the thread for your speaker wire to pass through. All you do is
place a wire through the hole and tighten the knobs down and that's it.
I plan on using this whole piece because on the back side it has the
crossover unit for the different speakers.
|
|
 |
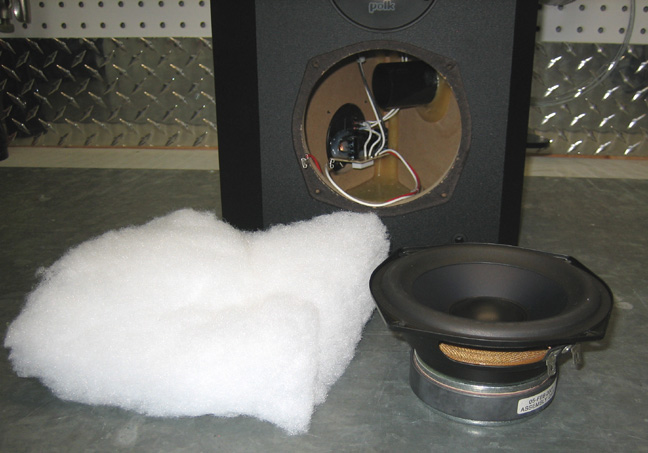
After removing the larger speaker you can see there was some packing
inside. This helps dampen the driver while it's moving. If you look
close you can see the other side of the switch which has the crossover
network attached to it. Polk Audio made it easy to unplug the speakers
because they used push-on connectors for each one.
|
|
 |
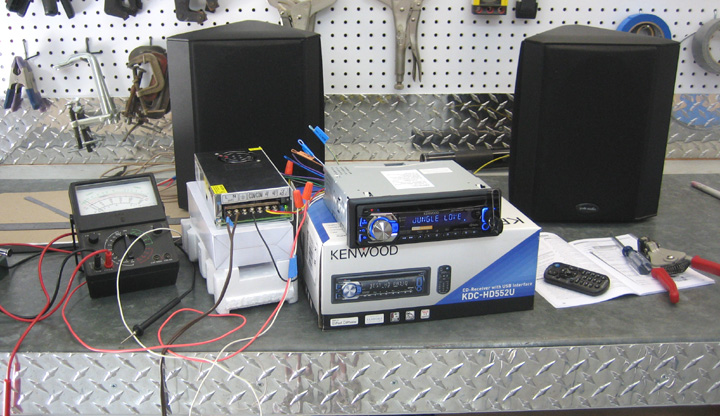
After I stripped a few wires and attached them, the system works really
well. This is what you call 'bench testing'. It's easier to fix any
problems when it's like this instead of everything being all cramped
inside of a box. I played with the remote control to see how that worked
and it didn't matter how far away I got it still worked. That's good
news because I plan on placing the new system on the opposite
side of the garage from where you see it now so. So if I wanted to
listen to a different song, it's just a button push away. Now that I
know that everything works, it's time to make an enclosure for these
pieces to fit into.
|
|
 |
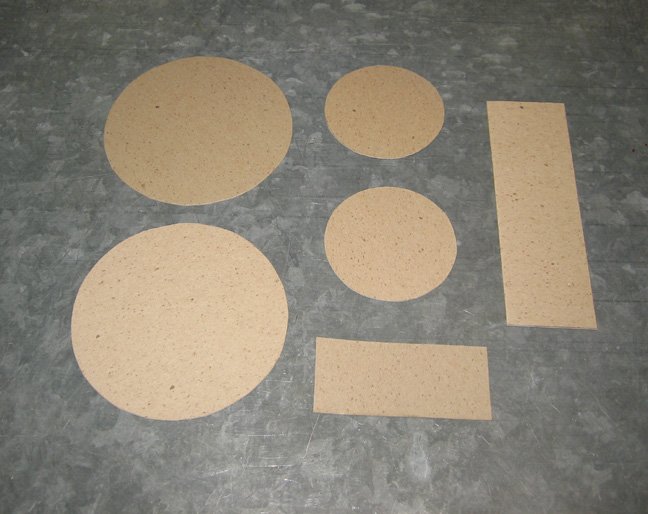
Now that I have most of the components that I'll be using, I made some
cardboard cut-outs of them all. This way I can place them on or over a
template to make sure everything is going to fit. And if I don't like
how it looks, I can move them around till I do.
|
|
 |
I started sticking some tape to my workbench to get any idea of what I
might want the enclosure to look like. One thing lead to another and
here's what I came up with. I'm not sure where every piece will be
located but I'm going to make my new garage tunes look like an engine
which kinda makes sense...being a gearhead and all.
|
|
 |
|
1
2
3
4
5
6
7
8
9
10
11
12 |