|
Here I'm testing to see which way the switch needs to be for my
application. Once I find out I'll leave the switch in that position
and call it good.
|
|
 |
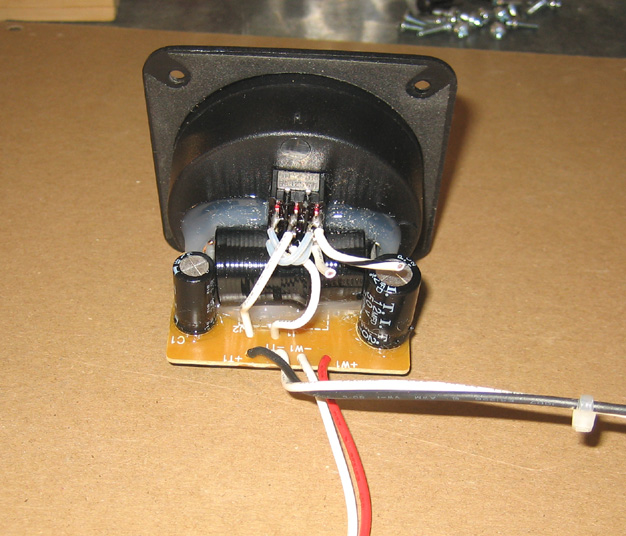
Here you can see the crossover network that is attached
to the panel which is why I'm going to use it as is. I cut off the wires
going to the second tweeter as they won't be used any more.
|
|
 |
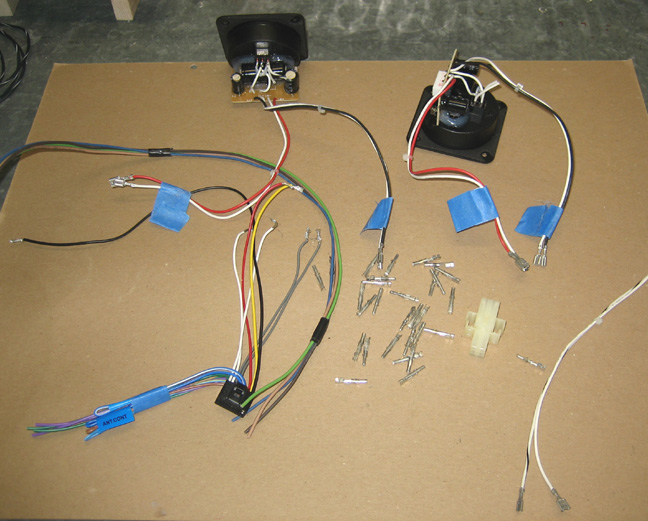
To make life a little easier for me, I'm going to use a six wire
connector to join some of the wires together. I just happen to have one
sitting around in my toolbox so I thought I'd use it. If you've ever
used one of these plugs, then you know what a pain they can be to crimp
the connectors properly.
|
|
 |
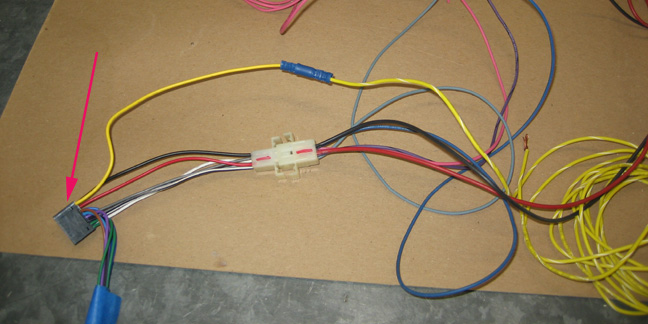
I used the plug that came with the head unit (red arrow) on one end
of the connector and matched up a few of the wires with the same color
on the other end
but the remainder were different. It doesn't matter if the wires are
different color as long as they are hooked up the right way.
|
|
 |
|
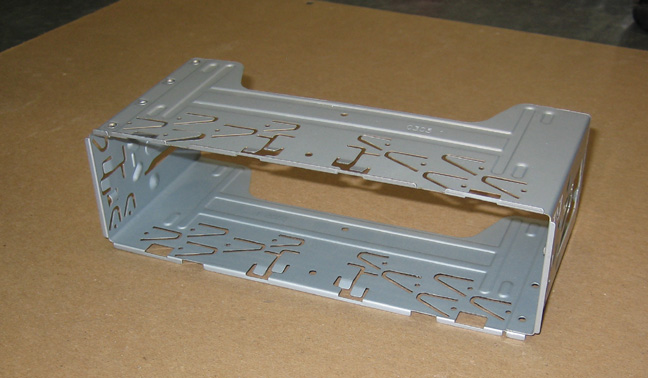
Here is the adapter for the head unit. I made the cutout for it earlier
and now it's time to install it to make sure everything fits and works
okay.
|
|
 |
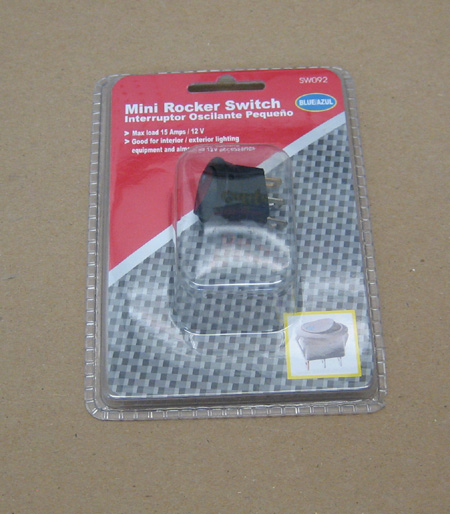
I wanted a power switch so I bought this rocker switch that should work
for what I want and it has a blue LED that comes on when the power is on. The head
unit has two power wires, one is for constant power so you won't loose
any of your presets like radio stations along with settings for bass,
mid and treble, etc. The second wire shuts down everything else. I'll
wire the head unit so that I have power to the presets all the time and
then use this switch to kill power for my fans and shutting off the head
unit.
|
|
 |
|
1
2
3
4
5
6
7
8
9
10
11
12 |