|
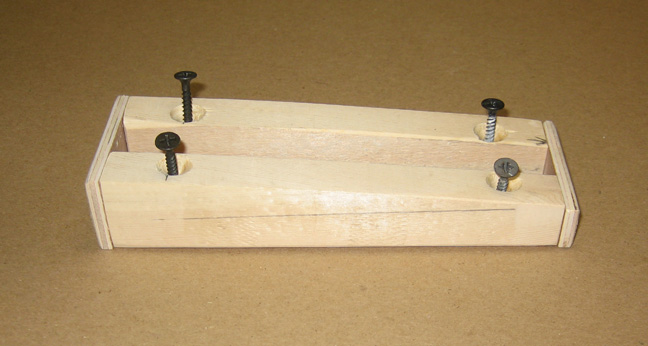
Here's another view of the same piece to give you a better idea of it's
shape. The reason it's tapered is because the injector has an angle to
it and I wanted the top of the injector to be level once it was in place.
|
|
 |
|
This should give you a better idea of how these will go
together. I'll use two screws, one on each side that will hold them
together.
|
|
 |
This piece of wood will act as a clamp to hold the power supply in
place. I originally planned on having the power supply located at the
bottom of the enclosure but changed my mind at the last minute. The
reason for that is I didn't think there was enough room for the head
unit to be placed near the bottom of the enclosure like I wanted it to
be if the power supply was under it. Call it an engineering change if
you will.
|
|
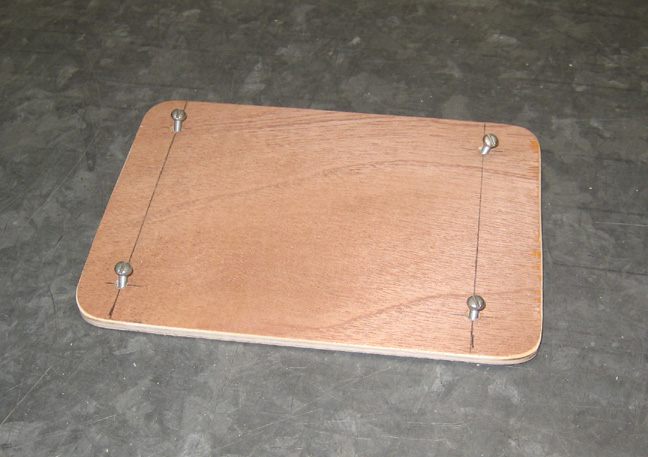 |
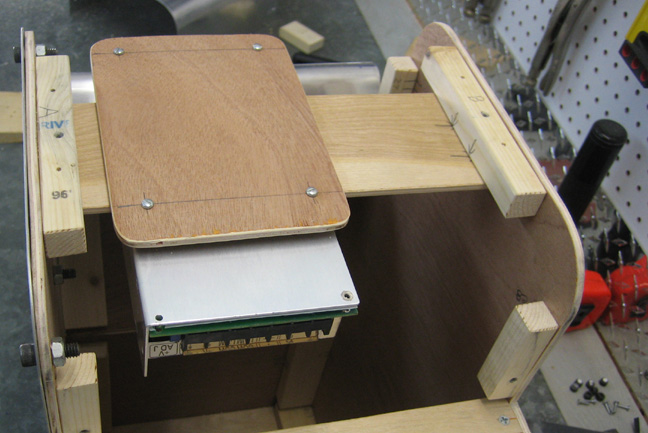
The power supply has four 8-32 threaded holes in the top of it so I'm using them to
mount it at the top of the enclosure. This area will be where the blower
is located and should provide me with a little extra room so things
won't be as cramped. I'll also show you why I mounted this off center
too.
|
|
 |
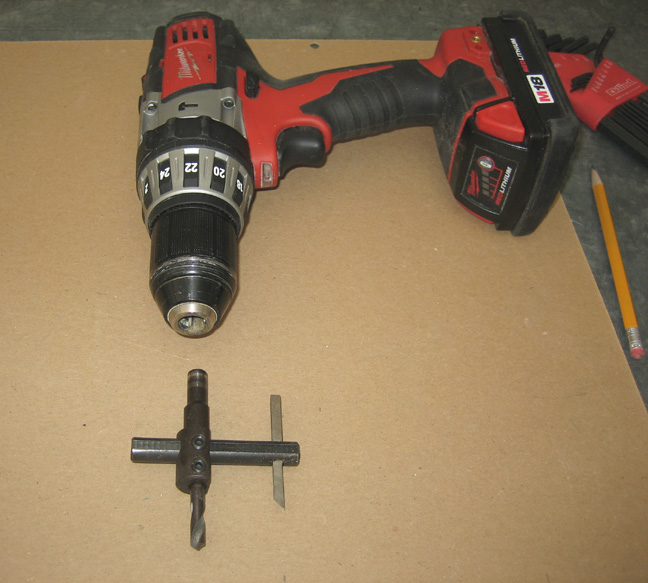
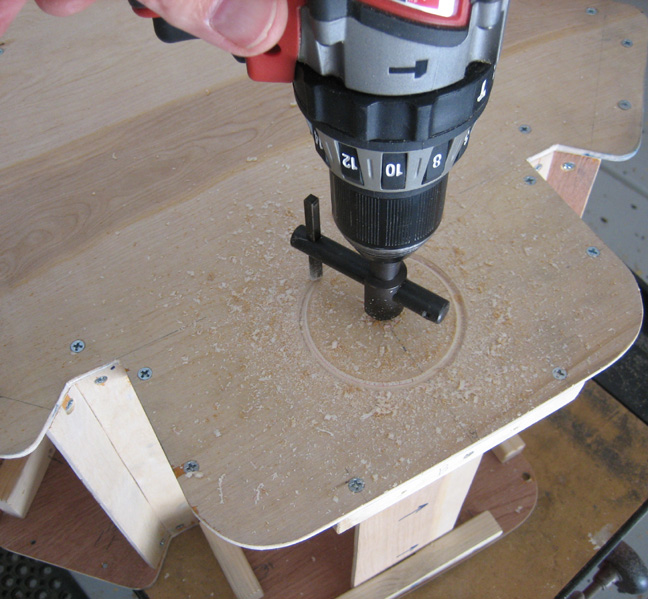
The next part of the new sound system needed some holes made. I didn't
have the right size hole saw but I did find this little tre-pan tool in
my toolbox. This worked out great because it's adjustable and went right
through that thin wood.
|
|
 |
This is the back side of the enclosure at the blower location. What I'm
doing is making some ventilation holes for fans so I can have some
circulating air to keep things cool because I'm not sure how warm things
will get inside. Now you can see why the power supply is mounted off
center which is to make room for a fan.
|
|
 |
|
1
2
3
4
5
6
7
8
9
10
11
12 |