|
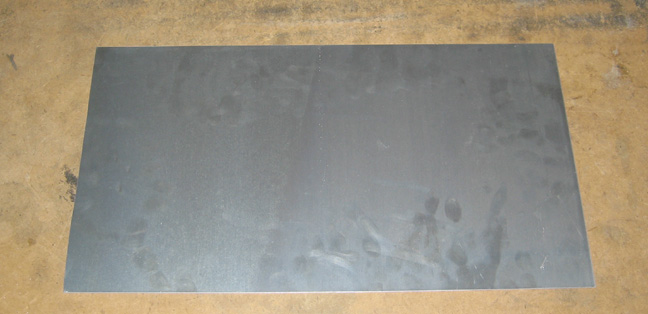
What I decided to do was to make the blower and injector hat out of
aluminum sheet. The type of material is 6061-T0 X .035" thick which is
very soft and easy to bend. The reason it's so soft is because of the
'T0' (T zero) condition of the material. If it were a T6 condition then
it would be much harder to bend and shape it. The 'T' condition for
aluminum determines the heat treatment or how hard the material is. The
range is from 0 to 8 with eight being the hardest and zero being no heat
treat at all. With this material having a T0 condition, it will be
perfect for my application.
|
|
 |
|
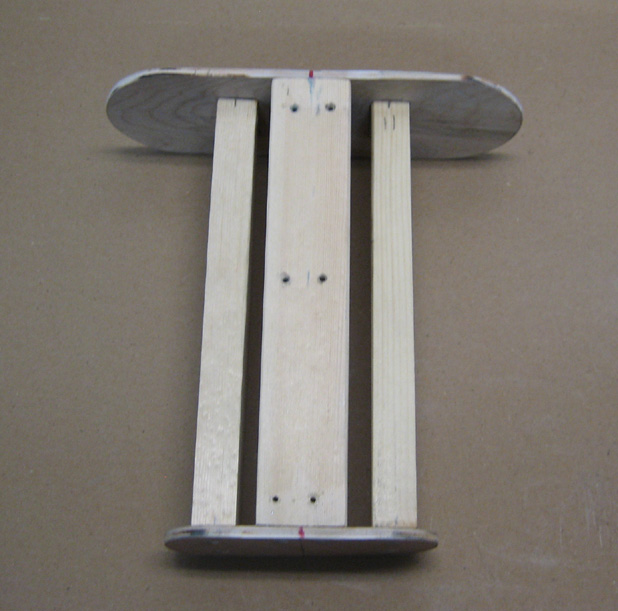
The wooden injector that I cut off earlier is the larger piece at the
top. I scaled down the opposite end so the injector would end up
tapered, just like a real one.
|
|
 |
|
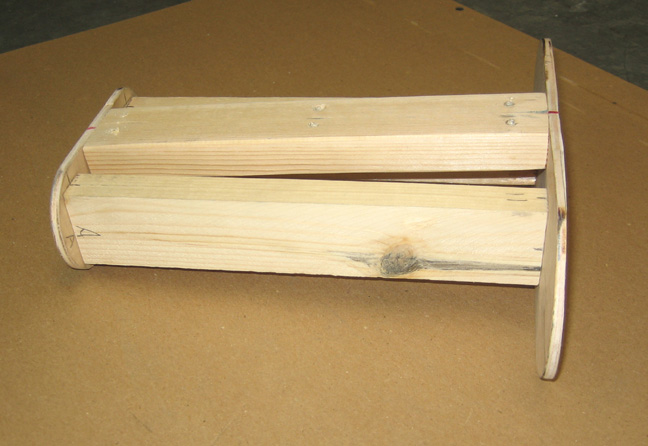
Here is a side view to give you an idea of what's going on. The six
screw holes that you see on top is where the injector will be screwed
down after I form it. And to bend my piece of aluminum I'll use the
piece below as a 'buck' to form it around. I made a paper template to go
around the wooden buck till I had the shape that I needed and then
transferred that to my aluminum sheet. What I did next was draw a line
in the center of my buck and also on my aluminum piece. As I bent the
aluminum around the buck, I kept both marks aligned while I slowly
formed it by hand.
|
|
 |
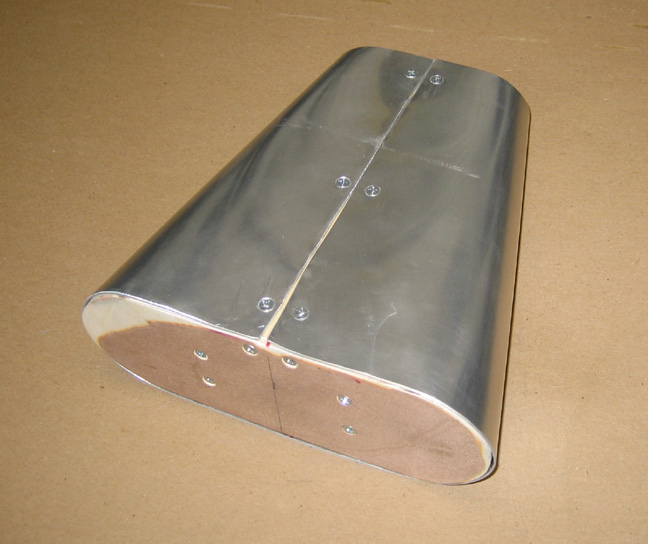
Here is the aluminum injector all formed and screwed onto my buck.
This side is the bottom so you won't see all the screws once I'm done. This worked out pretty good and now its time to work on the blower case.
|
|
 |
|
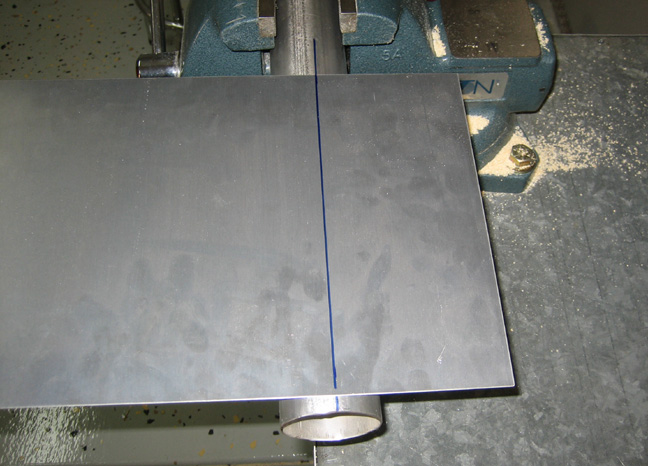
Here you can see the line on my blower housing which will be bent the
same way as the injector was. What I used here was a piece of tubing for this
one but I could have used the enclosure if I wanted but it would have
been much harder. I measured down from one edge of my aluminum and then
added about one inch to each side so I wouldn't end up short. I placed
the aluminum piece on top of my tubing and slowly bent one side at a
time while keeping both lines aligned.
Once both bends were finished, I trimmed the excess off the bottom to
make a nice fit. The tubing that you see in my vise is some scrape
exhaust pipe that I had. I used this tubing because it had the same
radius as the blower template which was part of the plan when I was in
the design stage (just thinking ahead here).
|
|
 |
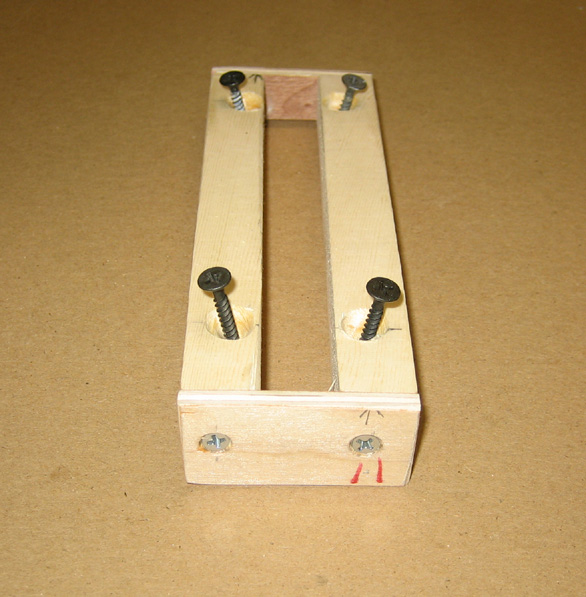
This piece will be screwed to the bottom of the injector and become a
holding device for the blower housing to fasten to. The reason the
screws are angled is because the piece it's threaded into isn't very
wide. The blower has a single piece screwed to the top and will go into
the slot of this piece.
|
|
|
|
1
2
3
4
5
6
7
8
9
10
11
12 |