|
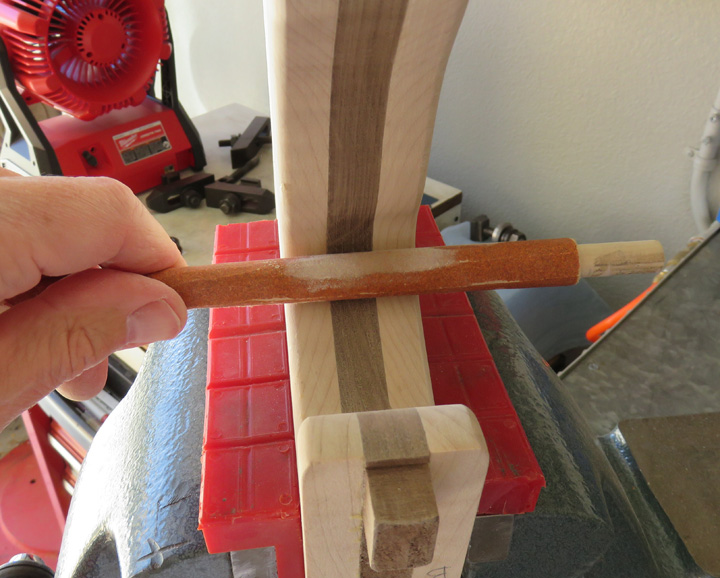
After the sanding drum, I used a wooden dowel with sandpaper wrapped
around it to finish sand everything. From start to finish (sanding drum
and hand sanding) it took about four hours per piece. My hands and
fingers were sore and cramped up at the end of each session and I could
only do one per day.
|
|
 |
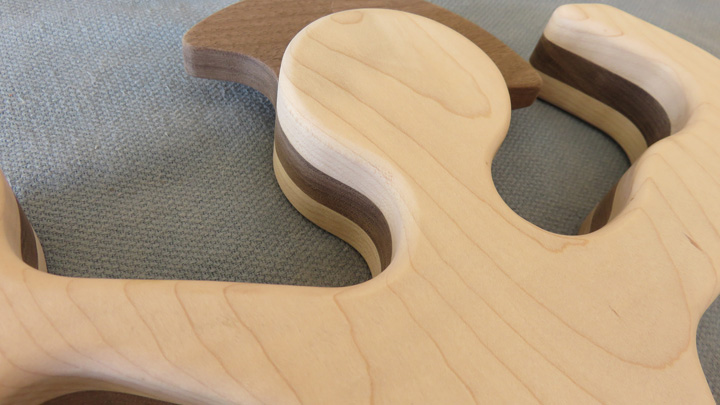
Here is the finished piece all sanded with 150 grit
sandpaper. I had to hand sand most the 3/16" radius again (that I put on with the
router) in order to clean up the periphery. The reason: while I was using the sanding drum
I had to make sure I had 100% cleanup on all the surfaces and it removed
some of the radius from when I used the router earlier. This was unfortunate because of all
the time it took but everything came out fine.
|
|
 |
|
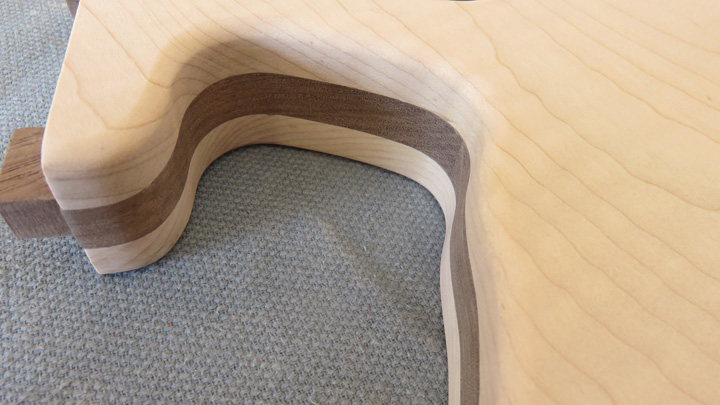
Here is a close-up of the hand area. It all blends
very good now and it's all nice and smooth.
|
|
 |
|
Looks like it's time to do a little clean up on the
floor. The bottom of the milling machine is 4" tall just to give you an
idea of how big a mess I have.
|
|
 |
|
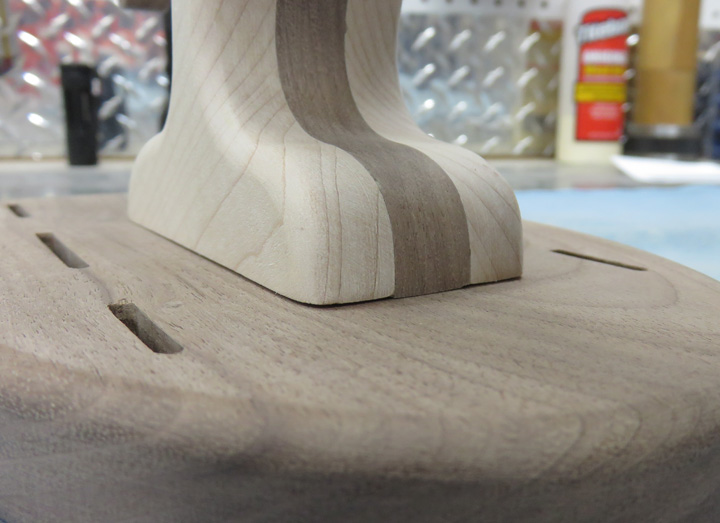
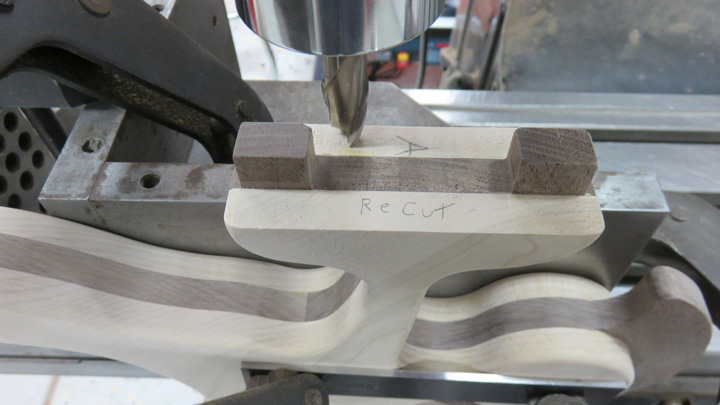
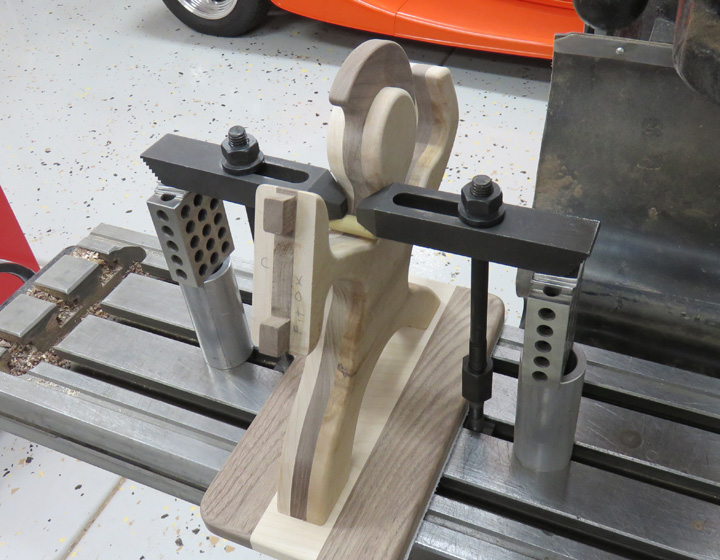
Ok back to the project: notice the hand doesn't sit flush as the walnut
is higher. This might be good enough for some people but I don't like
it. That means I'll need to re-cut this area so it sits flat.
|
|
 |
|
Like I said before, two of the hands were like this so I set-up the mill
again and re-cut this area one more time.
|
|
 |
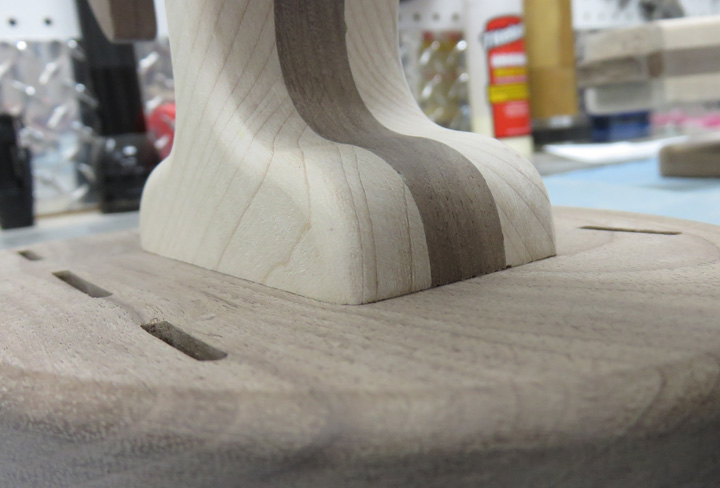
Now that's what I'm talk'n about, it sits nice and flush again. I'm not
sure what moved but something did between me cutting this a few days ago
and now. Either way it fits good now and that's what I was after.
|
|
 |
|
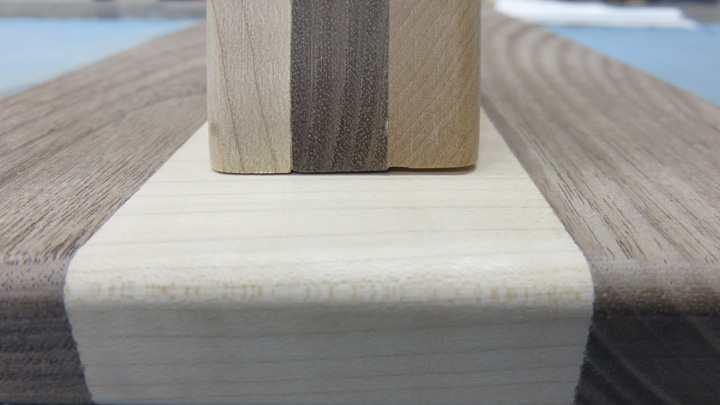
Here is the foot that didn't fit like I wanted so I'll need to
address this one too.
|
|
 |
|
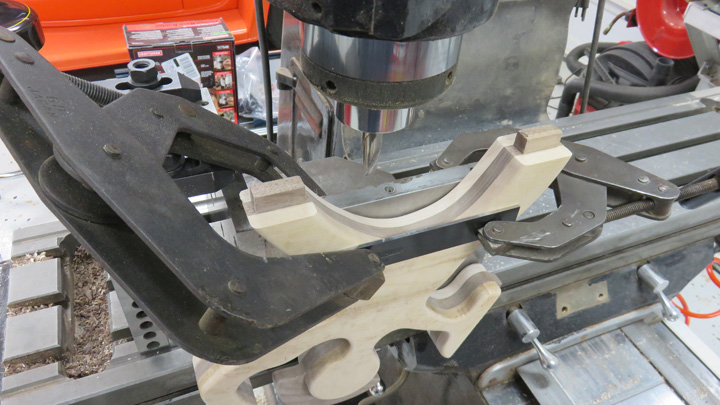
Just like above, I clamped our guy so I could work on
the feet and re-cut both sides. This didn't take long and it came out
good.
|
|
 |
Now that our guy sits nice and flat again, it's time to glue him to the
base. I tried a few different ways to clamp these together but with the
odd shape that it has, I found that by using a 1/2" wooden dowel under some
toe clamps, I just used my milling machine table to clamp it with. I was
really careful to not tighten this style of clamp very much because you
can exert a great deal of force with them. The last thing I needed at
this stage was to break something and then need to fix it. Or worse have to
make a piece over again.
|
|
|
|
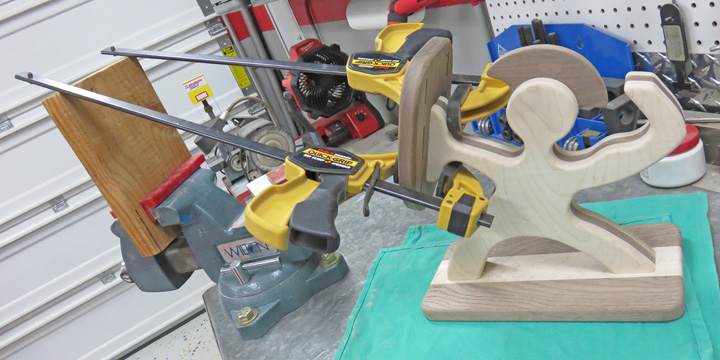
The last piece to be glued was the shield. I used some
grip-type clamps that had long enough jaws to reach around the shield
for this.
And these clamps have rubber jaws so they wouldn't scratch or dent the
wood. The clamps were so long they wanted to tip the knife holder
over so I propped them up on a piece of wood clamped in my bench vise. Again,
whatever works you know.
|
|
|
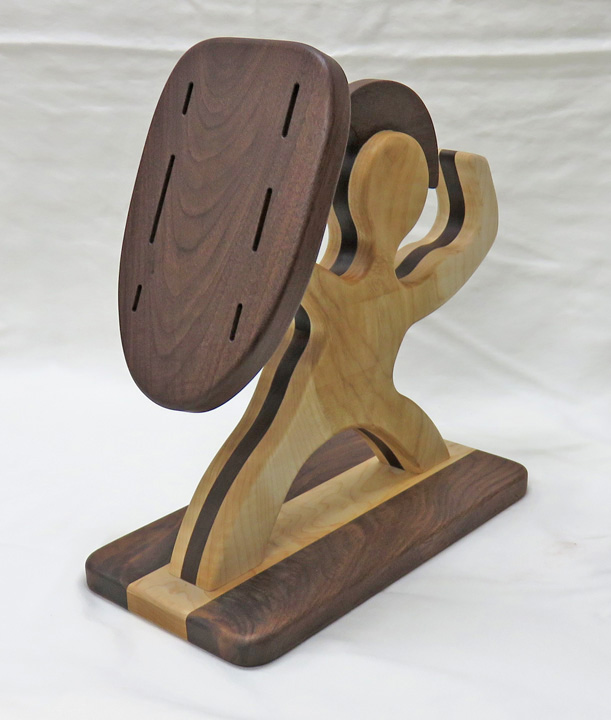
All three knife holders pretty much look the same so
I'll show you one of them. I used mineral oil on every surface (inside
the slots too) which really brought out the grain. I didn't want to use
any stains or clears on this because it's a food based item, like a
cutting board would be. The last thing I would want is a small piece of
toxic clear coat sticking to a knife and then finding it's way into some
food. And if something happens to it, like a scratch for instance, it can be sanded
out and then just re-apply more mineral oil and you're good to go.
At this point the knife holders are finished and just
need the knives added. As you read earlier Tracey's knives are good to
go except for the one I don't have (chefs). I don't know of a way to get
that one knife to my house without her knowing about it so I'm depending on
her boyfriends measurement for that. As for the other two? Well....I
struggled with that question for awhile, but then decided to split the
difference with them. What I mean is, I bought one set of knives for Tony's because I'm pretty sure he
already has a nice set
as he
likes to cook. As for Matt and Angela, I have no idea what they own so I thought
I'd do something different for her. Are you thinking what I'm thinking?
Find out on the next page!
|
 |
|
1
2
3
4
5
6
7
8
9
10
11
12
13
14 |