|
What I need to do next is make a recess in the handle for the head of
the rivet, which is called a 'counterbore'. This counterbore will allow
the head of the rivet to sit flush with the top of the handle when
finished. Once
everything is sanded, the top of the rivet and the top of the handle
should look pretty good.
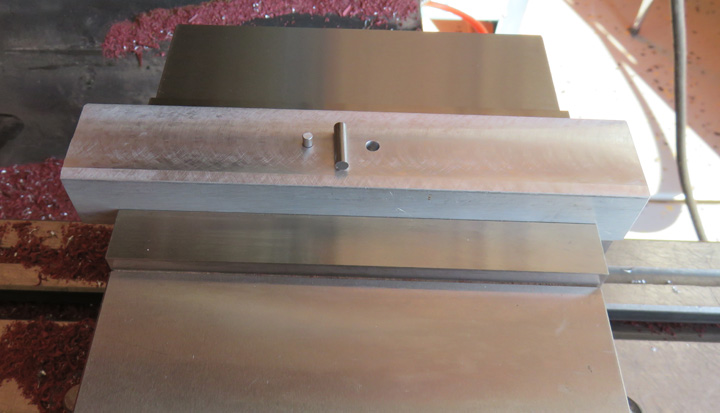
What you see below is a small fixture that I made to help me align
the drilled rivet hole in the handle with the tool I'll use for my counterbore. By
placing the hole in the handle over the pin, I can come down to a
desired depth and both holes will be concentric. The pins are both
slip-fit and stick out 1/8" so depending on which rivet I'm using, that
will determine which pin I use.
|
|
 |
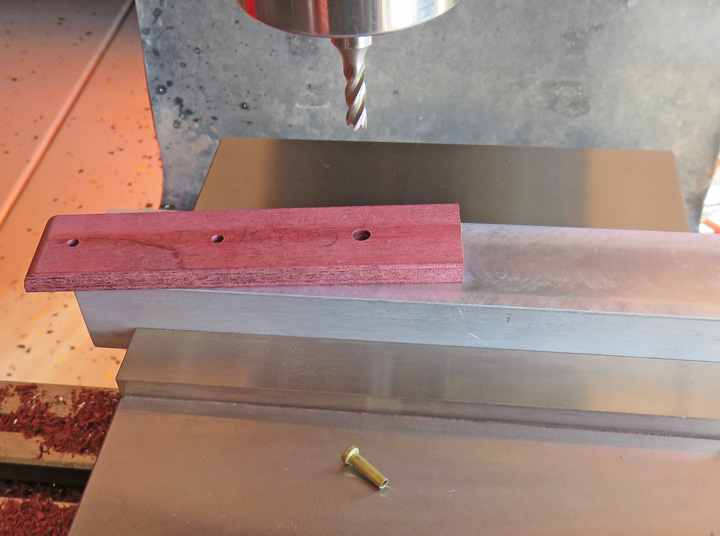
I'm using a 5/16" end mill for my counterbore and it's
set to a depth of .042" which is the thickness of the rivet head. All I
do is hold the handle with one hand, place my drilled hole over the pin
and then come down to my depth. This worked out great and saved me a
bunch of time. Now they make a special tool that will drill the hole and
counterbore at the same time but I didn't buy it. Besides I would need
two sizes of these special tools (two sizes of rivets) so doing it my
way it saved me 50 bucks.
|
|
 |
|
Now that the rivet holes are finished, it's time to do more layout. What
I'm doing is placing the tang of the knife on the handle material, putting all
three rivets into the holes and then trace around the tang with a
pencil. I cut away the excess on the right side with my hacksaw and
then used my belt sander for the rest.
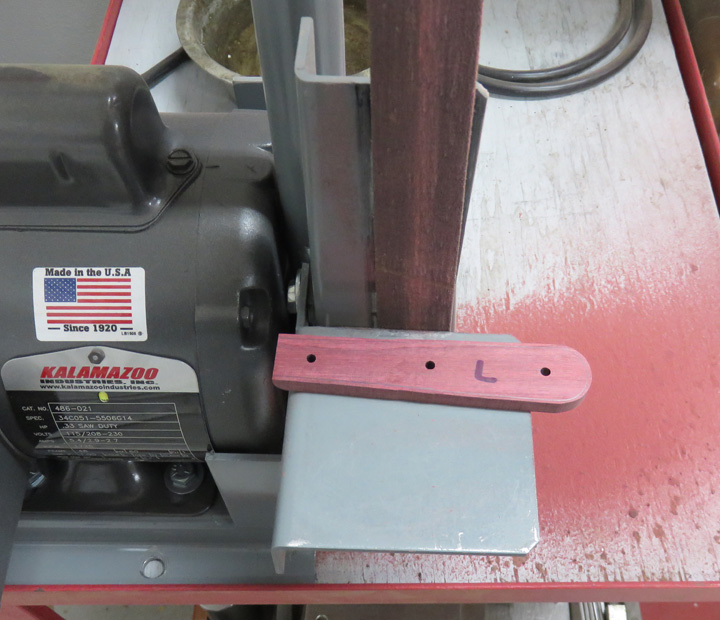
Notice I have an "L" and "R" on my handle material. When the blade of
the knife is towards my workbench (sharp edge down), this is how I determine
which side is left and right. So while I'm doing my layout I make sure
to flip the knife over when tracing around it.
|
|
 |
Here you can see the handle shape is roughed out, which my belt sander
made quick work of. I sanded close to the line but not to the line.
That's the good news but the bad news is this handle material smells
terrible while it's being sanded. I ended up putting on a mask so I
wouldn't have to smell or taste this stuff as much. BTW, the mask worked
out great but my 'whole garage' was covered with a red tint when I was
finished.
|
|
 |
|
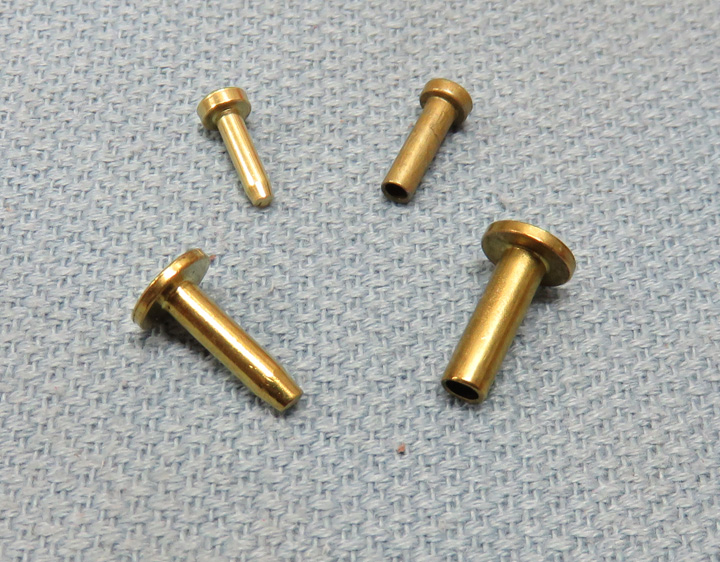
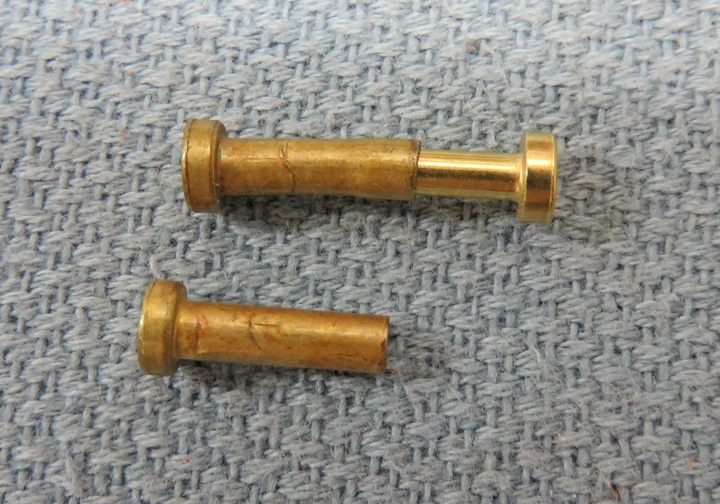
Here are both sizes of rivets. The ones on top are
smaller which I'll be using first. They both come in packs of 25
each but I'll only be using six for the smaller knives. You can see one is solid and the other is hollow. They
need/must go together a minimum of
1/8" to hold together correctly.
|
|
|
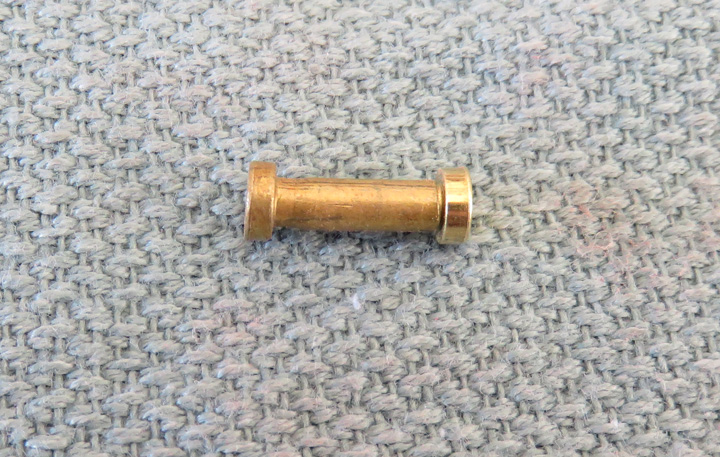
Here you can see what it looks like when pressed
together. I used my bench vise for this which was very easy. The amount
of press fit is .012" which at first seemed like a bunch. But if you
think about how thin the wall thickness is for the hollow one and how it
expands as the other one enters and grows by that same amount, it
doesn't really seem that bad.
Now I experimented with this before I drilled any holes
in the handles so I would know what size of drill to use before hand. If I
used a drill the same size as the rivet body before pressing them together,
something tells me that I'd be in trouble because the rivet wouldn't
have any room to expand.
|
|
|
One other thing came to mind: what's the over all length
of the rivets when they're pressed together all the way? What I mean is,
if the overall length of the rivet was greater than the handle thickness, they wouldn't
hold the handles on correctly. So I pressed it again until it wouldn't
go anymore and then took a measurement. Turns out I was good to go but
not by much. Just the little things to be sure about before assembling
anything.
|
|
|
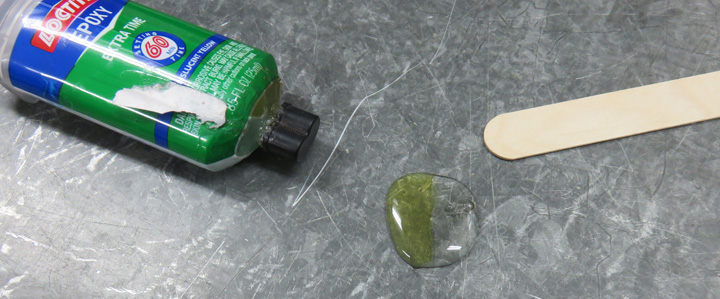
I used a two-part epoxy for the glue, which is the same stuff I used on
my other knife project. By pressing on both plungers at the same time
this is what you end up with.
|
|
 |
|
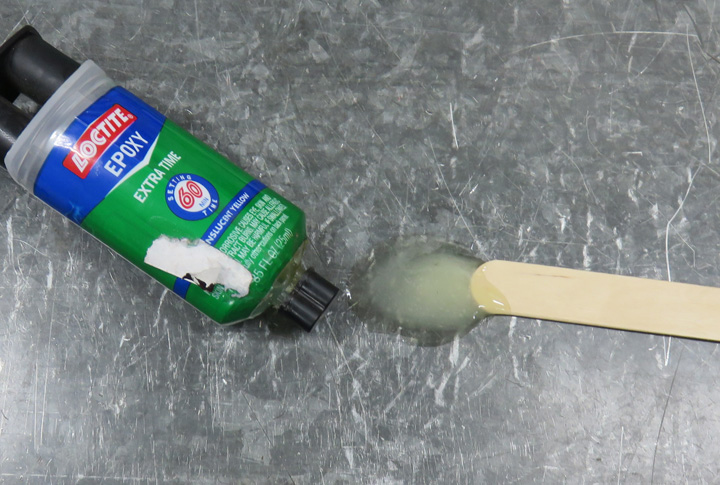
After mixing it together for a minute or two with a
wooded stick, the glue is ready to go. I also used my wooden stick to
apply the glue with (the tang only) not any on the handles. BTW, the metal
that I'm mixing the glue on is the top of my bench. I cleaned the bench with
lacquer thinner before mixing and then used it again for cleanup. Just
one of the many reasons for having a metal bench top.
|
|
 |
|
I used my bench vise to press all the rivets together
and then used some aluminum shims under all the clamps. Note: I cleaned
the surface between the shims and handle before I clamped anything.
Again thinking ahead here.
|
|
 |
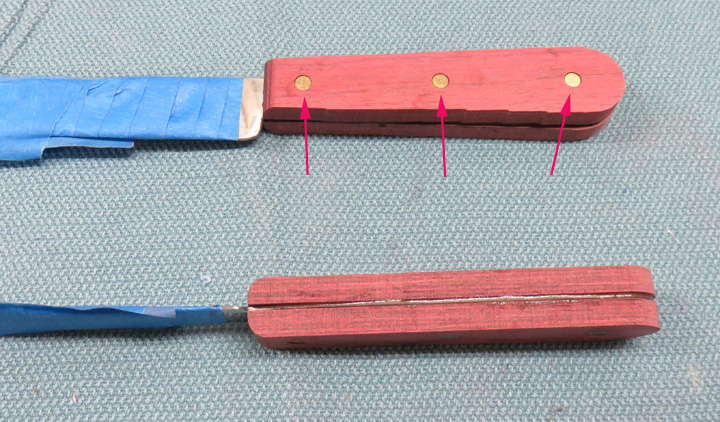
Here is what it looks like the next day. Notice all the rivet heads are
slightly recessed here. I thought it would be a good idea to make sure
the heads were just below the surface. In reality, it just made for more
sanding so I didn't do this when I worked on the larger ones.
|
|
 |
|
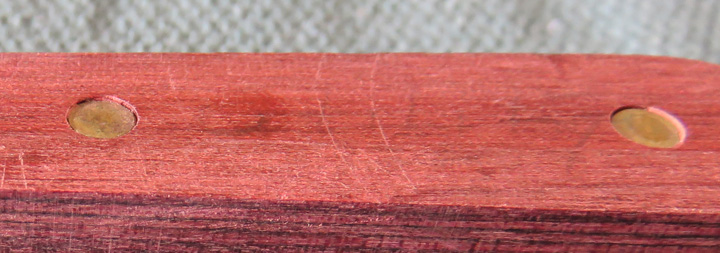
Here you can see the heads up close. Now they aren't down that far but it made for some unnecessary
sanding on my part. Live and learn.
|
|
|
|
1
2
3
4
5
6
7
8
9
10
11
12
13
14 |