|
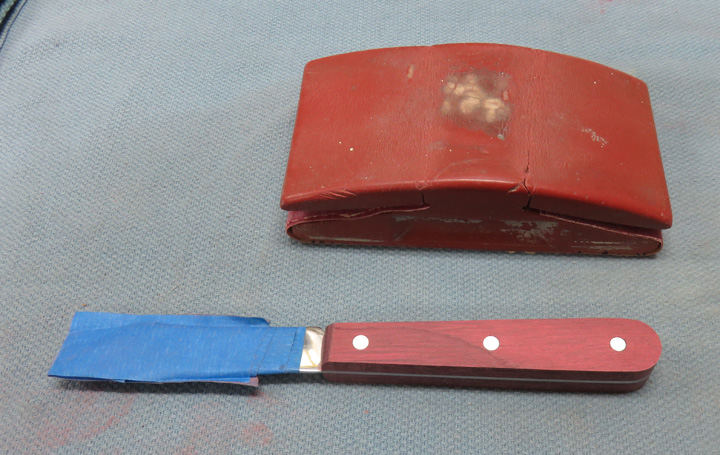
Here is what it looks like after sanding the handles
flat. Everything came out fine, it just took awhile. Now if you're
wondering why I'm using this old sanding block....well it's because I bought it in
1976 while building my 71 Camaro. Yes I've really owned it that long!! Come
to find out It doesn't work that great anymore but I just couldn't throw
it away. However, after using it on this project I really could use a
new one because it's worn out.
|
|
|
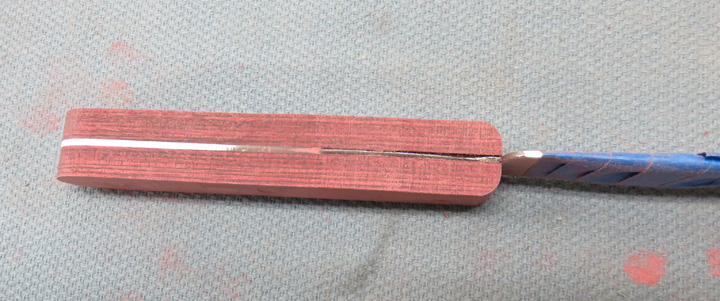
After sanding both handles flat I was ready to rough sand the perimeter
using my belt sander. If you look close you'll see I've sanded the left
side so the tang and handle are flush. I do a small section at a time
(1/2" to 3/4") which works well with an 80 grit sanding belt. After
rough sanding, I switched to a 180 belt to finish sand with, for the belt
sander that is.
|
|
Here I've hand sanded the perimeter with 220 grit paper wrapped around a
sanding block (made out of scrap wood) so all the lines now run with the
tang of the blade. I'm going to put a radius around the perimeter so it
has a nice feel to it.
|
|
 |
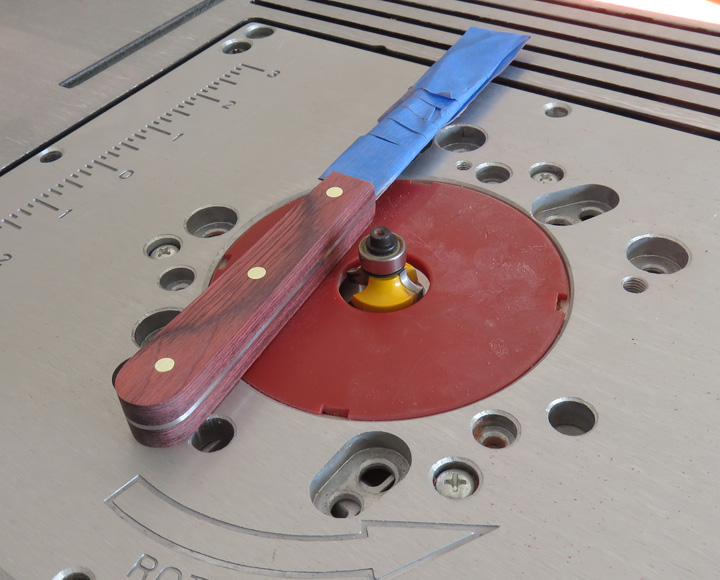
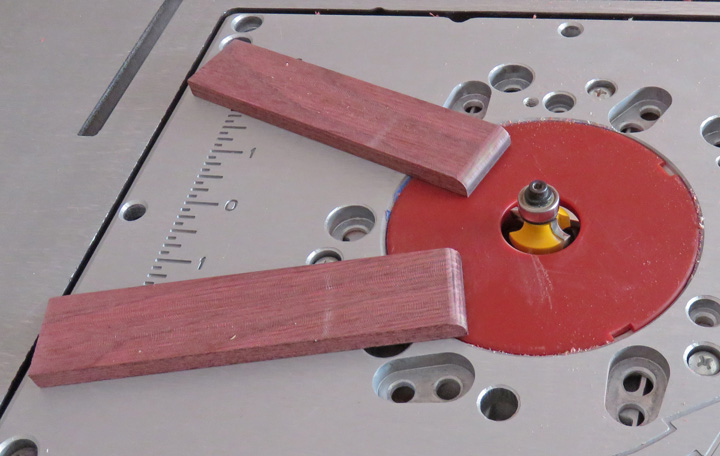
This router table wasn't in the plan for this but it sure
worked good and was really fast too. I tried a scrap piece first and it
came out just fine
because I wasn't sure how this material would react with this type of
cutter. I took two pass's on each knife with the 3/16" round over bit
and it worked great (notice I said 'round over' here...I'm learning).
|
|
 |
|
This only took about one or two minutes and what a
difference it made. Now it's time to do some sanding...lots and lots of
sanding.
|
|
 |
|
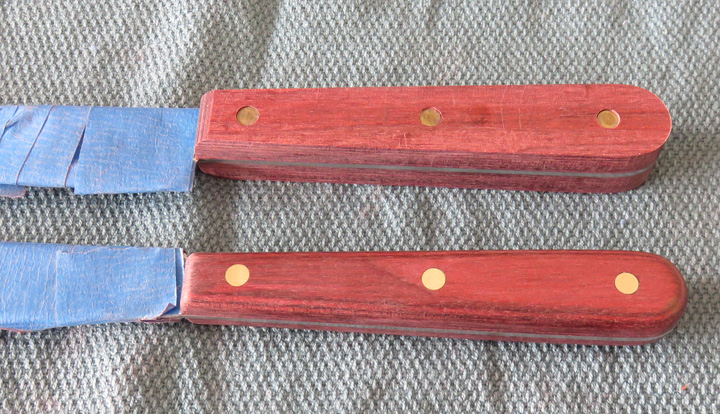
The Larger Knives
I wanted to show you a few more details that I didn't cover with the
first ones here. Plus I made a couple of changes that worked really well. Now I
won't bore you with everything I did here because I've covered that
earlier but let's check out some of
the things I did on the larger knives.
The first change was the use of a jig-saw. I didn't think about it at
first but then noticed I had a fine blade for it so I tried it and it
worked great. That saved me a little time and it just feels good to use
some kind of power too.
|
|
 |
|
Another change was to the ends of the handles: using
my router table made quick work of them which is what I should have
done the with the others.
|
|
 |
|
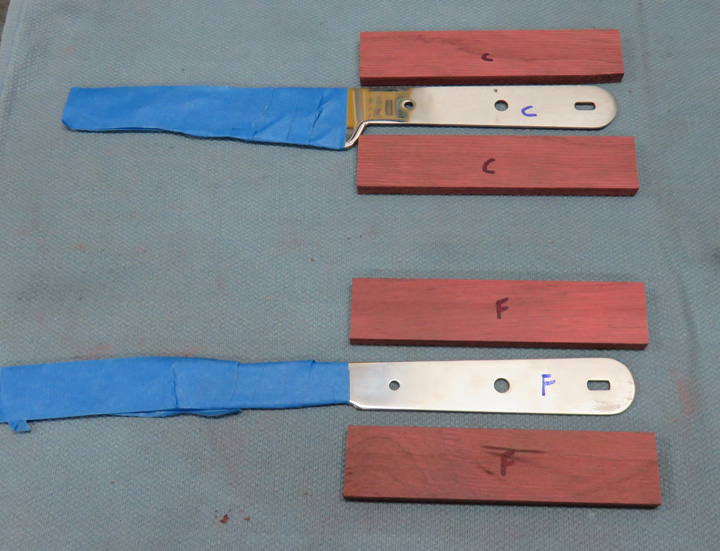
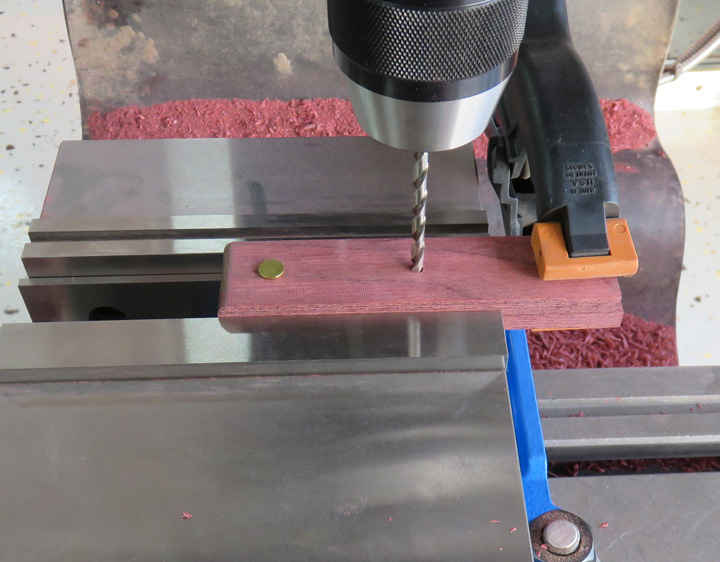
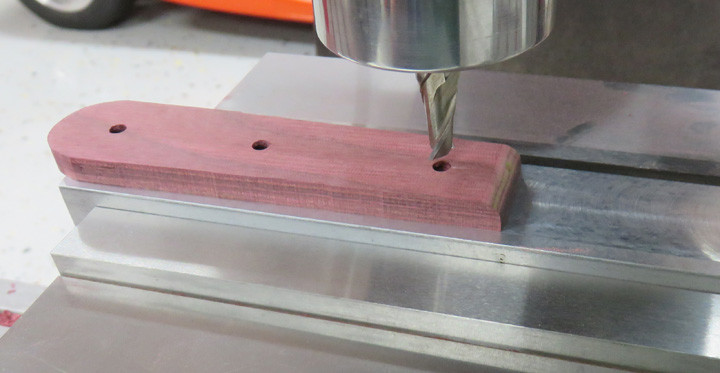
Same deal here, drill one and then place a rivet in the
hole. Now it may look like I'm clamping the handle in my vise, but I'm
not. This makes it easier to follow the existing hole when they can
float a small amount in place of being clamped solid. I did this for the
smaller ones
but didn't mention it.
|
|
 |
|
The same fixture that I made here but a different size
counterbore to accommodate the larger rivets.
|
|
 |
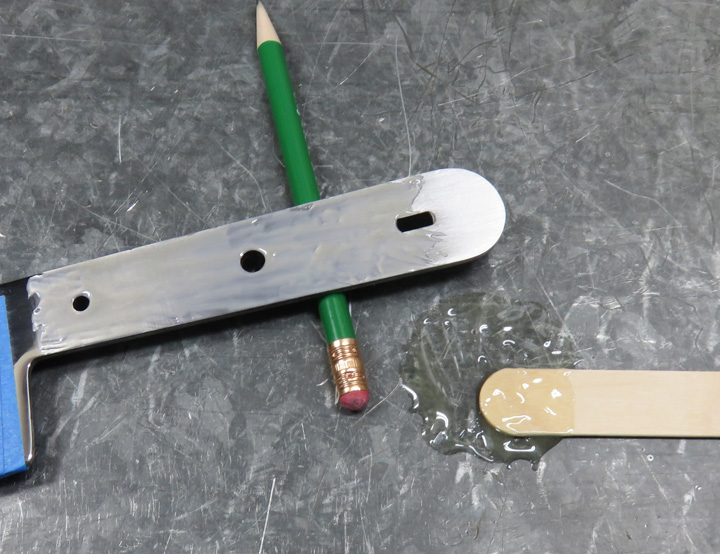
Here is how I applied the epoxy. I used the wooden stick to pickup the
glue from my workbench and then smeared it over the tang of the knife. I
was careful not to put too much towards the front because this area is
hard to clean once the glue sets up after squeeze out. And yes I put
more epoxy at the end of the tang before putting the handles on.
|
|
 |
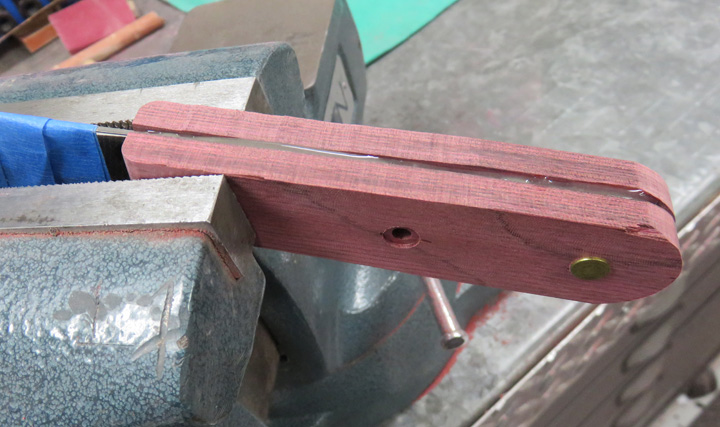
I put both handles on the tang and placed two rivets (the
hollow ones) in the outer holes which helps keep everything aligned. I
put the solid rivet into the other side and then squeezed it with my
vise. Leaving the rivet head just above the surface this time made it easy to
tell if they were all the way down.
|
|
 |
|
1
2
3
4
5
6
7
8
9
10
11
12
13
14 |