|
Using a Router Table
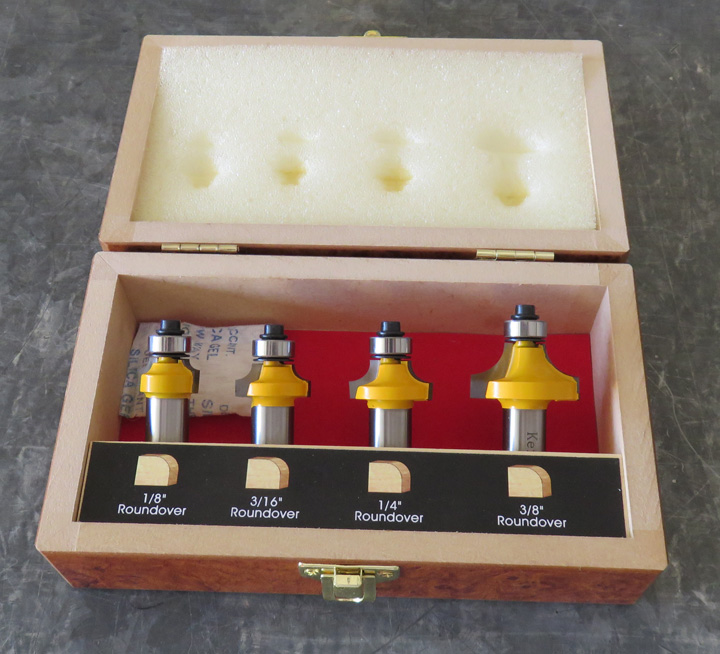
I want to put a radius around the perimeter on almost every surface so I
bought some router bits to help me with that.
I could have bought just one bit but I might do another project in the
future so the kit was the way to go dollar wise. I'll be using the 3/16"
corner round bit (I know it's called a 'roundover' bit in the
woodworking world, I'm just use to the lingo in the machinist world)
which should look nice.
|
|
 |
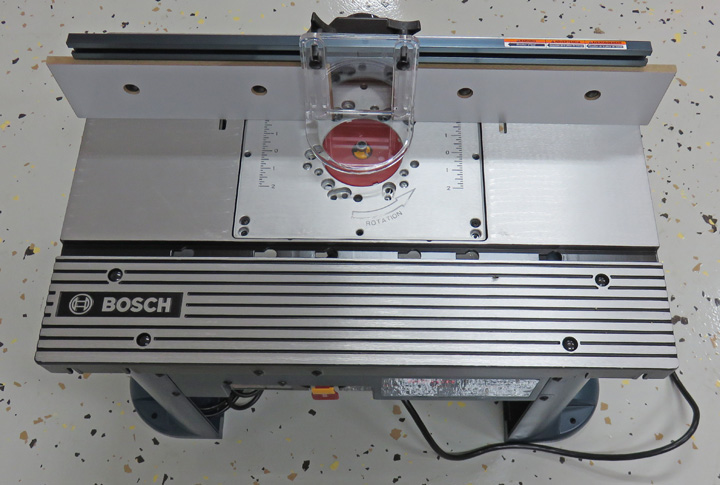
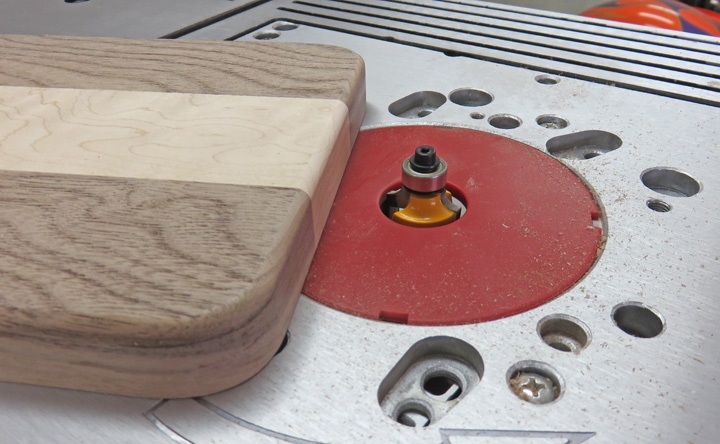
| Now I thought about using the new router bit in my milling
machine but that won't produce the high RPM that a router can so I
bought a table to mount a router in. Now this will be the first time
I've ever used a router table so this will be an experience for me.
I borrowed a router table made out of wood from a friend at work but
when I got it home I noticed the table had a big sag in it. I'm guessing
the sag was from the router being left in it over a long period of time
so I bought one with a cast aluminum table that shouldn't do that. It's made to except all
kinds of different routers which is why there are so many holes near the
center. I also don't know if this is a good, bad or middle of the road
table but if it works for what I want then it's all good.
|
|
 |
|
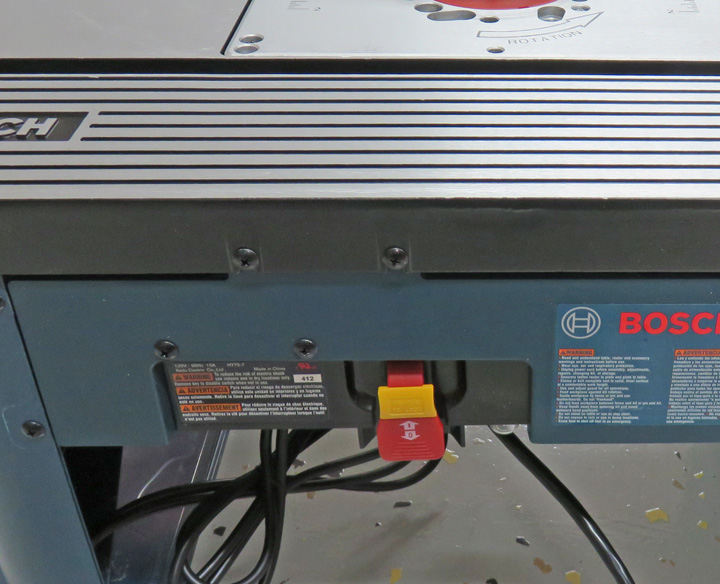
The electrical switch controls two things, the router and whatever you
want to plug into the other receptacle, like a vacuum system for instance.
|
|
 |
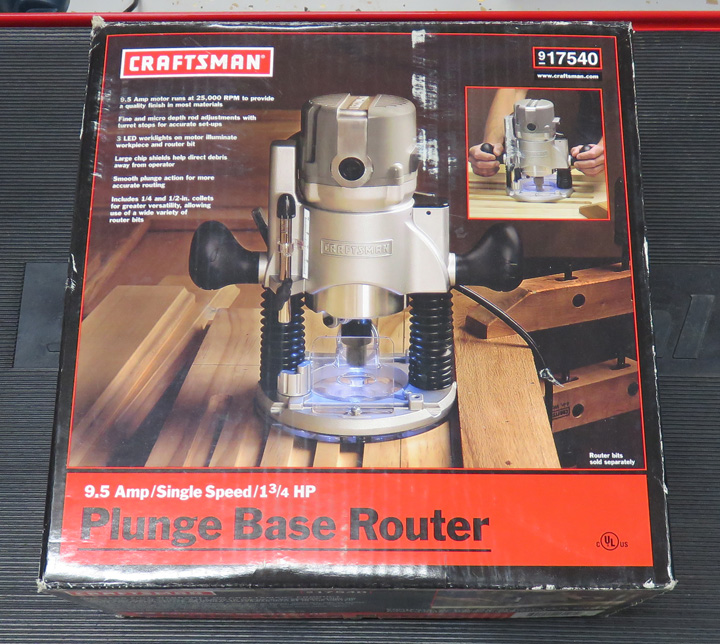
If you look close you'll notice the box is worn, like it's been sitting
around for years... seven I believe...damn...has it been that long?.
Well that's exactly what's going on here so let me explain: my daughter
Angela, bought this for my birthday and I thought it was a great
gift. But for some reason I've never used it....till now that is. Won't
she be surprised to know that I've finally used her gift to make her a
gift. Now I don't know if this is a good or a bad
unit, all I know is that it's a 'router' and I'm going to have fun with
it!!
|
|
 |
|
After doing some reading about how the router works, the don't do this
and don't do that section, I made a couple of cuts on a scrap piece till
I had it adjusted like I wanted. After that I started on the base and
put a nice 3/16" radius on both sides.
The one thing I didn't want to do was climb cut with this router
table. Climb cutting is something I know about in the machinist world
and if you aren't careful, the piece you're cutting can get away from
you.
|
|
 |
|
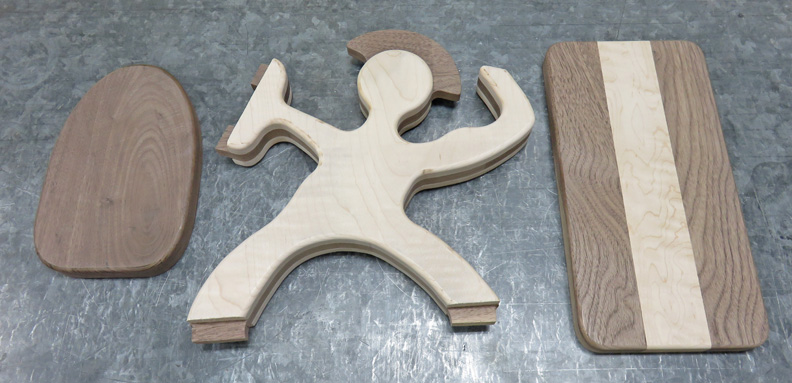
This router made short work of all the pieces and I'm
pretty happy with it so far. BTW, can you tell what I'm making yet?
|
|
 |
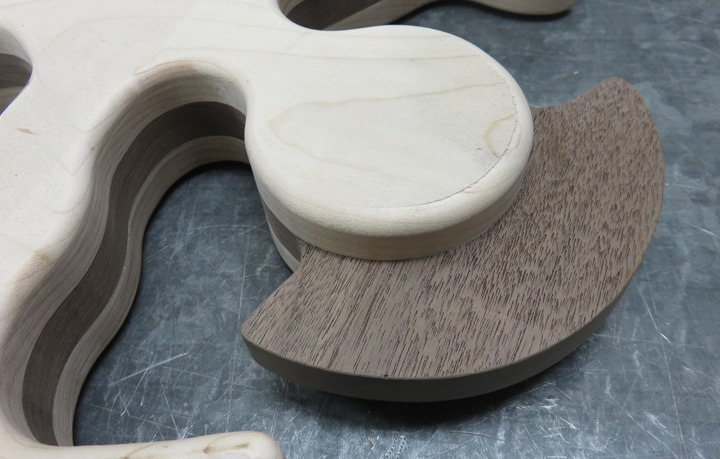
I did have a small problem though, I had the cutter dig in a small
amount here and there and I think it's due to the fact that I had a
couple of pieces of maple that were warped. I knew about this earlier but
didn't expect this to happen. Well now I know and I won't make that
mistake again. On the plus side, this will sand out with no problem.
|
|
 |
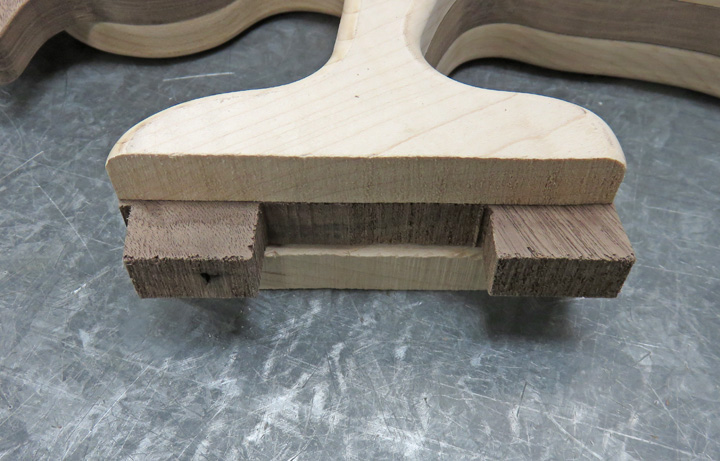
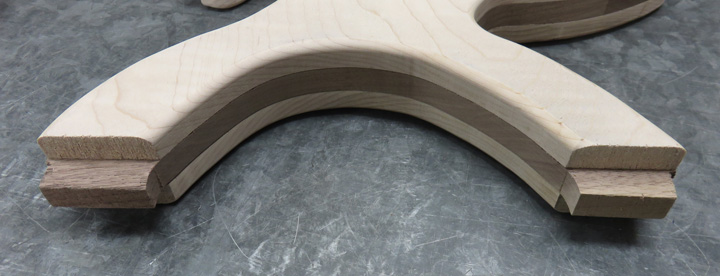
The next thing I'll be doing is milling a mortise and tenon. The tenon
will be on the upper part of the guys body which I rough sawed out
awhile ago. This will go into a mortise on the shield.
|
|
 |
|
The other tenons will be on the bottom of our guy, for
his feet you might say. These will go into a mortise in the base. Again
these were rough sawed earlier.
|
|
 |
|
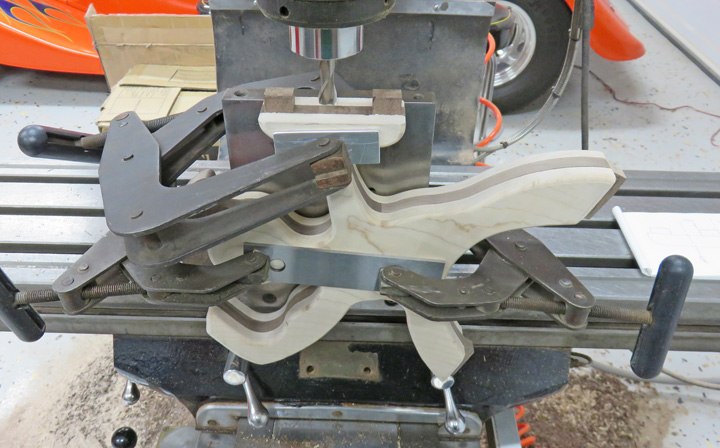
I clamped an angle plate to my mill table and then clamped the sandwich
to the angle plate. I know it looks busy but this setup worked great for
cutting the tenons. Note the clamps are not in direct contact with the
wood. I placed shims between the two so the clamps wouldn't make any
marks in my work piece.
|
|
 |
|
1
2
3
4
5
6
7
8
9
10
11
12
13
14 |