|
Magnets
This project is going to require one magnet per knife
holder. The magnets that I'll be using are called 'neodymium magnets'
and they're super strong. Most people have used a 'rare earth' type of
magnet before but these put all the others to shame. Now why would I
need a magnet for a knife holder? You'll see soon enough.
I bought two magnets of each size because I wasn't sure which one
would work best. The one you see below is 13/16" diameter X .200" thick
and the other (not shown) is 7/8" diameter X 1/4" thick. The smaller one
below has over 18 lbs. of pull and the larger one has 23 lbs. of pull.
What I'm doing next is test-fitting the magnets on a scrap piece of
material to make sure the hole size is correct. What I plan on doing is
centering the magnet within the wood so it should have the same amount of
pull from either side. It's truly unbelievable how strong these little
magnets are once they stick to a magnetic surface.
|
|
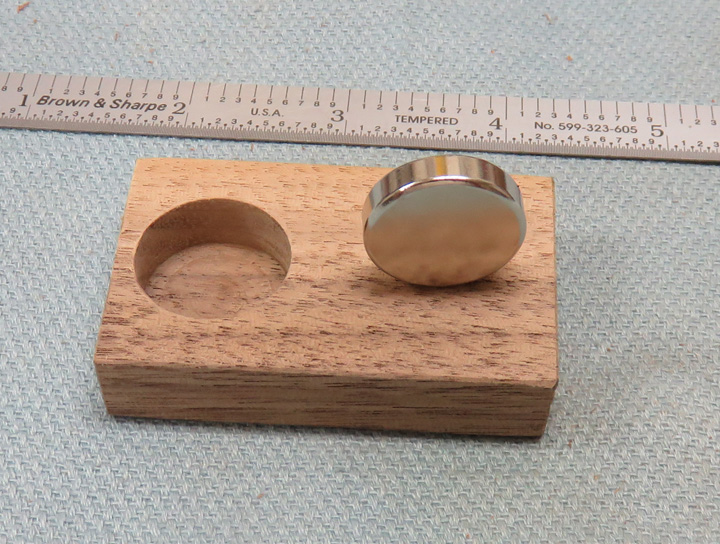 |
This test block is 1/2" thick (like my work piece) and the magnet is .200" thick. To put the
magnet in the center of the 1/2" block I'll need the pocket .300 deep.
This will leave a wall thickness of .100" per side which should work
well.
|
|
 |
|
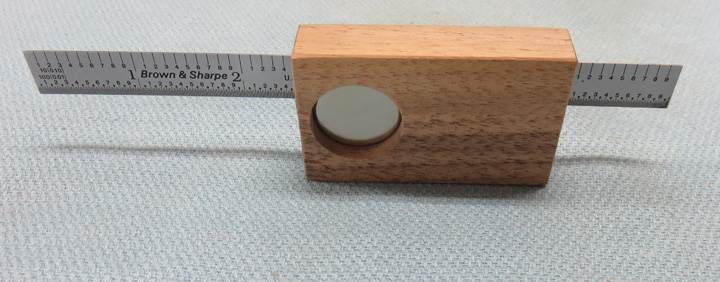
My 6" scale is magnetic and once is was close to the
back of the block, it jumped right up to the height that you see here.
|
|
 |
|
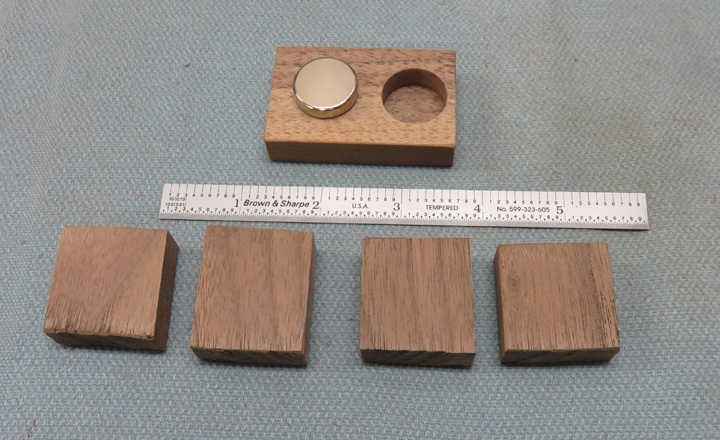
Now that I have the right hole diameter for the magnet, it's time to
make a plug to cover it with. I used some scrape walnut and made 1 1/2"
square blocks X 1/2" thick that will be glued in later. At least that's
the plan. Do you remember back on page one that I decided to make three
knife holders in place of two? And did you do the math on the magnets
that I just talked about above? Well that means one of the knife holders
will end up with a larger diameter magnet than the other two. And come
to find out I
don't have a cutter that will work for the larger magnet so I needed to
find a way to use a larger one in place of buying another small
one.
|
|
|
|
Working with Magnets
Magnets don't do well when you try to machine them as they can crack, chip
and break most of the time. So how am I going to make the larger one fit
into the hole that I have now? Well....I thought that I could sand the
outside diameter with my belt sander which should make short work out
it. Yeah...that's it....at least that's what I thought would happen.
If you've ever used a belt sander like the one I have (belt size is
1" X 42"), you know to hold your work with a light touch so you have
finesse while working. Once I got close to the sander, that magnet jumped out of my
hands straight to the belt and down against the tool rest. You talk
about get'n someone's attention...this was it!! With my eyes all big and
the magnet held fast against the belt sander along with all this
terrible noise, I couldn't find the off switch fast enough.
What happened was I had forgotten there's a small steel plate that is
about 4" long that rides behind the belt which is placed between the
tool rest and the top pulley. And I forget that I was actually working
with a magnet. I mean, this was my first time trying to sand one, so
quite laughing and cut me a break here :-]
After realizing what
happened, I put a death-grip on it this time and started removing
material. And where do you think all the magnet dust went to? Right back
onto the magnet...that's where!! I had to use a rag and my fingers to
remove all the grit from the magnet, which wasn't fun at all. But after
a few minutes I had the size I was looking for. On the other hand, that
magnet wasn't pretty anymore because there
wasn't any chrome plating left on it after I was done with it. |
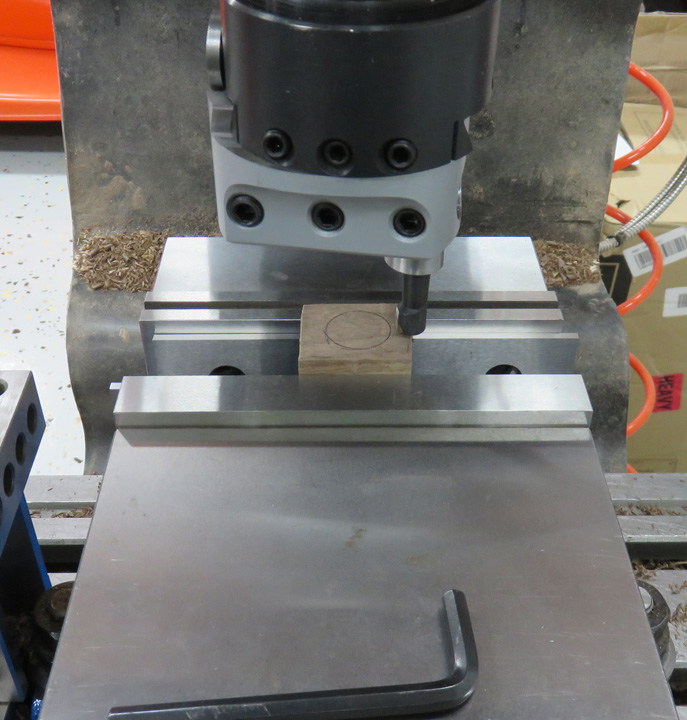
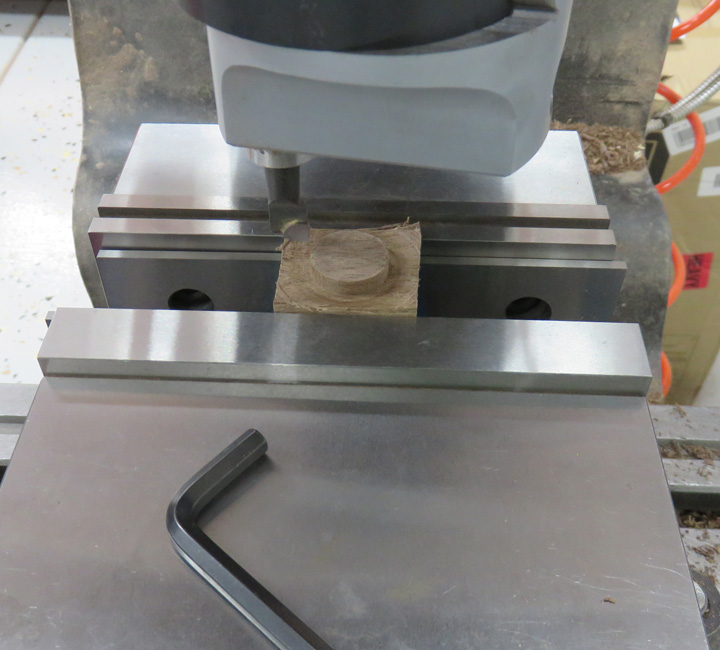
I'm going to use my boring head to make the plugs with. Now normally you
use a boring head to make a hole with, but in this case I turned my
boring bar 180 degrees to leave an area standing in place of making a
hole. I traced around the magnet to give myself a reference line and
ran the boring head direction backwards to cut the plug.
|
|
 |
After a few minutes and a couple of adjustments, I now have the diameter
that I need for my plugs. I made the height of the plug (raised area) .050"
taller than I needed. That way when the bottom of the plug is against
the magnet, I should have clearance between the plug and my work piece.
|
|
 |
|
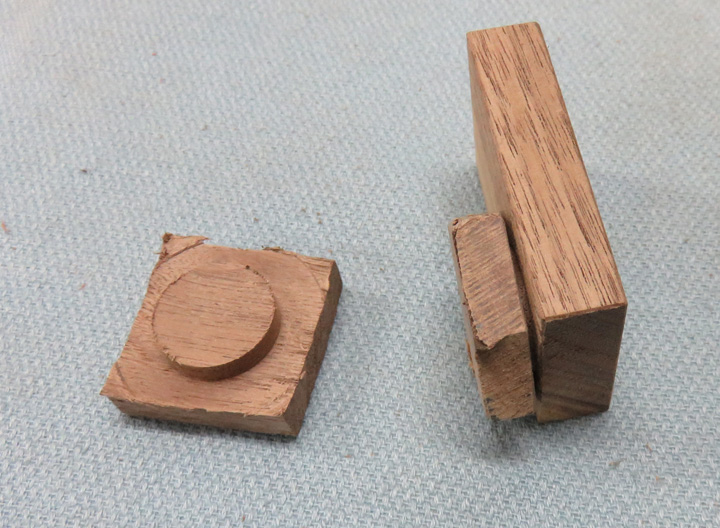
I cutoff the corners and then sanded the edges so it
would be easy to work with. Now it's time for a test
fit.
|
|
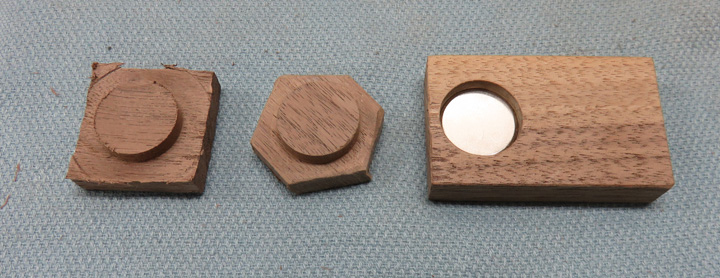 |
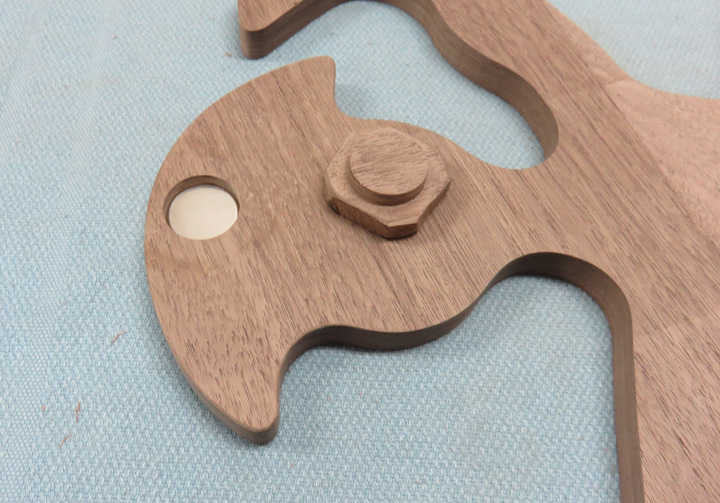
This shot should give you a better idea of what the clearance between
the plug and work piece will look like. After a small amount of sanding
the plug fits nice and snug and the plug is seated against the
magnet without the two surfaces touching which ensures me it's bottomed
out. With everything checking out it's time to put a pocket in my work
piece.
|
|
 |
|
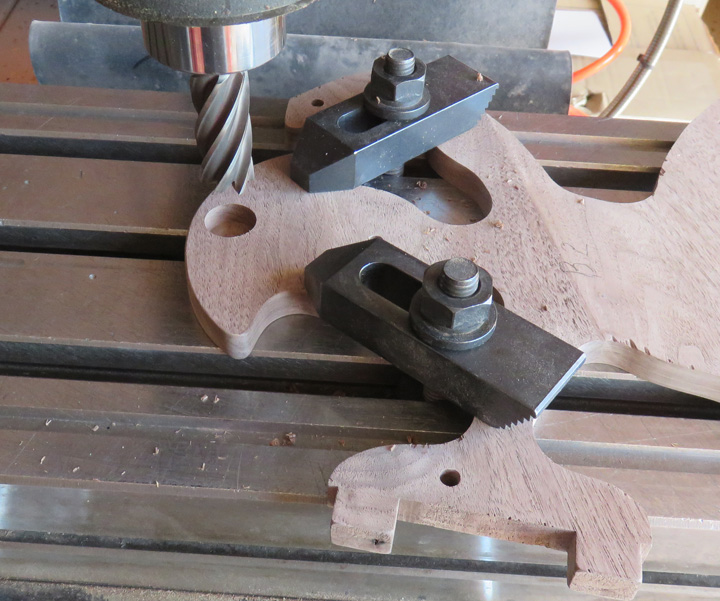
I used two cutters for this operation: one for roughing
and one to finish the hole. This worked out great but one of the knife
holders will need to have a different depth because one magnet was .050"
thicker than the others (the one I sanded). This meant that one knife
holder will be .025" deeper and I used Tracey's for this. Why hers? I'll
show you later.
|
|
 |
I'm ready to glue in the plug and see what happens. I'm not sure if it
will work but that's the plan.
|
|
|
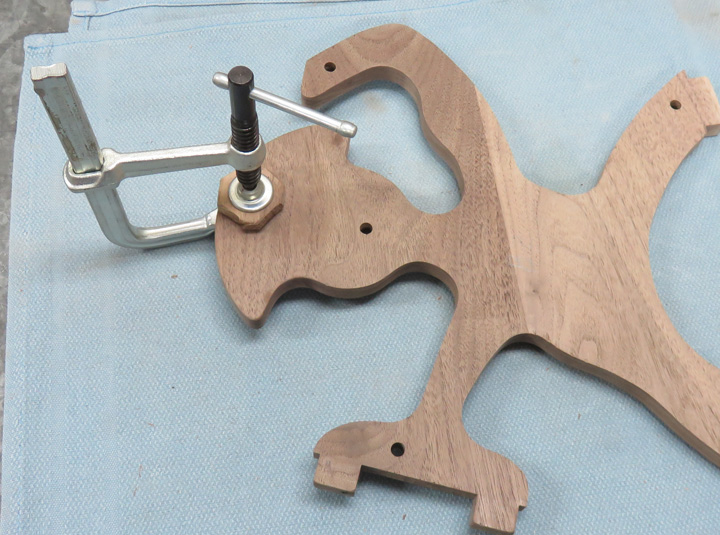
I dabbed some glue around the plug and pushed it in but it didn't go all
the way down. I believe the close fit that I had along with the
thickness of the glue made it fit tight. Once I placed my clamp on it, the plug seated and I was
good to go.
|
 |
|
1
2
3
4
5
6
7
8
9
10
11
12
13
14 |