|
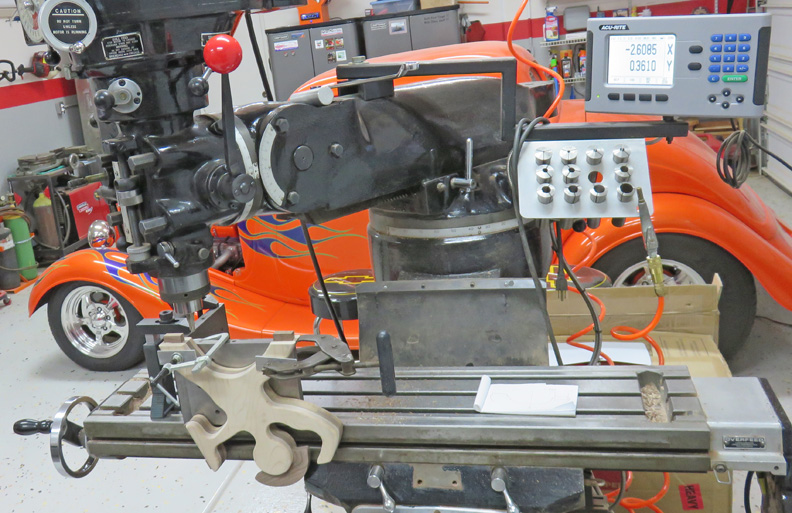
I turned my angle plate on it's side so I had a longer
surface to work with because the distance between the legs are much
farther apart than his hand was. I also had to move the ram on my
milling machine all the way
out and rotate the column so I could reach my overhanging work piece.
|
|
 |
Here is a better shot to see what's going on. The tenons
are 1/2" wide X 1 1/4" long X 1/2" high. I used a two flute 1/2" end
mill to cut everything. One thing you have to be careful of when using
an end mill on wood: make sure you cut into the material. What I mean is, when
the cutter is turning, have the leading edge of the cutter running into
the wood while you cut. This helps prevent 'tear-out or chipping' the wood
while you're cutting.
|
|
 |
|
Here I'm cutting the mortise on the base. I went .010
deeper here so the bottom of the tenon wouldn't touch the floor of the
base.
|
|
 |
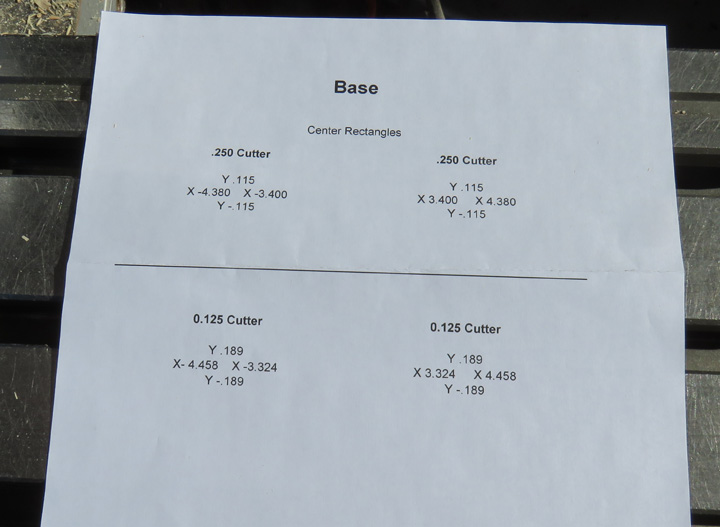
I used two cutters on the base, one for roughing and one for finishing.
Notice the line between the 1/4" cutter (roughing) and the 1/8" cutter
(finishing). I folded the paper on that line so I wouldn't use the wrong set of numbers for
the wrong cutter. Whatever works you know....
|
|
 |
|
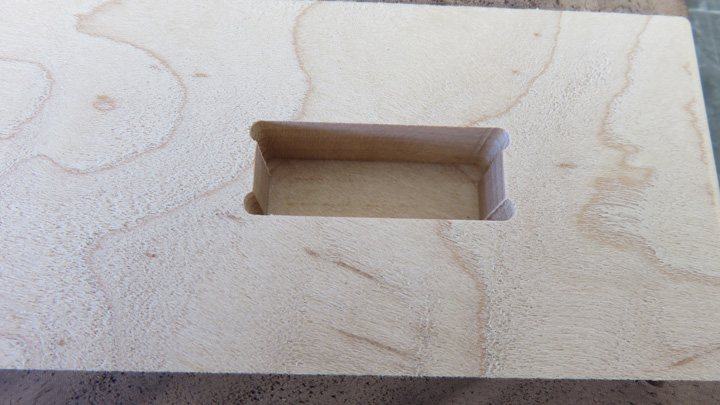
Here are the finished mortises and they came out
great.
|
|
 |
|
I gave each corner some clearance so I didn't have to use a chisel to
make sharp corners. This makes life that much easier and it won't
affect the strength either.
|
|
 |
|
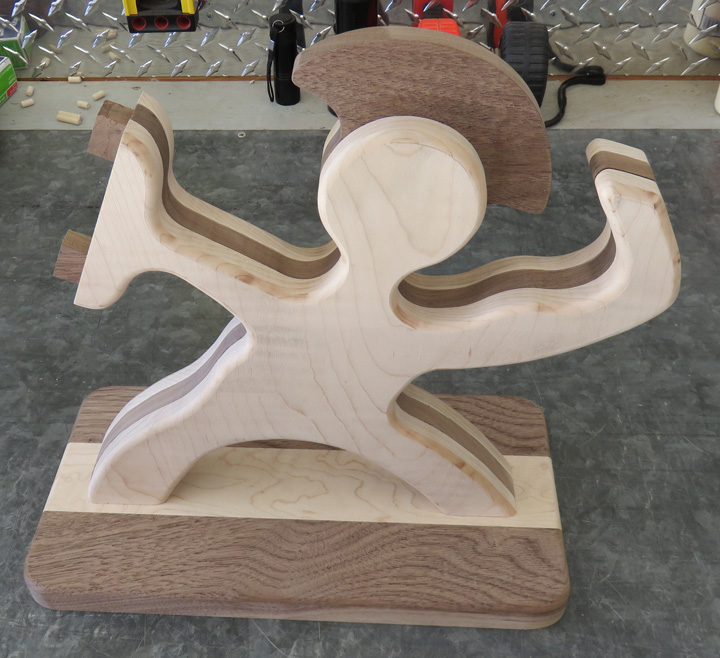
Here you can our guy standing on the base but not
glued yet. The mortise
and tenons worked outstanding for this (no pun intended) and wasn't that hard to do.
|
|
 |
|
Now it's time to work on the mortises for the shield.
I did the same thing here and used a roughing and finishing cutter to
make them.
|
|
 |
|
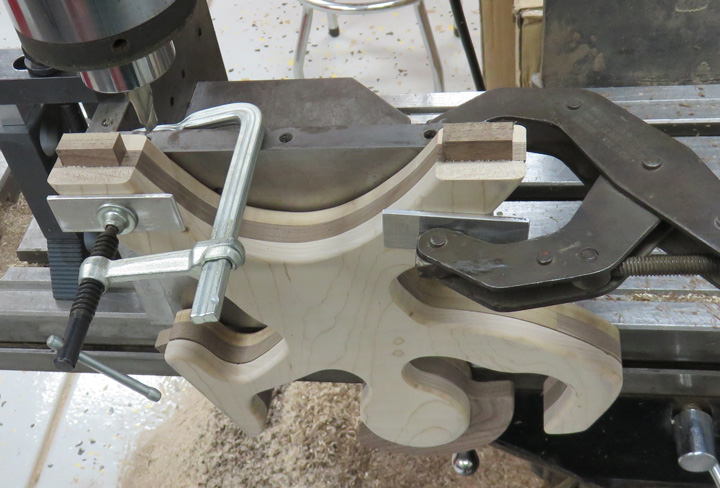
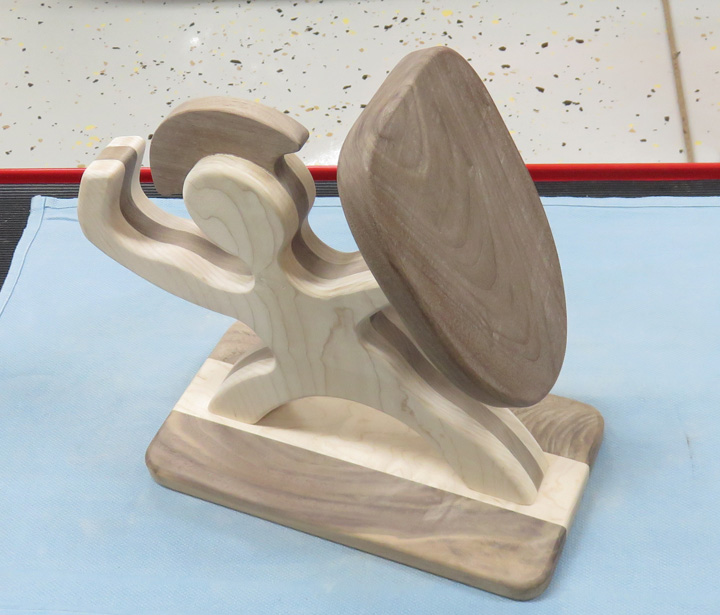
Checking the fit here and everything went together
pretty good. So far I'm happy with the results and now it's time to make
some slots.
|
|
 |
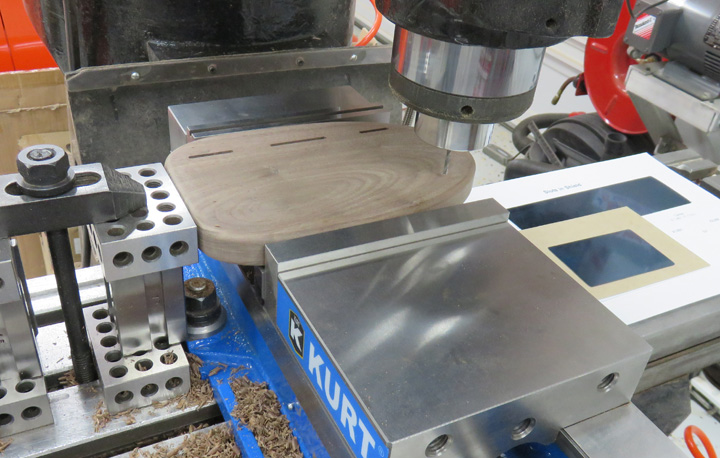
After measuring all the knives, it's time to make some slots for them to
rest in. I used the longer side of a 1" X 2" X 3" block as my mill stop because
the sides of the shield don't have a very long straight section. All I
have to do is square the back of my part against the metal block and then
tighten the vise. This way I know the piece sits correctly because it would
be easy to have it out of square without it.
|
|
 |
|
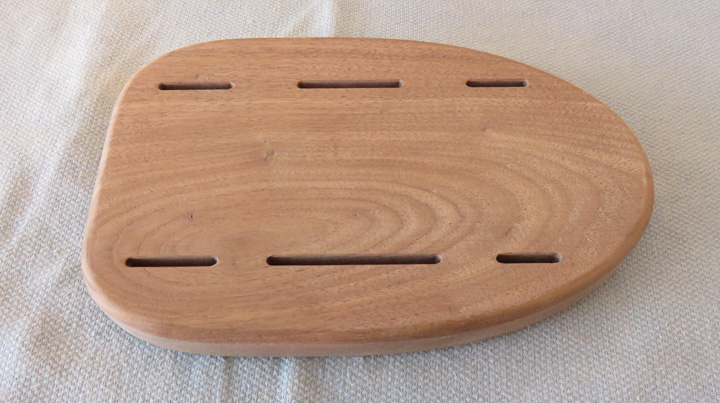
Here is the shield all finished and ready to be
assembled.
|
|
|
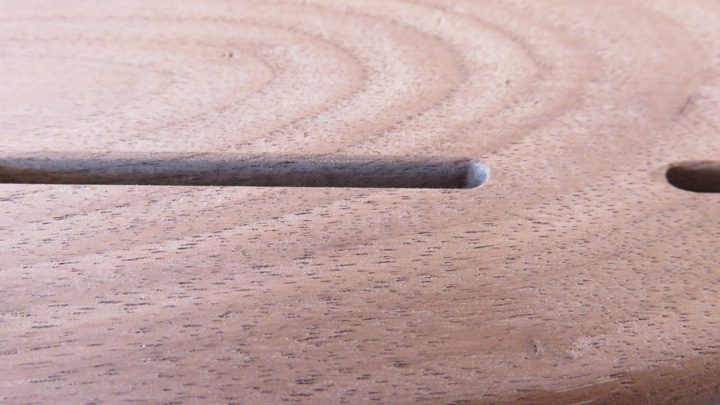
Here is a close-up of the chamfers (or lead-in) for the
knife blades, which will make it easier to insert them when you store
them.
By now I'm sure you've figured out what I'm doing here and what the
knife holder should look like...right? Either way, keep following along
because were getting ready to add some important details to it and see
what it looks like when it's all finished.
|
 |
|
1
2
3
4
5
6
7
8
9
10
11
12
13
14 |