Plexcase 2            August 2002


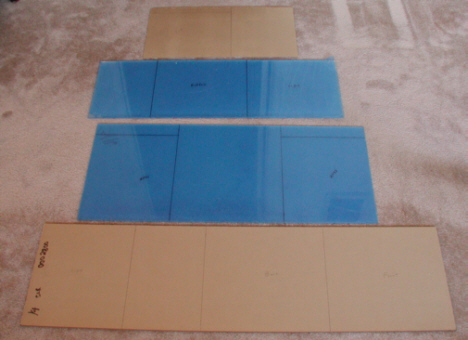
The first step was to decide what shape and size the case was to be. After coming up with a shape and size, it was time to go buy the material. The blue sided Plexiglas comes covered with a thin film of plastic so it wouldn't get scratched while working with it. 
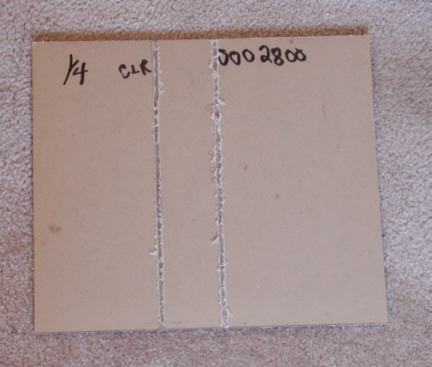
The light brown paper sided pieces were better to work with because, (1) the paper was much thicker than the thin blue film, (2) being paper, I could layout and draw on it much easier. The finished size for the case was going to be 14" L X 12" D X 13 1/2" H. The thickness of the outside pieces were 1/4" and the shelves were 3/16" 

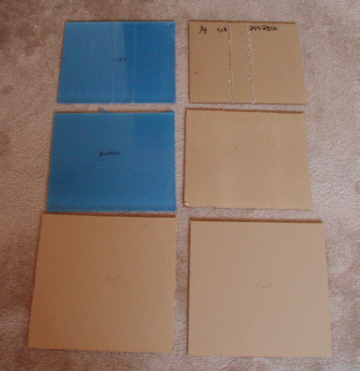
The reason for the two kinds of Plex was the blue stuff was in the marked down rack of bigger pieces so they were cheaper. Lesson number one, don't buy anymore blue sided Plexiglas in the future...it's not worth it. Here is what it looked like laid out before anything was cut.


After laying out all the pieces, it was time to cut. I used a band saw for the cuts and then cleaned up the sides with a milling machine. Cutting Plexiglas is a slower job than I thought. I doesn't like to be cut to fast or it starts to load-up the cutter or saw blade. When that happens, it starts to crack or melt the Plexiglas.


Now that the pieces are cut, it's time to put in the slots for the shelves. These are going to be in the side panels and are to be 3/16 wide X .075 deep. The distance starting from the left (bottom) side to the first slot is 4.50" and to the second one is 6.875". The bottom section is going to have the power supply in it, the middle section will have the hard drive and CD-ROM, and the top is left for the mother board. I didn't really need as much room for the mother board section but I wanted to be sure that there wasn't going to be a clearance problem with anything.


Let's screw it together and see what it looks like.


1  2  3  4  5  6  7  8  9  10  11  12