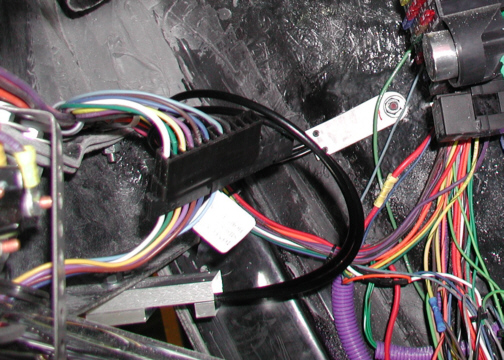
It's a little hard to see here but the
clamp is in place holding the cables against the inside of the cowl
(drivers side). I looped the cables because of the weird angle that I
ended up with. The cables go into a release knob assembly that is
attached to the bottom of the dash.
|
|
|
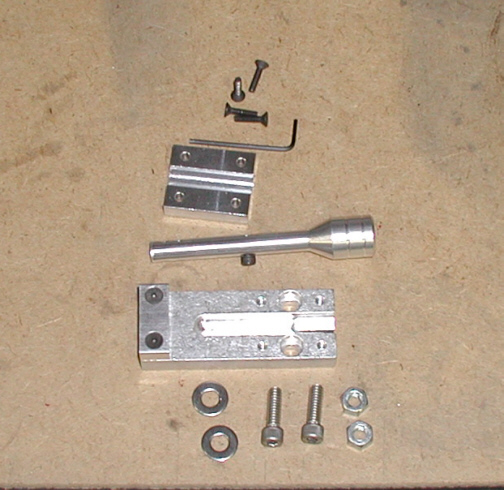
Here is the release knob assembly all
taken apart. The block that has four holes (top) is what keeps the pull
knob aligned and it also covers the two 1/4" stainless socket head
cap screws that hold the assembly to the bottom of the dash. The end of
the knob has a 1 1/4" deep hole in it for the two cables to go
into. Near the end of the pull knob are two small set screws to keep
the cables from coming out. Notice the head of a screw that is in the
middle of the pull knob. This screw rides in a slot as the
knob is being pulled. Once the head of the screw is past the end of the
block, you turn the knob a small amount in either direction and let it
go. This keeps the pull knob from moving back in and then you can open your
hood. There are one of these on both sides of the car so you can open
the hood from either side or pull them both and take the hood completely
off.
|
|
|
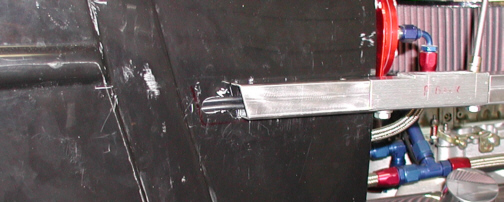
I ended up running the cables into the
body from the end of the rails. I tried running them about two inches
forward from where you see them now but it wouldn't work right. It had
to be this way because I cut the rails to short when I first started the
hood hinges. At this point it's a little unsightly but the hood sides
will cover this or I'll make something.
|
|
|
Here is a better shot of what the
upper mounting blocks look like. You can see the holes in the plastic
blocks where the tapered pins will end up going which locates the hood
as well as keeping it shut.
|
|

|
|
1 2
3 4
5 6
7 8
9 10
11 12
13 14
15 16
17 18
19 20
21
22
23 24
25 26
27 28 |
|
29 30 31
32 33
34 35 |