After bending the adapter a small
amount, the dip-stick is in. This ended up being at a good height and
should clear the plug wires when they get installed. The last thing that
has to be done is mark the stick after I put oil in. Being that I have a
seven quart oil pan, who knows where the "full" and
"add" lines will end up. Oh...and I have a little surprise to
add to this later on so stay tuned!
|
|
|
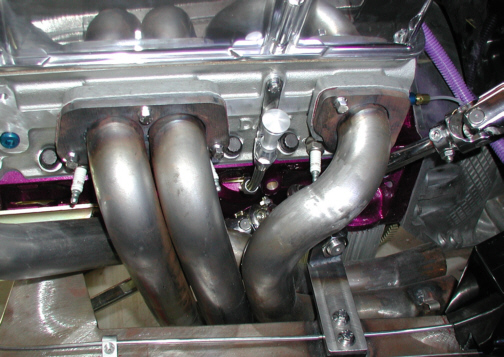
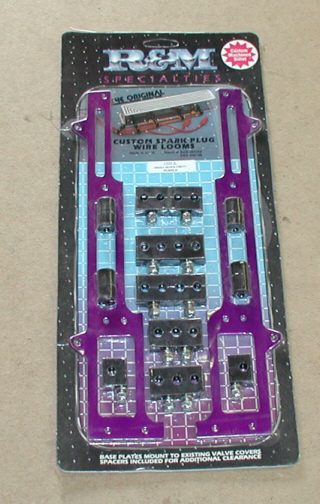
Speaking of plug wires, I think it's
time to start on them. This is what will separate the wires and keep
them away from the headers. Now after seeing that R&M had some wire
looms in purple, you know I had to have them. They also make them in
several different colors including chrome or polished aluminum.
|
|
|
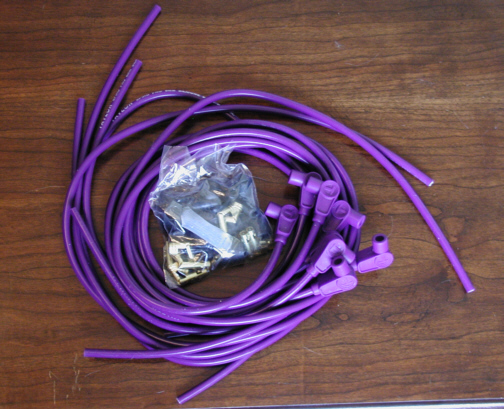
If you remember, the plug wires that
I'm using are made by Taylor and are 8mm in diameter. Now this is a universal
set of plug wires which means that you have to cut-and-fit one end. The
end that goes on the sparkplugs are already made up so that leaves you
with figuring out what length you want to cut the wires that go to the
distributor.
|
|
|
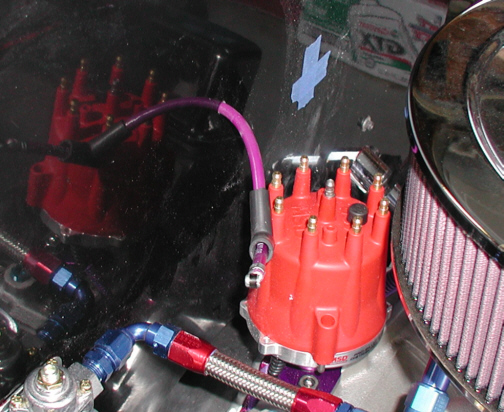
The first wire that I wanted to do was
the coil wire. I had to determine where I wanted the hole in my firewall
for the wire because of all the electronics mounted on the other side.
My original plan was to have the coil wire right next to the coil when I
was laying out all the electronics and it worked out nicely. After a
couple of quick measurements, I drilled a 5/16" diameter hole next
to the distributor. The other end will be trimmed because they give you
enough to have the coil mounted in the trunk (okay maybe not that much
but close). Now when I want to replace this wire, I'll have to cut it in
two (like when I paint everything) but that's the way it is sometimes.
Lets go through what it takes to put on the boots for these wires.
|
|
|
|
1 2
3 4
5 6
7 8
9 10
11 12
13 14
15 16
17 18
19 20
21 22
23 24
25 26 |
|
27
28 29
30 31
32 33
34 35
36 37
38 39
40
|