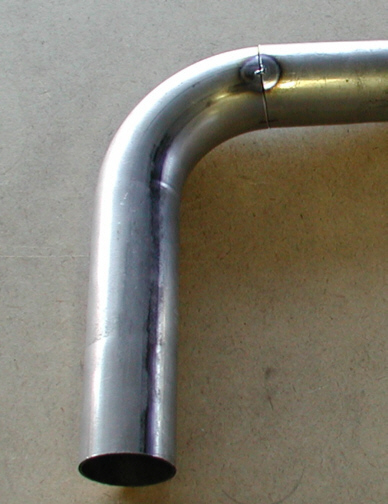
These are the first of many pieces
that will make up the number 2 cylinder. The tubing is cut, ground
and/or sanded, deburred on the inside, chamfered on the outside (the
chamfer is a weld prep) and at this point there're ready for welding. This is a long process to
match the ends of the tubing just right. The first cut is an educated guess and
then you start grinding and sanding till you have what you want. If you
don't like what you've created, cut another piece and start again.
|
|
|
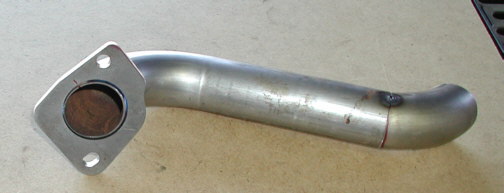
Here you can see my third
hand....tape! I used this quite often to hold pieces together so I could
tack weld them together. Notice the Sharpie marker below and also notice
the red mark on the tube and flange. I would hold the pieces together
and when I liked the way they fit, I would draw a line on both tubes.
Then I would take the pieces off the engine and then realign them on my
bench. Now the tape was used to hold them in place temporarily so I
could tack weld them. This worked very good and was easy to work with.
Here I'm getting ready to weld the flange on the end of the tube.
|
|

|
|
Here is a shot of the flange tacked in
place. After doing this I would go back to the engine and see how things
fit. If everything fit okay, on to the next piece.
|
|
|
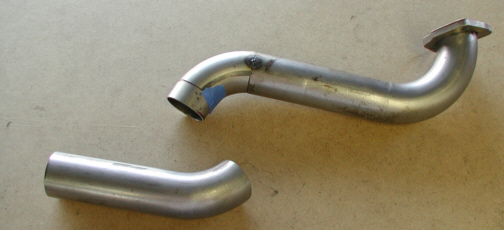
I needed a small piece to go between
the the two curves so I cut a one inch long piece of straight tubing and
held it in place with my trusty tape. After tacking it on, I checked it
for fit and then was ready to work on the end of the header tube.
|
|
|
|
1 2
3 4
5 6
7 8
9 10
11 12
13 14
15 16
17 18
19 20
21 22
23 24
25 26 |
|
27
28 29
30 31
32 33
34 35
36 37
38 39
40
|