After cutting out the piece, I was
left with a hole to cover-up. The new piece was going to be 1/4"
thick and this hole was 5/8" tall. I needed something to cover this
up first and then add the new bracket or I would still have a hole when
I was through. I was going to add a piece that was 2" X 3/4" X
1/8" first and that would give me something to weld the 1/4"
piece too.
|
|
|
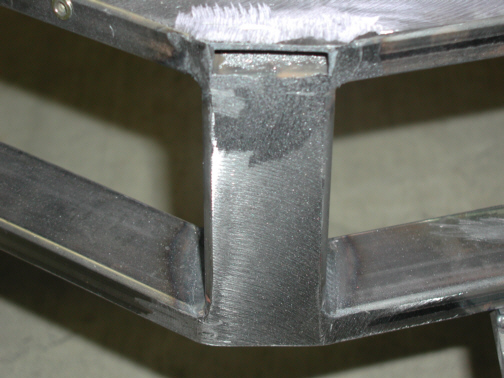
This is what it looks like with the
hole covered up. This new piece sits flush with the top surface and the
1/4" piece will do the same. The new piece is made from mild steel
like the chassis. I also added a small chamfer to the top surface before
welding to get some penetration which adds strength.
|
|
|
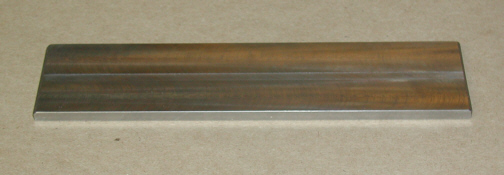
The new piece is 8.950" X
1.900" X 1/4" and is made from mild steel. This piece will tie
in the chassis on the top like the one I cut out. I thought about
leaving it out all together but the chassis wouldn't be as strong. Gotta
have all the strength we can ya know...
|
|
|
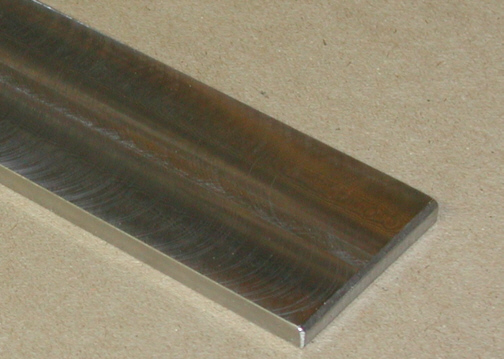
Here you can see the weld preparation.
By adding a chamfer, the weld can end up being flush when done and get
better penetration for added strength.
|
|
|
|
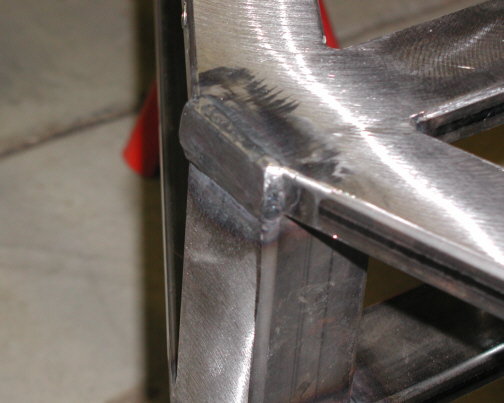
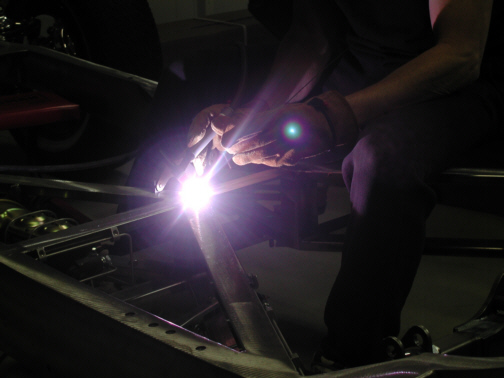
First I tacked it in and then I put
some weld on both sides to make sure it wouldn't come loose. The shot
below is of the top (the easy side) which I welded first. This new
welder sure does work good!!
|
|
|
|
1
2
3 4
5 6
7 8
9 10
11 12
13 14
15 16
17 18 19
20 21
22 23
24
25 26
27 28 |
|
29 30
31 32
33 34
35 36
37 38
39 40 |