Chess set 6           
November 2002

Because I don't have wood working tools like a table saw or radial arm saw, I had to use a milling machine to do all my work. By using these large pipe clamps, they can span across the chess board and some other pieces that we will talk about later.


This is a three step process making the checker or chess board. All the material is 3/4" thick Maple and Black Walnut and will get machined more than once between steps. The reason for this is because of all the glue that gets squeezed out. It's hard to work with all that glue after each step so this is why I did that. First thing I did was cut some pieces to length and width. The size I cut them to before milling was 1 7/8" wide X 16" long. The reason the length is so long is because of the second step. You have to have enough material to work with when you start the checker board pattern. The size I am going to finish at will be 1 3/4" wide and then they get glued together.


I don't have any pictures of the second step but I'll try 
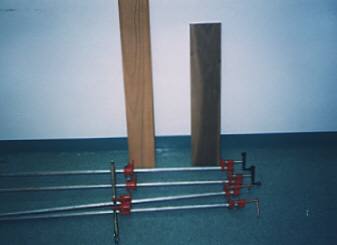
to explain it. After gluing the pieces together like the picture above, I removed the clamps and cut the board into strips to a size of 1 7/8" wide 
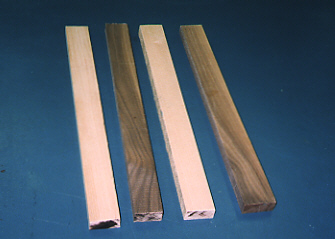
just like the first step. Now that I have made these other cuts, I milled the sides of those pieces to 1 3/4" wide like before. Here is where I glued them together again but this time I flip-flopped every other board before gluing. In this way you will end up with the checker style board or light-dark. 
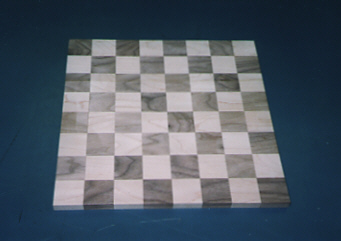
At this point I had to line-up the boards as I glued them which is just by eye. Going slow is the key here to make it look right. After it's done drying, the board will have some extra length to cut off here and there before machining again. This time though I machined the edges of the outside too. Here is the chess board after it's been glued and machined.


1  2  3  4  5  6  7  8  9  10  11  12