Valve Train Problems  7            4-25-14

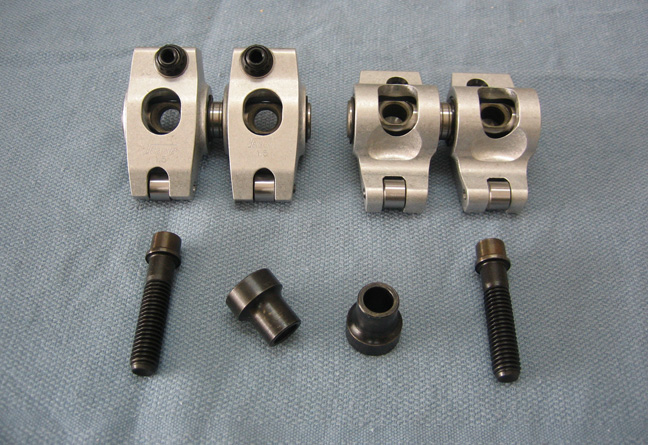
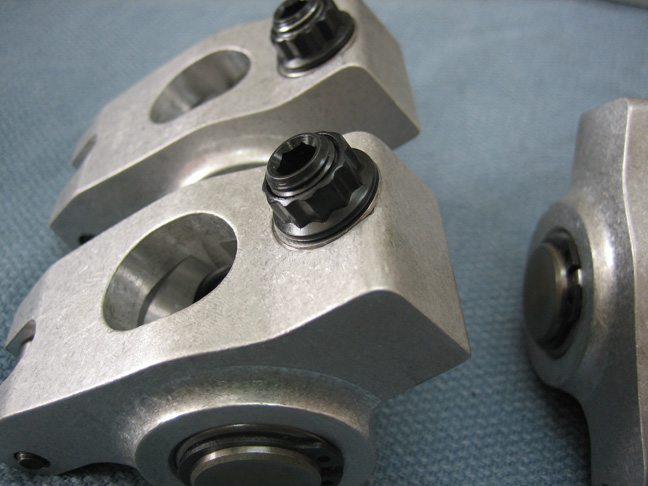
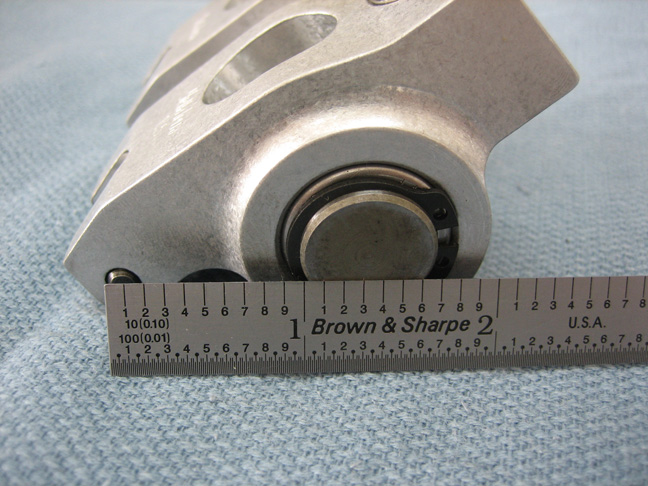
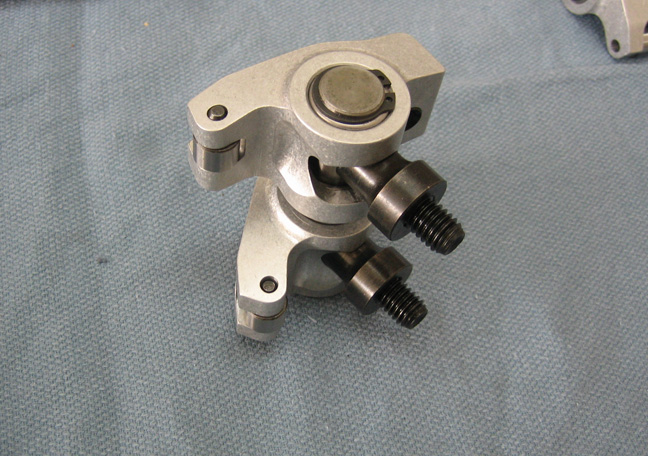
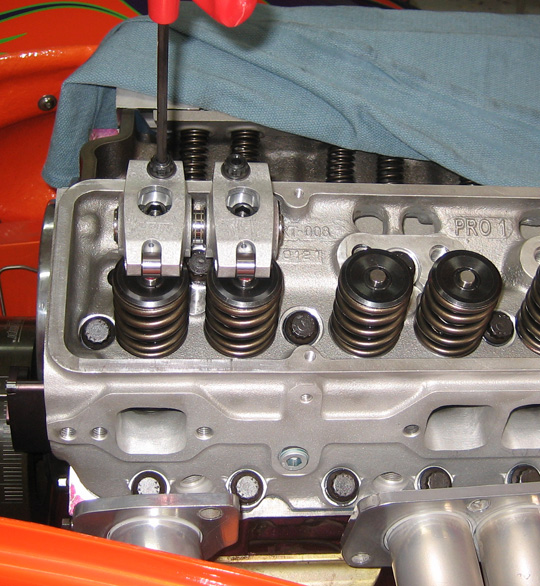
New Rocker Arms

The rocker arm situation was a tough choice for me because on one hand, the stud mount rockers have worked pretty good up until now. On the other hand, shaft mount rockers are much better than stud mounts but the cost is out of reach for most people. What's a guy to do?

While I was at Engine Supply we got on the subject of rocker arms, what's good about this type and what's not so good about that type. One thing lead to another and Mike told me that his good friend Joe Sherman used a rocker arm made by 
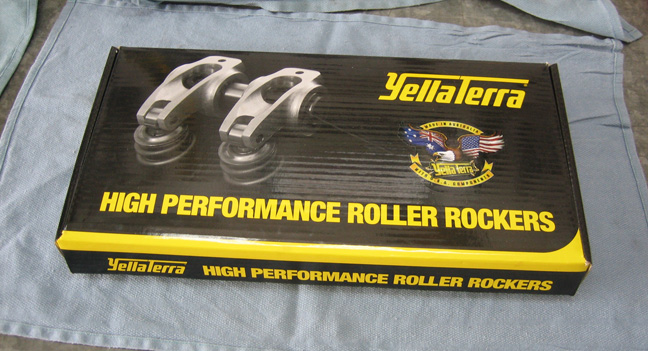
YellaTerra and that he liked them.

Wait a minute...yellow what? I hadn't heard of them before, good, bad or indifferent. Once I got home I did some research on them and found out they look very much like the name brand ones, had some nice features and cost half as much. I guess that's the good new but the bad news was...yella who?

I called the company and asked some questions about their products and the guy told me all about them. I told him that I'd think about it for awhile and get back to them. This company is originally from Australia and have been in the U.S. since 2007 and it seems they are trying to make a name for themselves by offering their shaft mount rockers for about half the cost of the other two big players. Two days later I called back and placed my order.


YellaTerra uses two rockers per shaft which is different than the other shaft mount rockers companies as they use one common shaft. YellaTerra uses 2024-T6 extruded aluminum for the body and has pedestals that fit into a pocket on the shaft and the other end rests on the heads. Then two special 7/16-14 bolts fasten everything to the heads. Notice the offset for the pushrods at the back. These particular ones are made for Dart Pro 1 heads so the geometry ends up being much better than my old stud mount rockers were.


Valve lash adjustment is handled a different way with these new rockers. The adjustment screw and lock nut are part of the pushrod cup at the rear of the arm. The screw needs a hex key (Allen wrench) and a 12 point locknut holds them together. One thing I'll have to keep in mind while adjusting my valves is to make sure I don't go more than 'two turns' with the adjustment screw. If I go more then two turns that would not leave enough screw-to-nut thread engagement which could lead to a failure. In other words, I need one hundred percent thread engagement at all times here.


YellaTerra claims they use the largest trunnions (pivot point) on the market with a shaft measuring 11/16 in diameter. They also don't use plating of any kind as they claim it can weaken the aluminum so they leave the material raw. No big deal here as they will be covered in oil once the engine is running. Even if they were plated, who would see them once they're under the valve cover?


This shot should give you a good idea of how they mount to the heads. Also note the clearance notch for the valve spring retainer. I had trouble in this area with my old ones so this is nice to see.


Test Fitting the Rockers


I'm test fitting the new rockers on the number one cylinder to see how everything looks. What I'll need to find out is where the contact patch is on the valve tip. By using a red felt marker and coloring the top of the valve, then rolling the motor over one or two cycles, it will leave a contact patch (worn area) for me to see.

As I was trying to adjust these two valves, something wasn't right but I wasn't sure what was wrong yet. It looked like I needed some shims under the pedestals or some shorter pushrods because as I was tightening down the two bolts, I didn't have any adjustment left to set valve lash.


Here you can see I've put a shim under both pedestals to gain some clearance so I could try to set valve lash. The shims are just 7/16 washers that I had laying around so I used them for testing (arrow). The washers are .041 thick and this amount allowed me to set valve lash. To roll the motor over I used my new degree wheel tool (without the wheel), cranked away with a 1/2" ratchet to cycle the motor over a couple of times and then pulled them back off.


Here is what I ended up with, the contact patch is not ideal here as it should be in the center of the valve stem. Notice the line going across the valve stem is lower than it should be (centered is preferred) and is towards the outside of the engine. This means I have to much shim and will need to reduce the size of them.

That's not good news here because I had the adjusters on the rockers at almost two turns, which means I was close to maxing them out. How do you fix this? Looks like I need to dig into my wallet again and buy new pushrods.


1  2  3  4  5  6  7  8  9  10