|
Fixing The Distributor
While my heads were being worked on and a new cam was being made, I had
some time to work on other things so I turned my attention to my
distributor. Remember how rusty it was but I wasn't going to buy a new
one? My plan was to clean up my old one and also try to prevent the rust
problem from happening again.
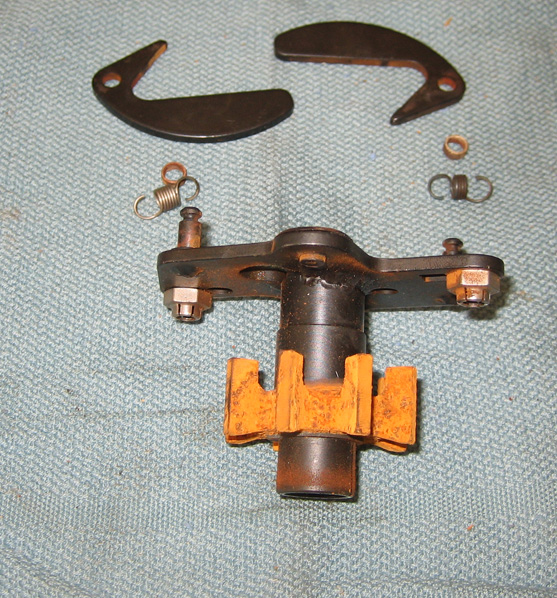
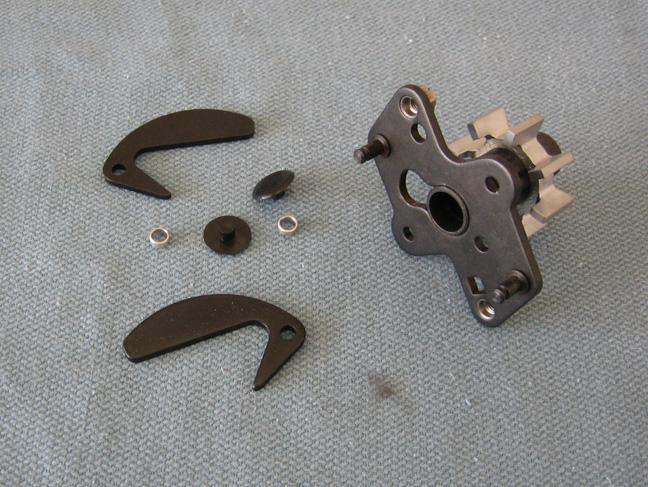
I took my distributor completely apart for two reasons. One, it
needed some serious cleaning and two, I had nothing to loose by trying
something new. Here you can see some of the parts that would need to be
cleaned or replaced. And after looking at what you can and can't buy for
parts, I found that the reluctor wheel (bright orange part that looks
like a gear) was not a part you could buy.
So what do you do when you can't buy a new part that you need? Well
sometimes you just have to come up with your own idea of what you think
might work or fix what you have. And in my case, I was going to clean up
my reluctor wheel and paint it. Read on to see how it comes out.
|
|
 |
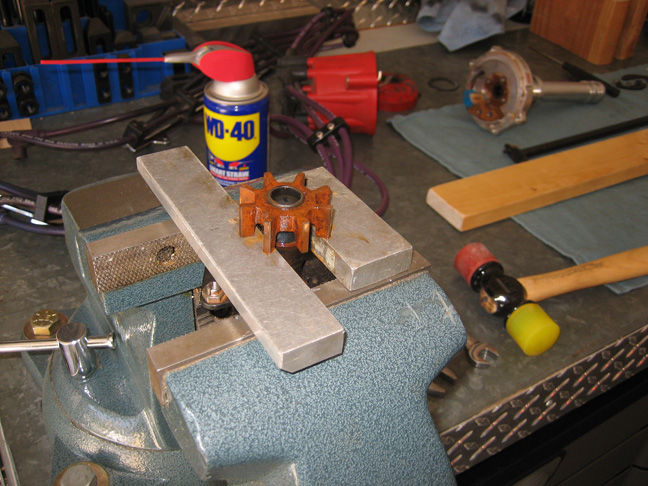
| The first thing I needed to do was remove the reluctor
wheel from that shaft. Now if I had a press this would be much easier,
but when you don't have a certain tool, you improvise. In this case I
used my vise along with two pieces of aluminum to support the reluctor
wheel, lots of WD-40 and then used a few items that I had laying around
to tap the shaft out. The shaft is hollow with a thin wall so priority
number one was to be 'very careful'. It's easy to remove something like
this, but to not hurt anything in the process is quite another story. With
some light taps with the hammer at first, I found out the reluctor wheel
was pressed on...or should I say, rusted on pretty good. Light taps
turned into some heavier hits but shortly after the shaft started to
move. A few more blows and they came apart. Let's put these parts aside
for now and come back to them a little later.
|
|
 |
|
Assembly
|
3-20-14 |
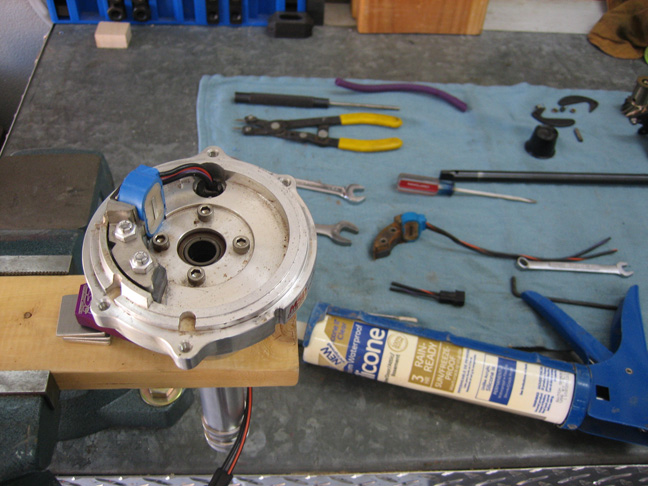
I was trying to hold my distributor with one hand and work on it with
the other and after a few minutes of this I thought of another way. I
took a scrap piece of wood, put it in my vise, drilled two holes in it,
used my distributor hold down to keep the housing from moving and just
like that, it was like having three hands to work with :-]
|
|
 |
I'm going to replace a few parts here and the magnetic pickup was first
on the list. After removing the two very rusted screws, I tried to
remove the pickup by hand but it won't move. I wasn't sure why so it was
time for a little persuasion.
|
|
 |
I found a small amount of silicone behind this assembly which is why I
had to use force to get it out. But that makes sense because of the
environment these components have to live in. By using a small soft
faced hammer and a few taps, it came loose. Now the wires that go to the
pickup have a plug on the end which means it won't go through the
housing. What needs to be done here is cut the wires and then it comes
right out.
|
|
 |
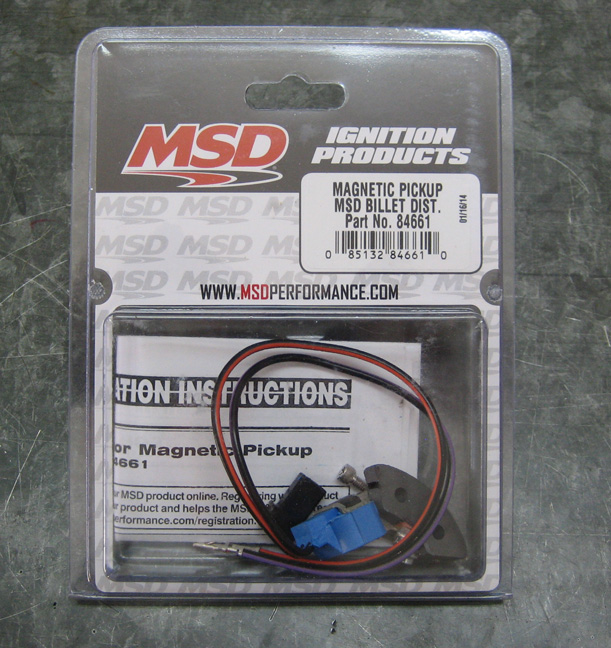
This kit comes with everything needed to replace your magnetic pickup
along with new hardware as well. Note the wires don't have a plug on
them. You have to snake the wires through the housing first, and then
snap each wire into the plug making sure to get them in the right order.
All you do is look at your old plug and match up the wires to the
correct socket. Piece of cake!
|
|
 |
Reassembly is straight forward here and I even put a dab of silicone
behind the magnetic pickup just like it had before. The new hardware
sure does look nice compared to my old rusty stuff.
|
|
 |
|
I cleaned my reluctor wheel with a wire brush and then wiped it off with
lacquer thinner. The reluctor wheel looks to be made out of cast iron
which is probably why it was so rusted in the first place. After the wheel
was nice and clean, I sprayed two coats of silver paint on it to keep it
from rusting again. I don't know how long this will last but I'm sure
it's better than nothing.
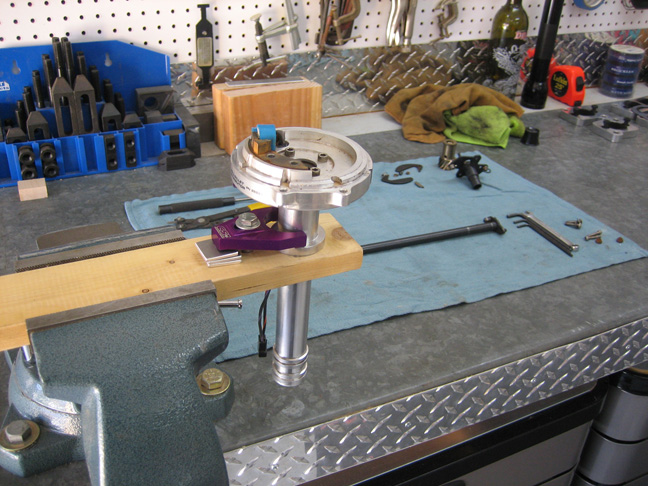
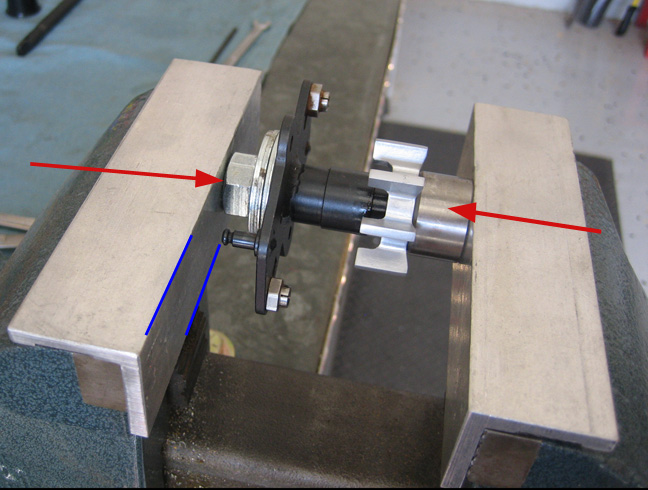
To press the reluctor wheel back on the shaft, I used my vise to
perform that task. I used a 1/2" bolt on the left side that went down
the I.D. of the shaft, along with some washers to give the spring pins
some needed clearance between the vise jaw and pins (blue lines). This
was so I didn't end up bending any of the pins while assembling. On the
other end I used a hollow bushing to drive the reluctor wheel on the
shaft (arrows). After a few cranks of the handle, it was back together.
I also used a small amount of light oil on the shaft before I pressed
the reluctor wheel back on. This worked out well and everything looked
good afterwards.
|
|
 |
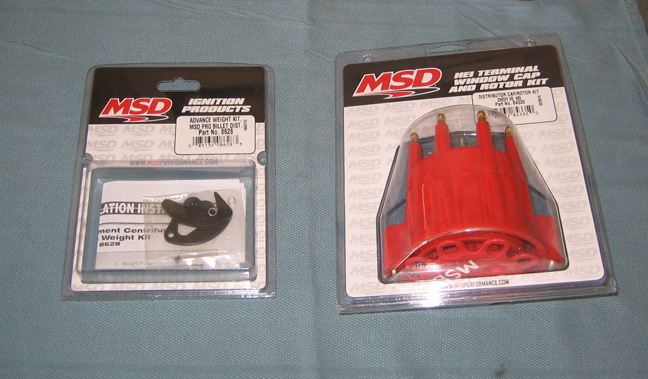
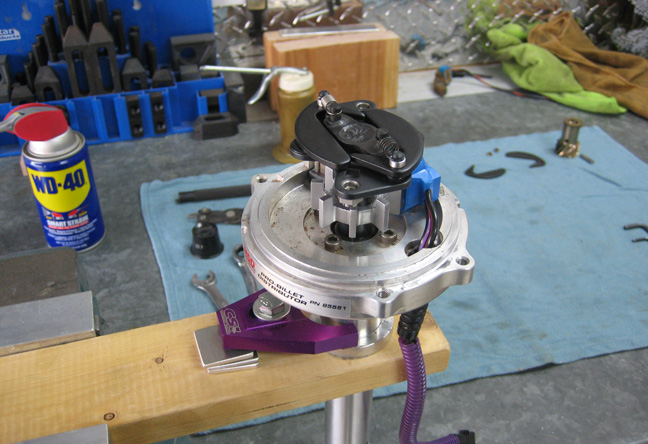
Here you see a few more new parts. The box on the left has some spring
weights, weight pads and some spring bushings. The other box has a new
cap, rotor and plug wire clamp.
|
|
 |
As I was taking the distributor apart and I was removing
the old weights and bushings, I noticed the weight pads both had cracks
in them. I bought this kit mainly for the weight pads but used
everything in the kit, which worked out good because I didn't have to
clean up the older stuff.
|
|
|
Here you can see the distributor all put back together.
I'll have to say it sure does look a whole lot better than before.
There's one more thing that needs to be done before we can check this
part off the list.
|
|
|
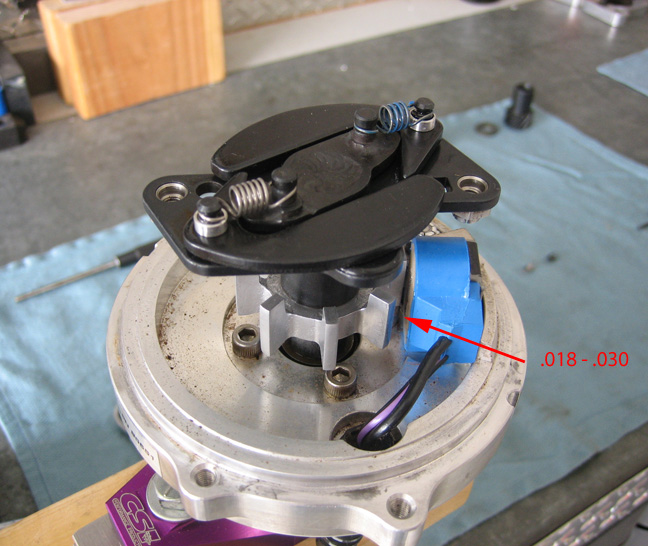
| According to the specifications that came with the
magnetic pickup, I needed to make sure that the distance between the
reluctor wheel and pickup were the correct distance apart. The tolerance
was between .018 and .030 of gap between the two surfaces so I grabbed
some feeler gages and went to work.
The magnetic pickup has enlarged holes so you can move it a small
amount to attain the correct gap. Once you have it in spec, you just
tighten the two bolts and locknuts and that's it. I set mine towards the
center of the tolerance and turned my distributor to check each spoke on
the wheel to make sure I had it set right. This procedure reminded me of
adjusting the points on my old distributor that I had years ago. Those
were some good times.
|
|
|
|
1
2
3
4
5
6
7
8
9
10 |