|
Working With Metal Continued
Once I pressed the bushings into the wheel assemblies,
the I.D. was now undersize. Now this is normal and I expected it, which
is why I have a 5/8" reamer and a matching ball-hone to remedy the
problem.
|
|
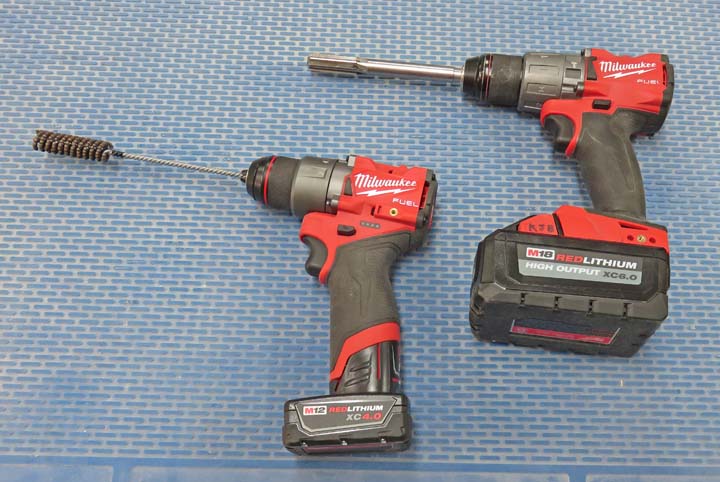 |
A minute or two later I had the shaft and
bushings playing nice together again. I had to do this on all the wheel
assemblies.
|
|
 |
|
Working With Wood Again
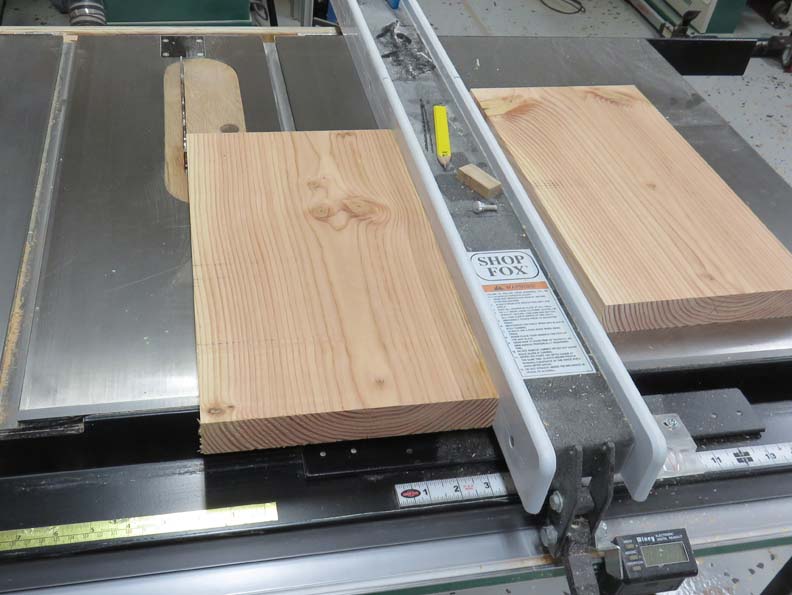
Now it's time to make a frame to place all these
components into. I'm using a 2" X 10" for this and the first thing I did
was run it through my planer to clean-up both surfaces. My seven month
old dog Theo, chill'n while I work, even with the machine running.
|
|
 |
Next I rough cut some pieces and then ran them through my table saw to
joint the edges.
|
|
 |
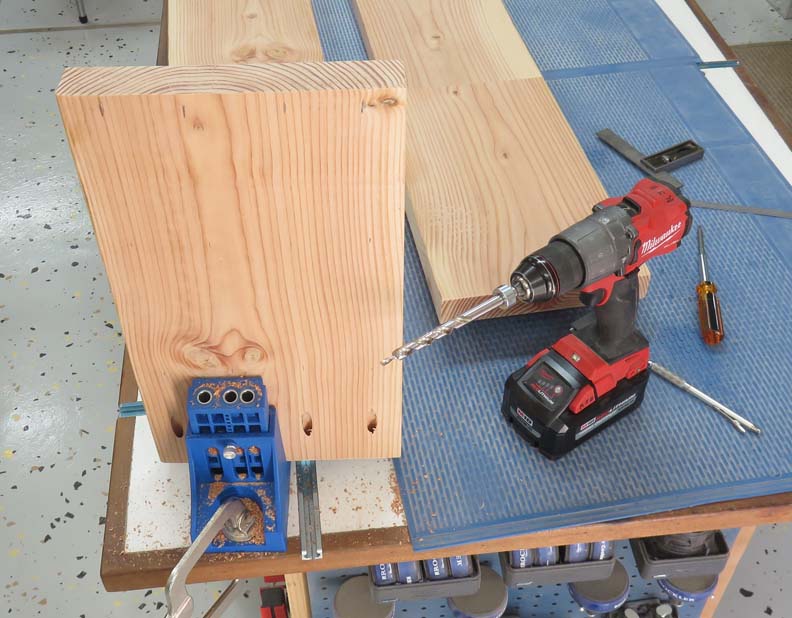
I'm using pocket hole screws to hold the frame together with. This system
works great and is quick and easy to use.
|
|
 |
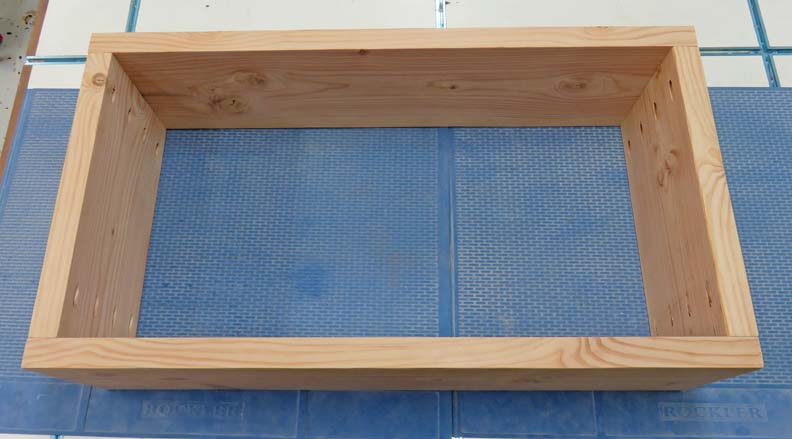
This frame is for the smaller wheels and measures 36" long X 19" high. The one
for the larger wheels is 40" long and is the same height as this one.
|
|
 |
|
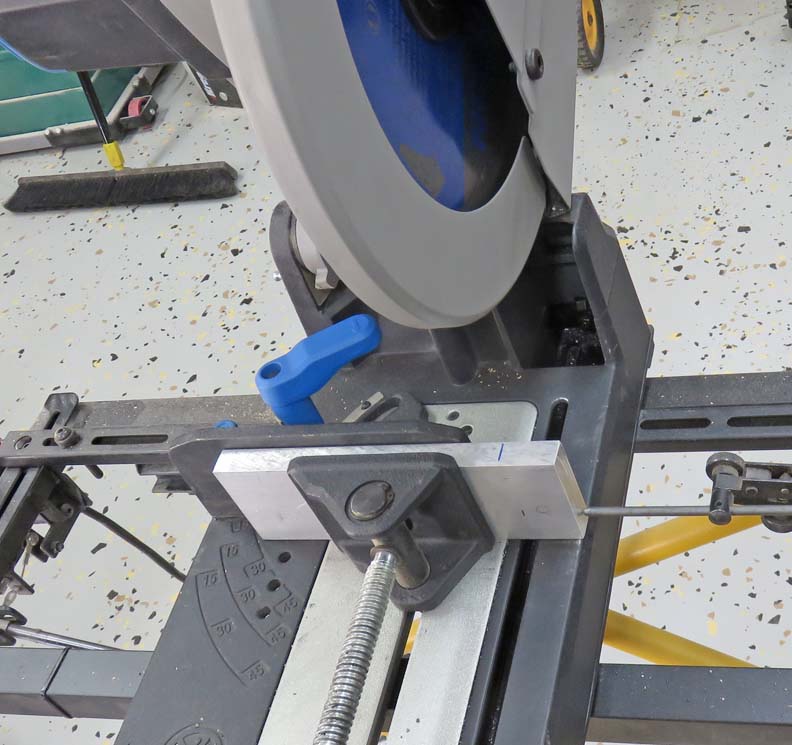
Working With Metal Again
I'm getting ready to make some blocks to hold the 5/8" axle that goes
through all the wheels. These blocks will be fastened to each end of
the frame.
|
|
 |
|
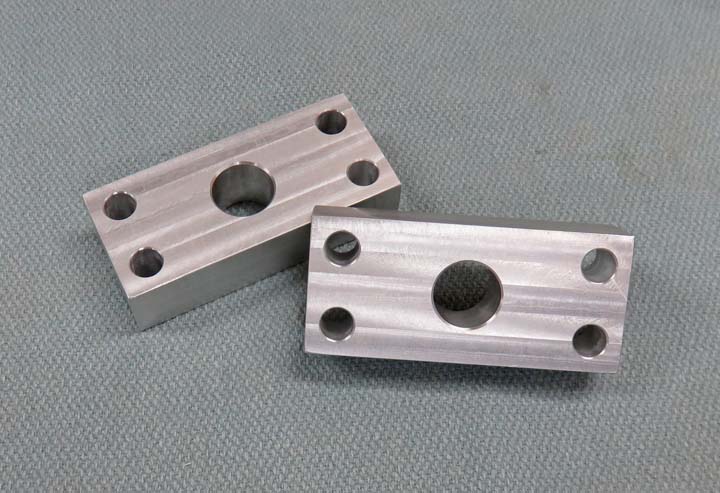
I'll be using some #10 screws in those smaller holes,
which are 1/4" diameter. The reason for the oversized holes are to give
me a small amount of adjustment if needed. The center hole has been
reamed 5/8" diameter for the axle.
|
|
 |
|
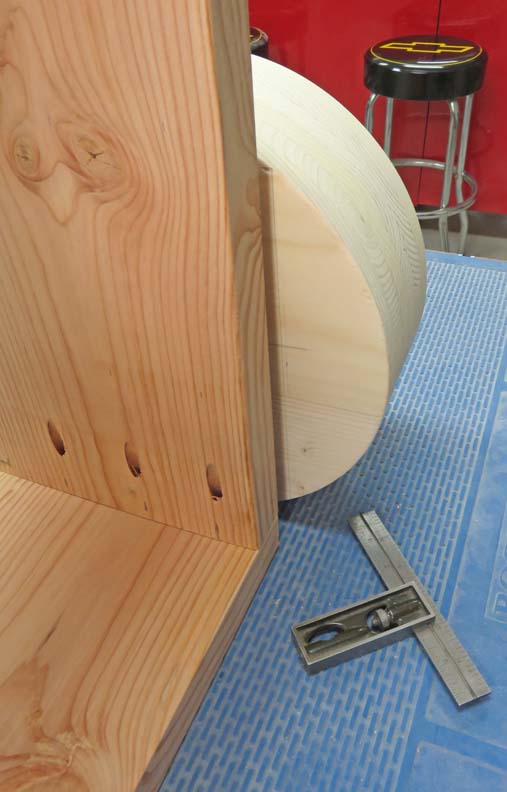
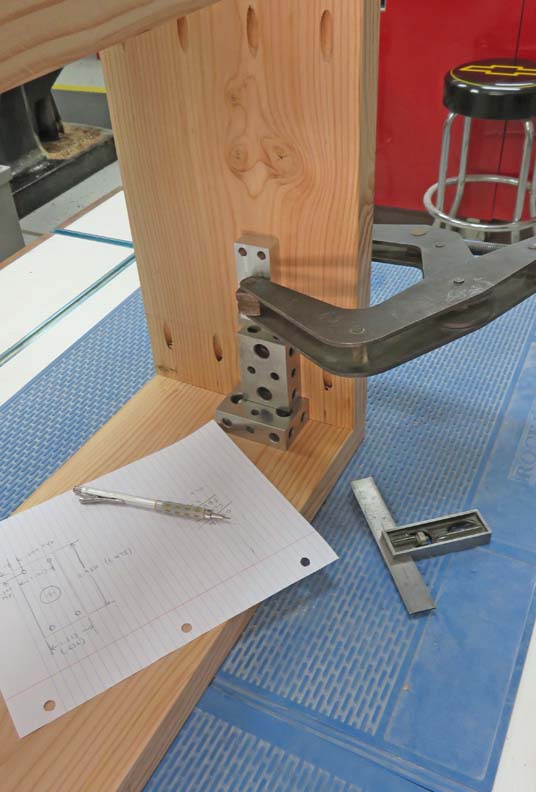
The wheel needs to stick out the front by 2.5" so I set this
dimension on my combination square. Then I placed the wheel against the
side, used my combination square to locate the wheel and then drew a
pencil line on the side of it (to see the line you'll have to look
close). This is to give me a reference of what it should look like and
also gave me the distance from my line to the center of the wheel.
|
|
 |
Next I laid out my new dimension on the side of the frame. I also used
some blocks and shims to give me the height that I needed. Then I
transferred the four mounting holes to the frame.
|
|
 |
|
1
2
3
4
5
6
7
8
9
10
11
12
13 |