|
Working With Wood Continued
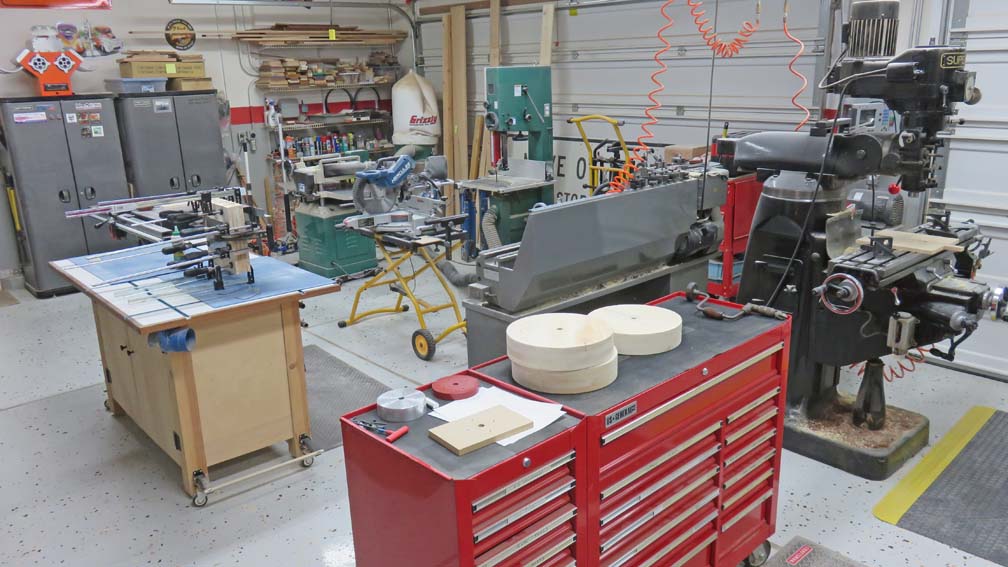
I was having a moment looking at my shop and I noticed that I was
using every machine that I own for this project.
|
|
 |
|
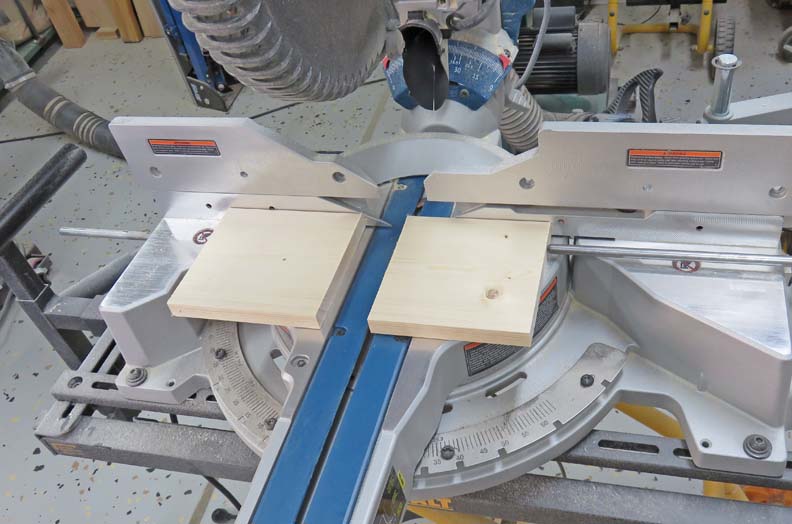
I'm cutting some pieces that will be used on the wheels
to give back that tactile feel. Now these pieces will be five inches in
diameter by 3/4" thick and will be attached to each 12" wheel. I'm calling
these pieces the 'five inch rounds'. Here I'm cutting each piece
slightly oversize.
|
|
 |
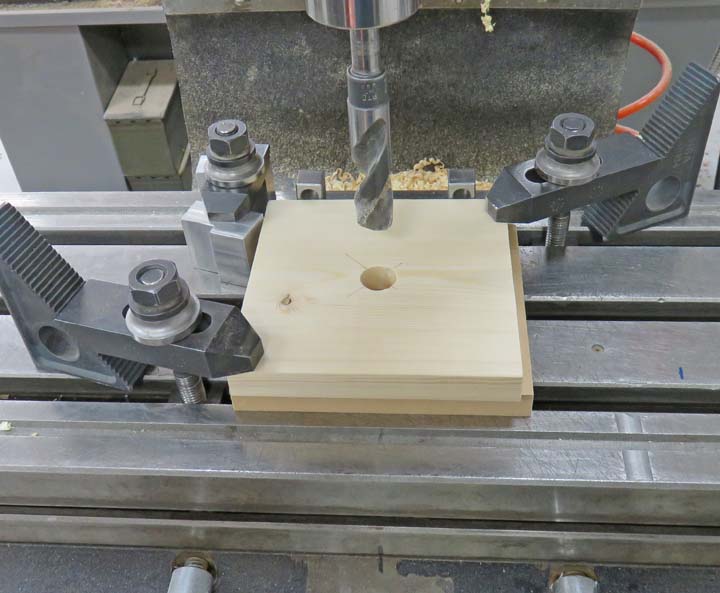
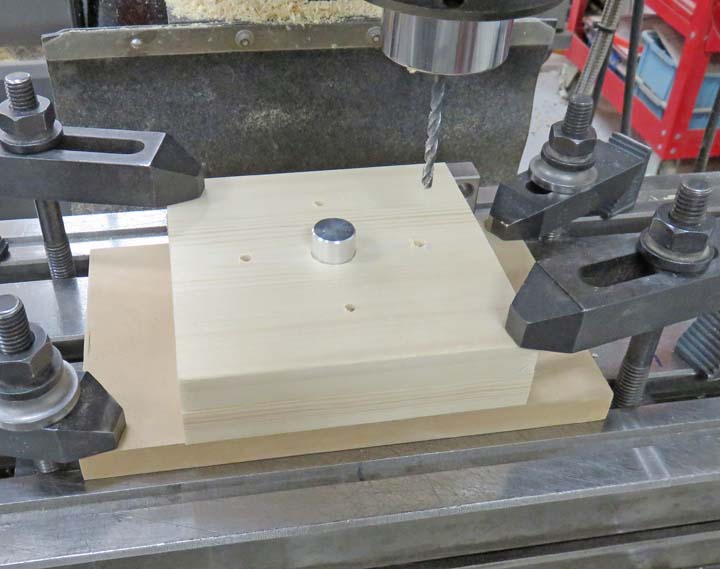
Next I setup a nest to locate the back and one side while I drilled a
5/8" hole in the center. This setup worked great.
|
|
 |
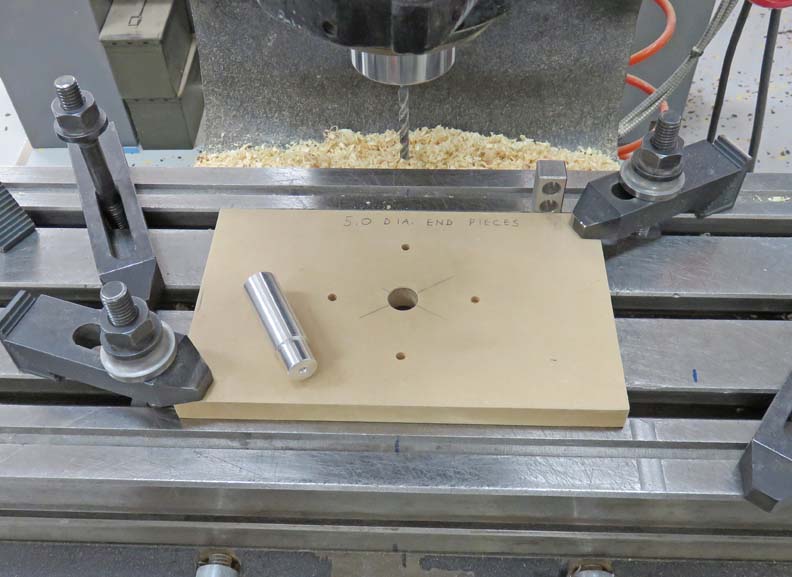
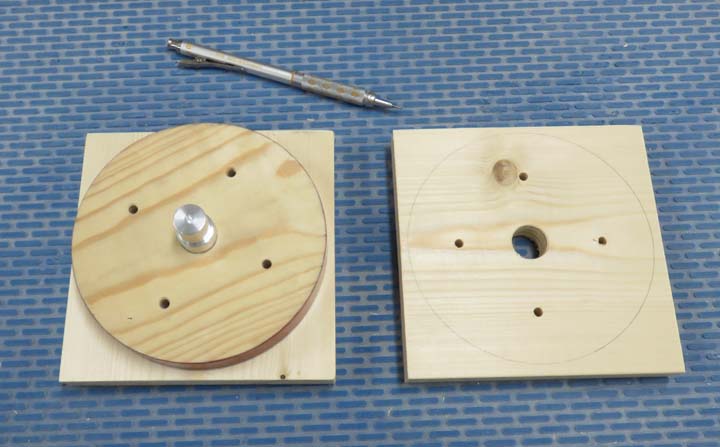
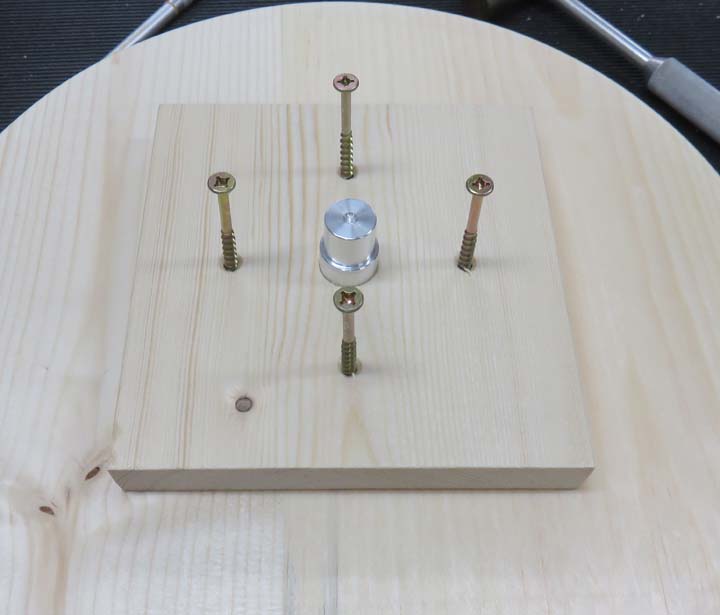
Next I made some tooling to put in four clearance holes into the five
inch rounds. To use this fixture, I put that aluminum pin through the five inch
round and into the fixture to locate it.
|
|
 |
Next I drilled four 3/16" holes 1 3/4" off center.
|
|
 |
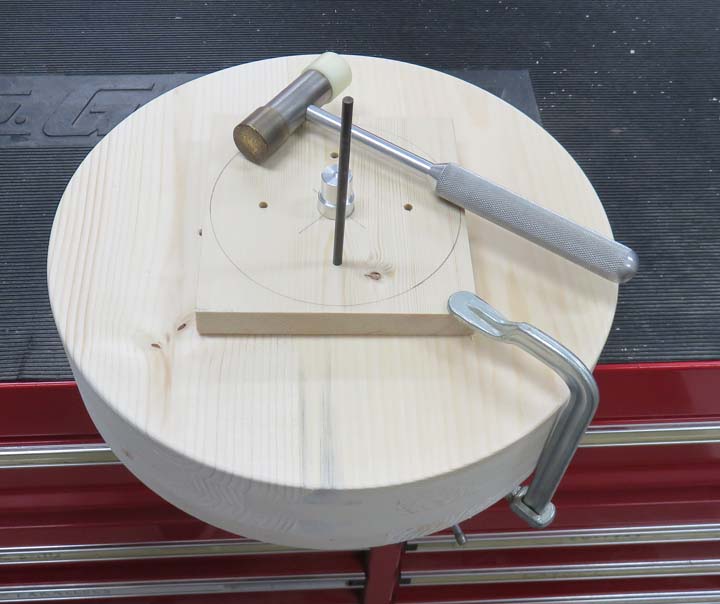
Once the holes were in I used that same aluminum pin to locate a
template to draw a layout line.
|
|
 |
Then I used a transfer punch to layout my four holes on the lock wheel.
|
|
 |
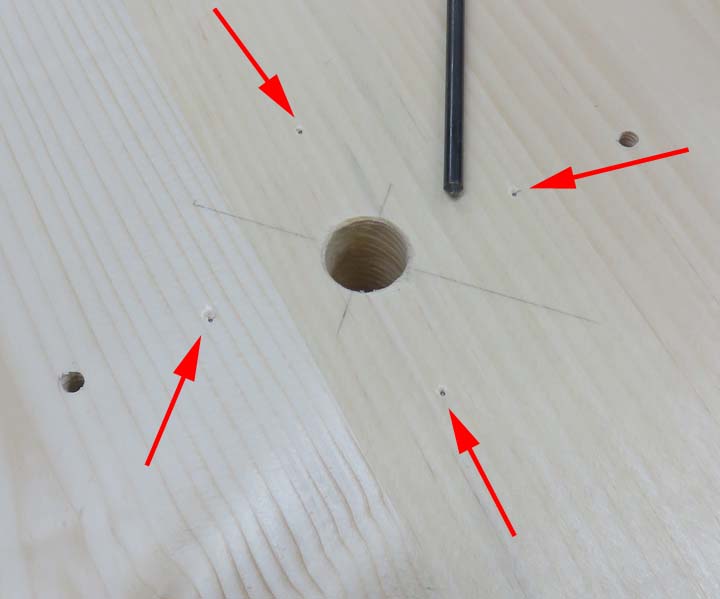
Here is what it looks like after lightly hitting the transfer punch with
a hammer. Now I can drill some pilot holes for my screws.
|
|
 |
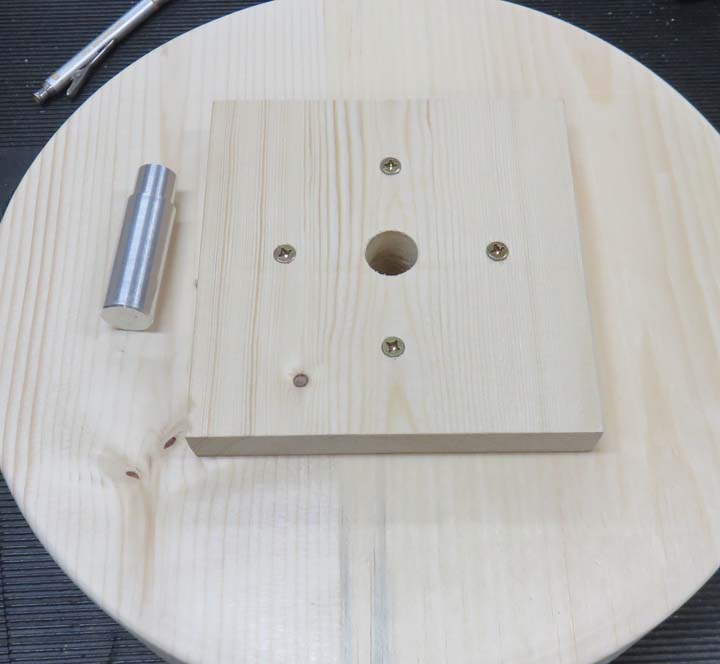
To make sure the five inch rounds are located in the center I used my
aluminum pin once again and then tightened all the screws.
|
|
 |
And there we go. Now it's time to use the bandsaw.
|
|
 |
|
1
2
3
4
5
6
7
8
9
10
11
12
13 |