|
Working With Wood Continued
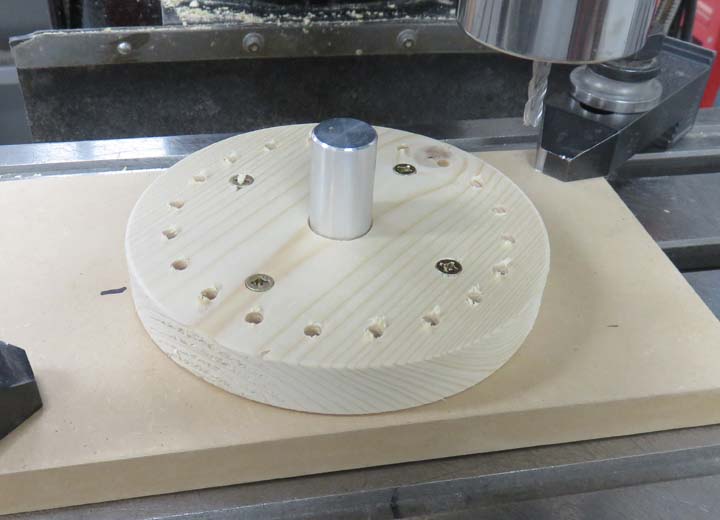
After a few minutes I had 20 holes equally spaced apart.
|
|
 |
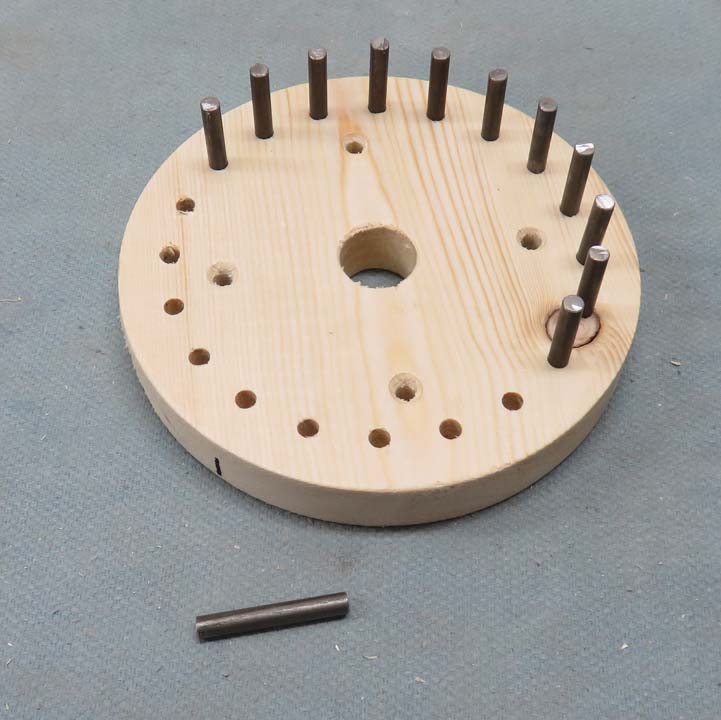
Next I pressed the pins in using a small
hammer. However, some of the pins didn't have enough press fit so I had
to modify a few of them.
|
|
 |
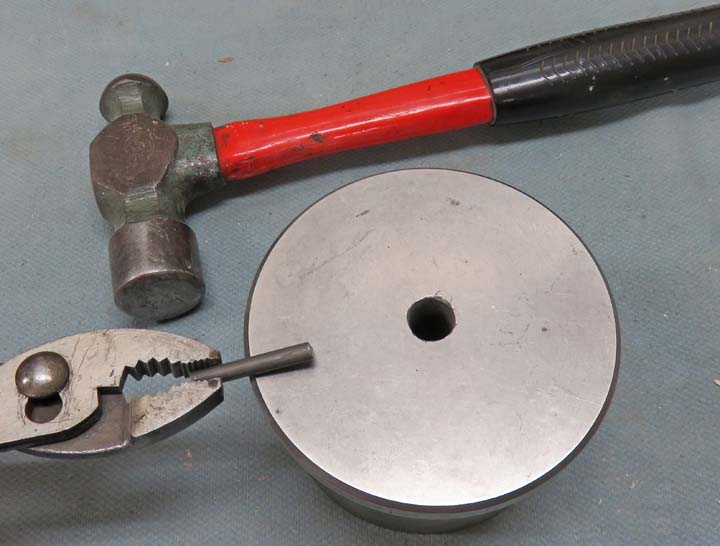
One hit with a hammer and a hardened dolly made quick work of mashing
one end of the pin.
|
|
 |
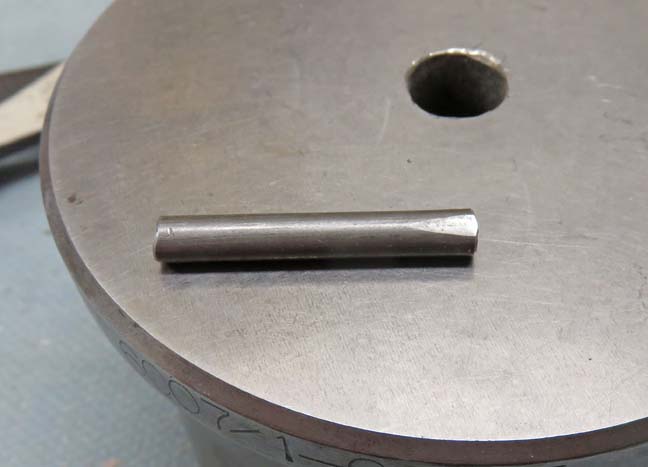
Deforming the pin enlarges the diameter slightly giving me the press fit
I was looking for.
|
|
 |
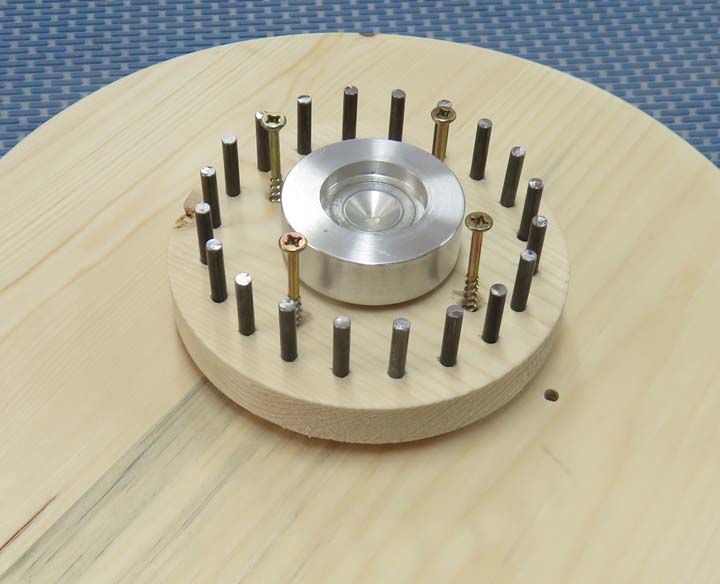
And there we go, all 20 pins are nice and secure now.
|
|
 |
At this point I'm ready to fasten the five inch round to my 12" piece.
And to make sure both are aligned I'm using my lathe tooling once again.
|
|
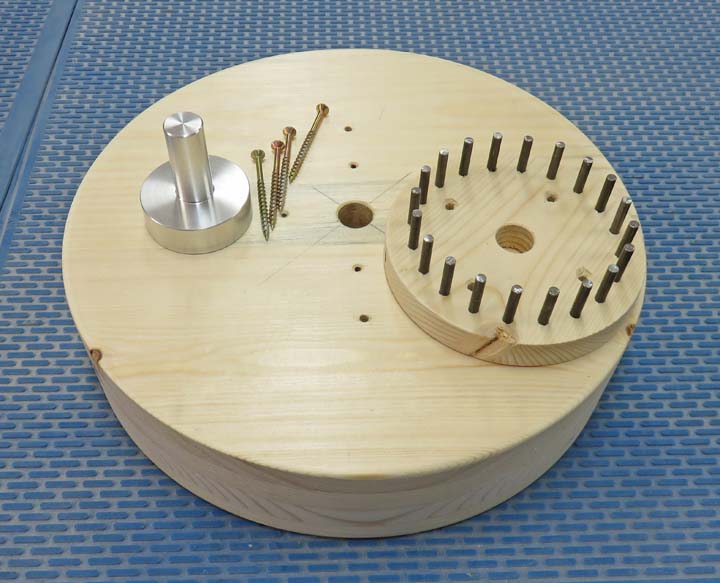 |
With the 3/4" pin inserted into both pieces, I can now tighten the four
screws in place creating an assembly. I did this for all the pieces
which worked out pretty good.
|
|
 |
|
Working With Metal
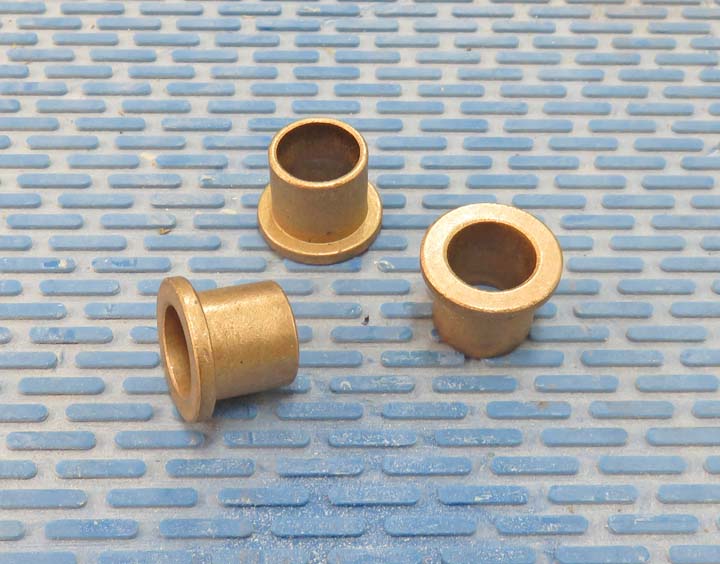
I'm going to use some oil-light bronze bushings that
will be installed into each end of the assemblies above. The inside
diameter (I.D.) is 5/8" and the outside diameter (O.D.) is 3/4". The
length is also 3/4" which includes the shoulder. These will be used with
a 5/8" diameter steel shaft that all the wheels will spin on.
|
|
 |
|
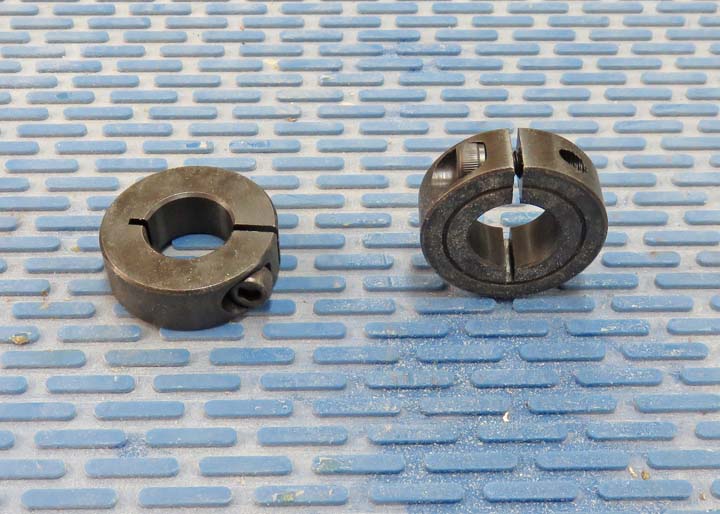
I've used these collars on a
previous project many years ago
and they worked great. These collars will be used to hold each wheel in
place so they doesn't move from left-to-right on the shaft. They have a
single screw that tightens them down and are made out of steel.
|
|
 |
Here I'm installing the bushings into the wheel assembly using a soft
faced hammer.
|
|
 |
|
1
2
3
4
5
6
7
8
9
10
11
12
13 |