|
Painting Continued
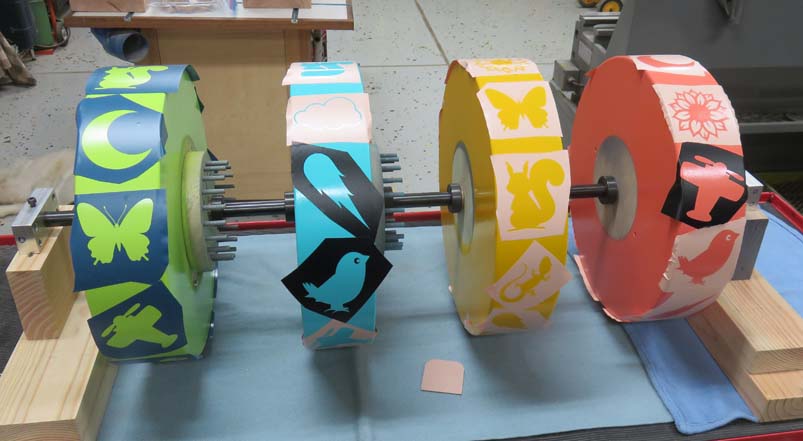
What you see here are stencils that Angela made. There
are 11 of them per wheel and now it's time to start painting. Now I
thought about spray painting each one but that would require a lot of masking
so we decided to use a brush instead. The color will be gloss black.
|
|
 |
| Problems
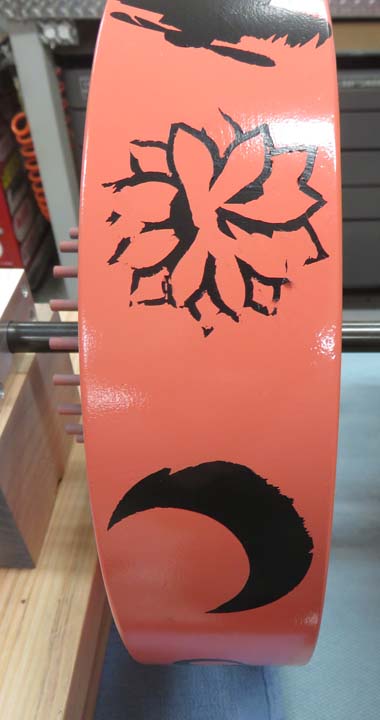
As you can see things didn't go very well. We were both
painting on different wheels but when it was time to peel off the
stencil, it took
off more than we bargained for and the images don't look good at
all.
|
|
 |
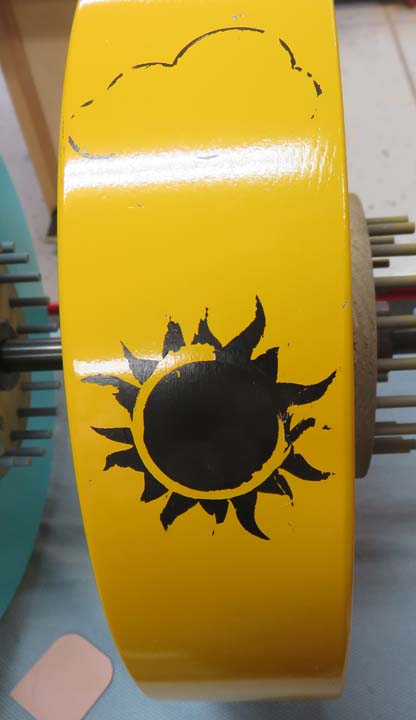
There were a few that looked pretty good, but most of them look like
this.
|
|
 |
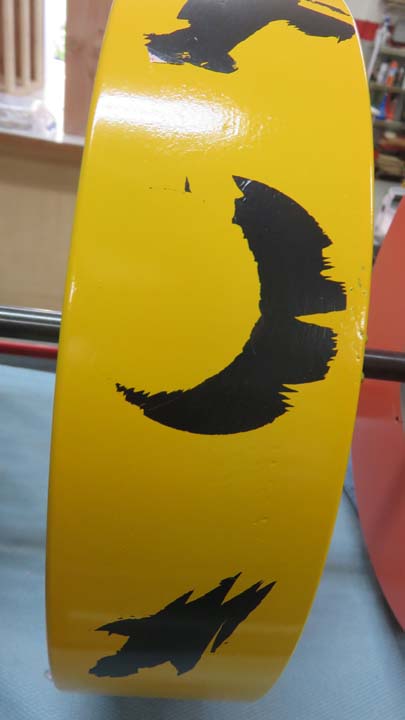
This was truly heartbreaking for both of us. And the only thing I could
do at this point is to sand the paint off all the wheels and start over.
|
|
 |
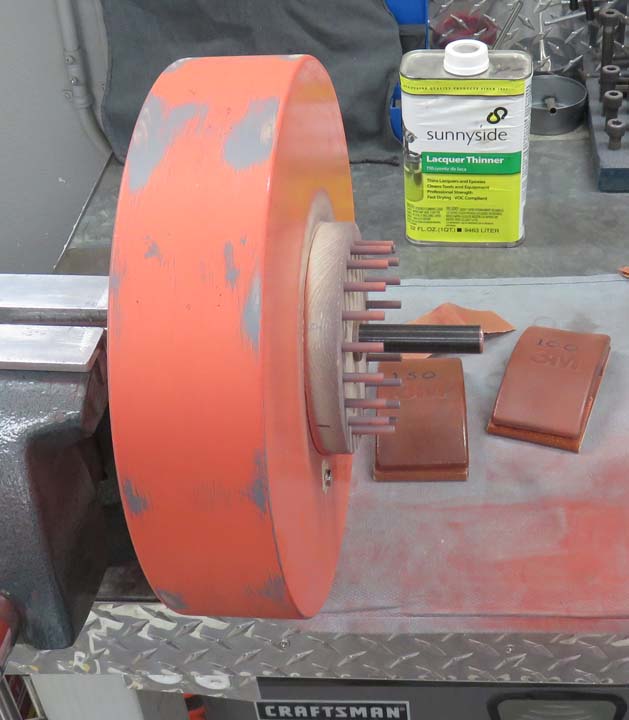
I let the paint dry and the next day I started sanding all the wheels
again. This took me all day but I was able to repaint them all and get
it assembled again. Boy was I tired after that!
|
|
 |
|
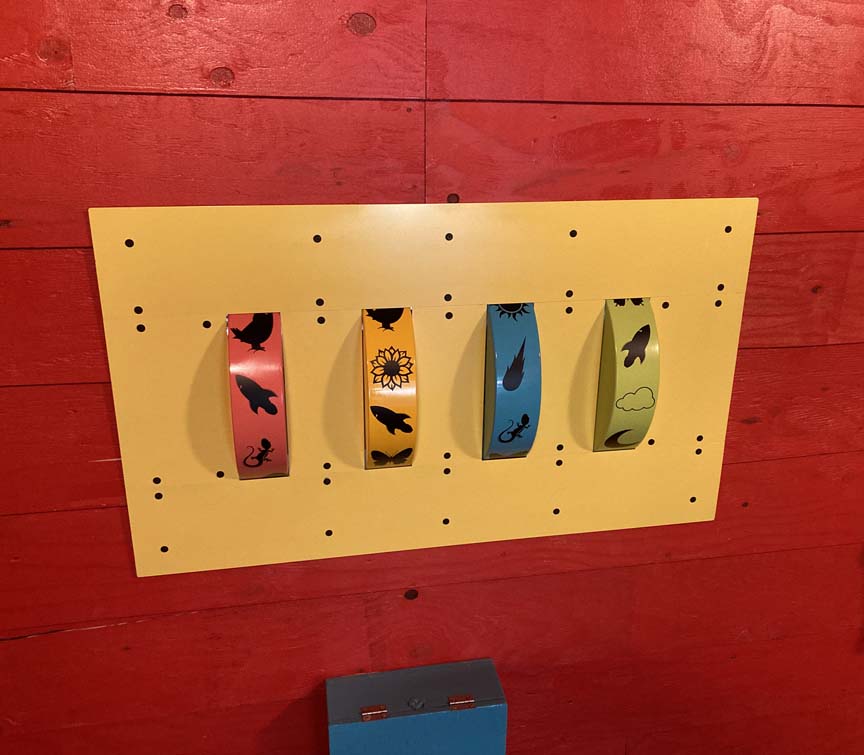
It's Finished Two days later I helped the kids install it. Then Angela used
stickers in place of stencils, which was much easier. And as you can see, it looks amazing. Now
for the other larger lock wheels, they will end up with stickers too.
|
|
 |
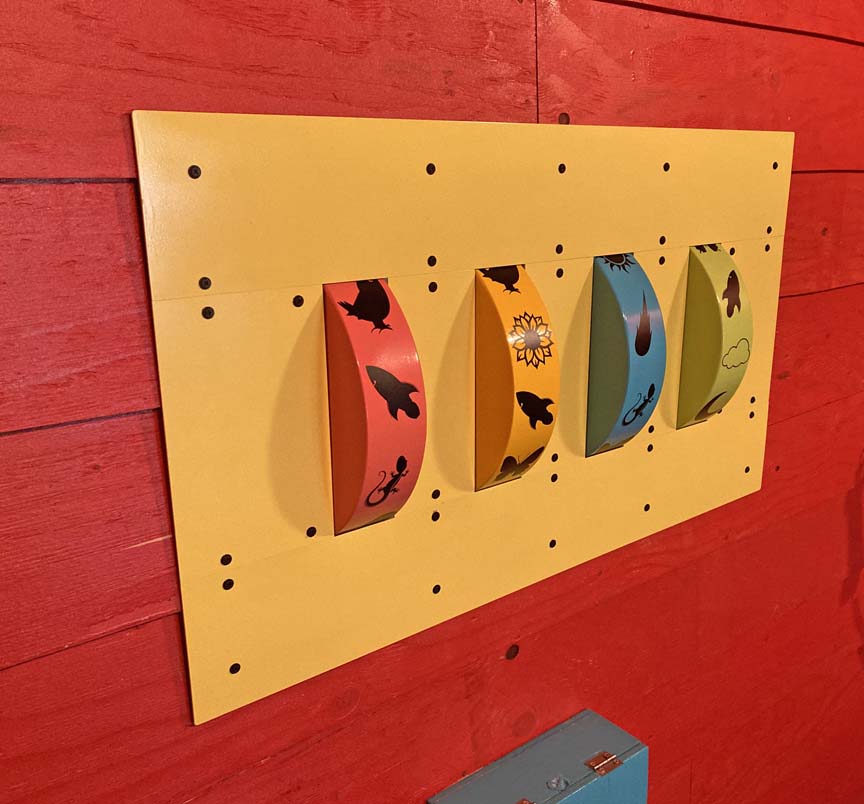
We should've used stickers from the beginning (live and learn), but on
the plus side, everything works great. This was a really big project but
the kids are very happy with it and so am I.
|
|
 |
|
1
2
3
4
5
6
7
8
9
10
11
12
13 |