|
I wanted to put a clock in our master bathroom and I
decided to make one as my next project. Then my wife said that we should
put the one in the kitchen into our bathroom and then put the new one in
the kitchen. That sounded good to me so this is what I'll be working on
this time, a clock.
Working With Wood
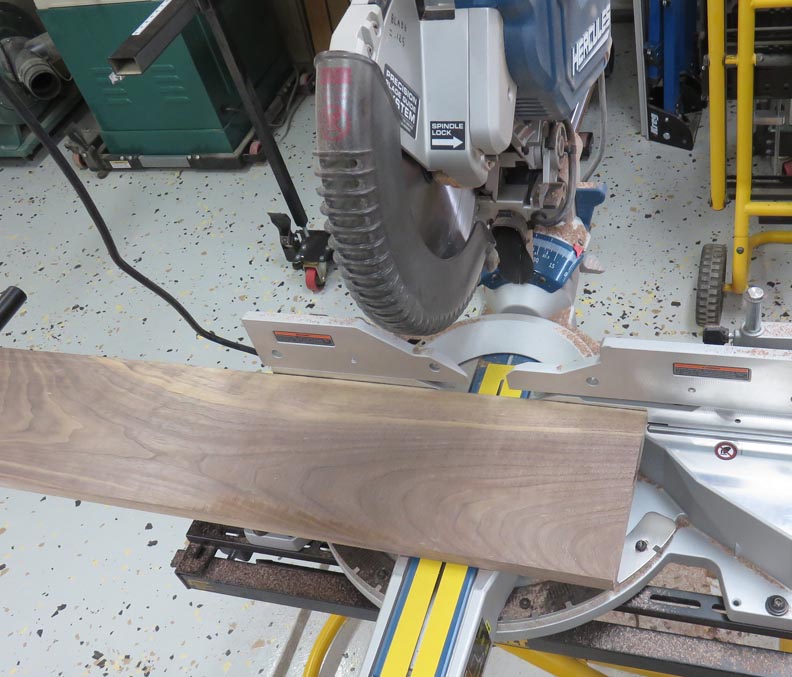
The clock size be 13 1/2" diameter, almost 2" thick,
have five species of wood and will have silent clockworks so it stays
quiet. Here I'm cutting some black walnut for part of this new project.
|
|
 |
|
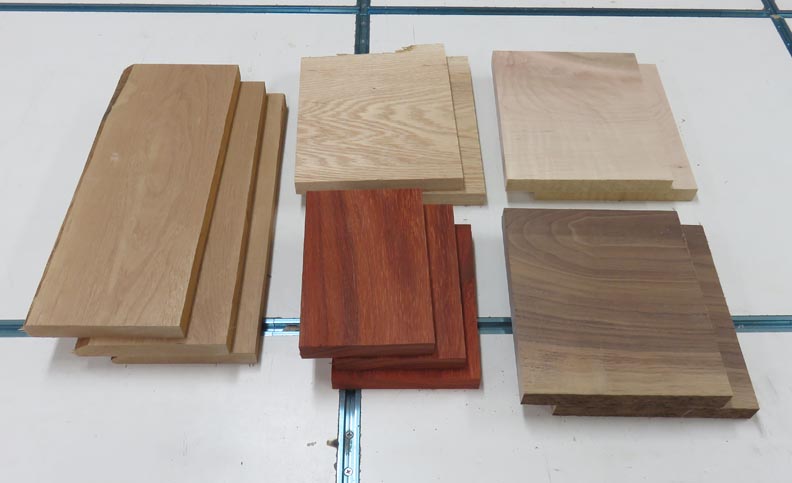
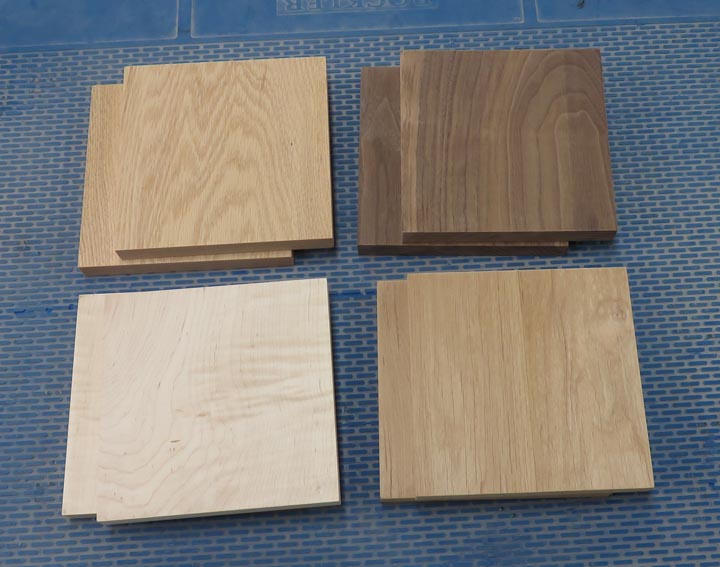
Going clockwise from the left is the wood that I'll be
using; alder, oak, maple, black walnut and bubinga. My plan is to use
alder, oak, maple and black walnut on the face and on the back. And the
bubinga will be sandwiched in the middle (red color).
|
|
 |
|
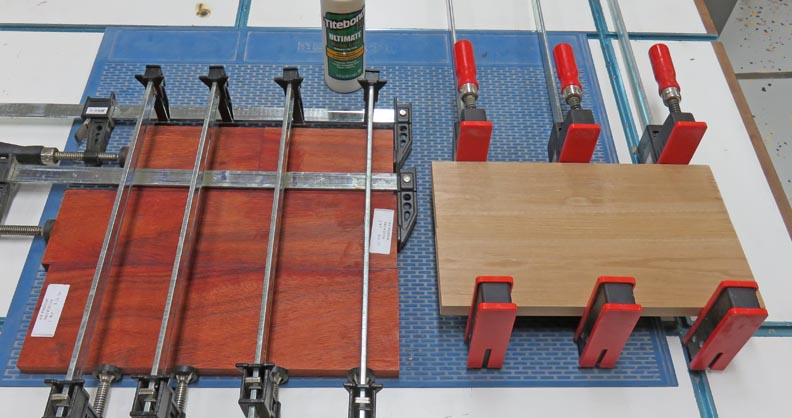
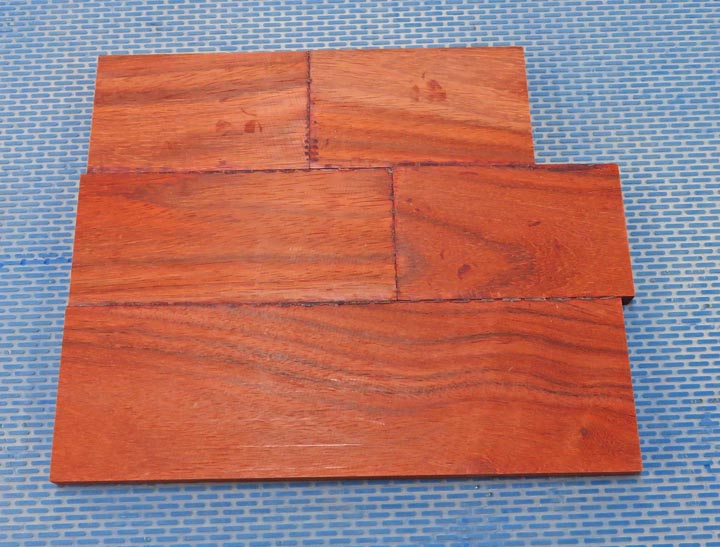
Here I'm gluing-up the bubinga and alder. I didn't have
any alder wide enough which meant gluing two pieces together. And the
bubinga will be in the middle and needs to be large enough to get at
least 13.5" out of.
|
|
 |
Next I used my table saw to cut all the pieces for the face at 7"
square.
|
|
 |
Here you can see I've got my pieces all cut to 7" square, all the edges
are sanded and they are ready to be glued.
|
|
 |
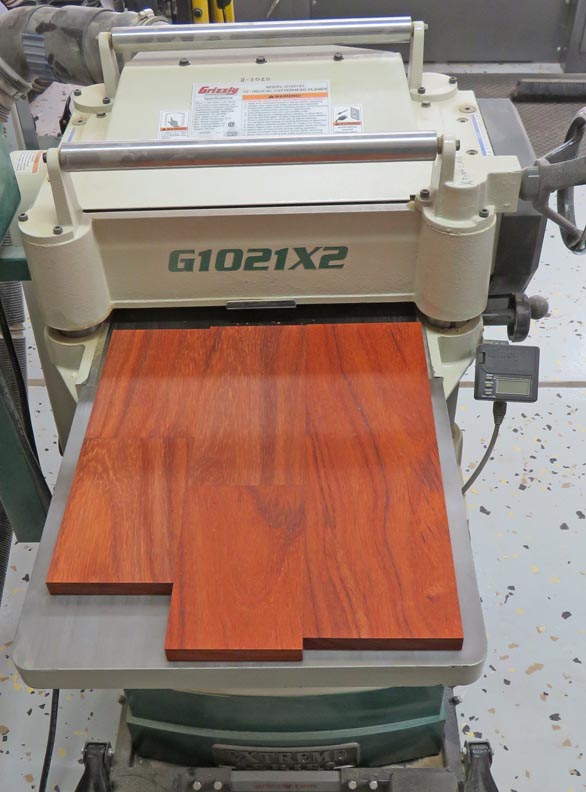
The center piece needs to be 3/8" thick so it's time to send it through
my thickness planer.
|
|
 |
After a few minutes, I was at my 3/8" dimension. Now it's time to do
more gluing.
|
|
 |
|
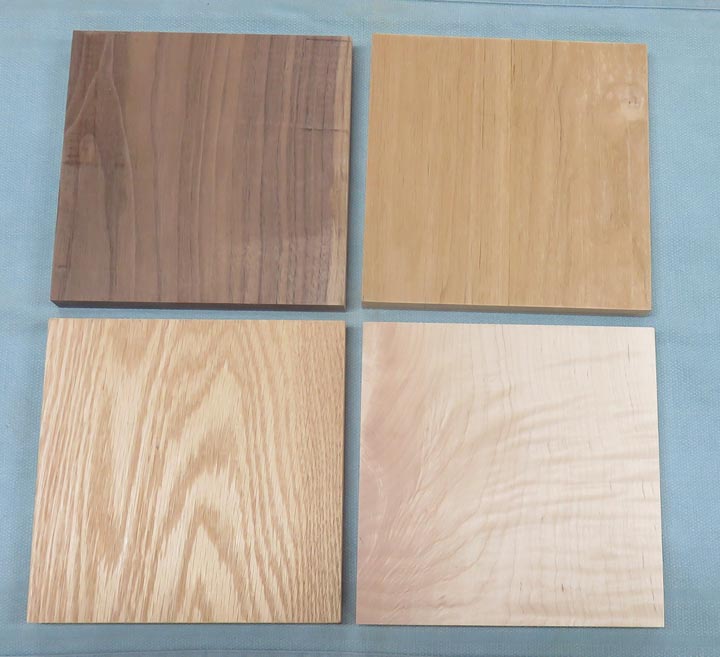
This is the order I'll be placing all my pieces for the
clock face. However, gluing end grain is not ideal because it won't give
me a strong joint. To get around this, I'm going to place the bubinga in
the middle and glue all my pieces to it. This way all my glue joints
will be face-to-face, which will be very strong. And this red color will
be visible on the outside diameter.
You might be thinking, why didn't he use some biscuits
between each end grain piece? Well I thought of that, and it would
probably work. But then I thought the reddish color might make a nice
contrast against the other pieces.
|
|
 |
|
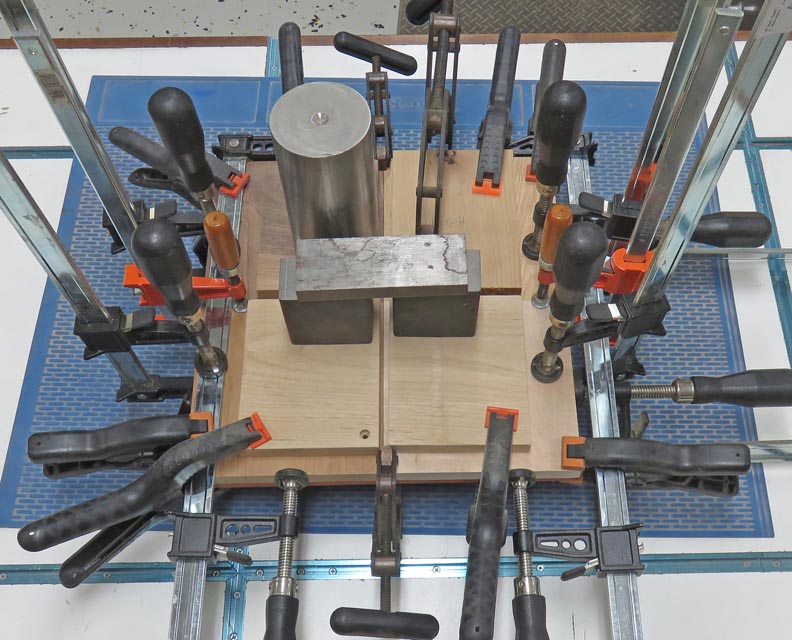
I did one side at a time, with this side being the clock
face. The smaller pieces of wood that you see are just for clamping and
are sacrificial. The metal pieces in the middle are used as clamps
because I didn't have any long enough. This was a two day process
because the next day I repeated this whole process for the other side.
|
|
 |
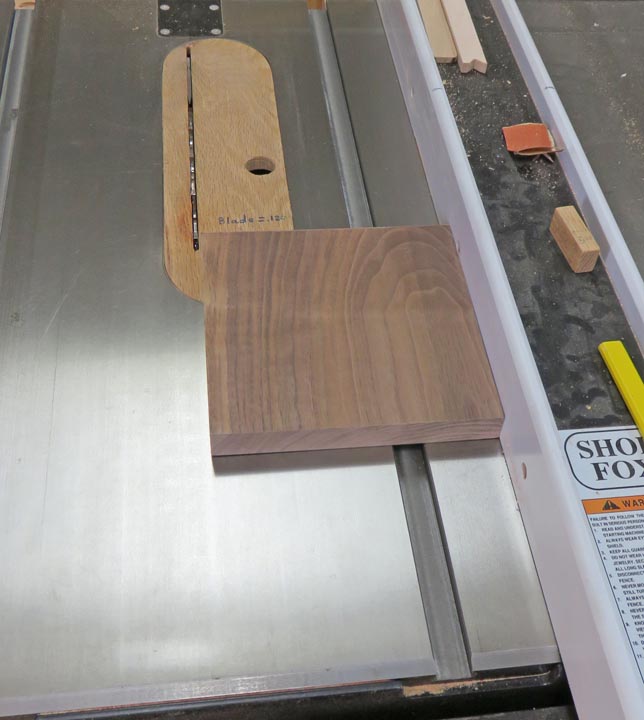
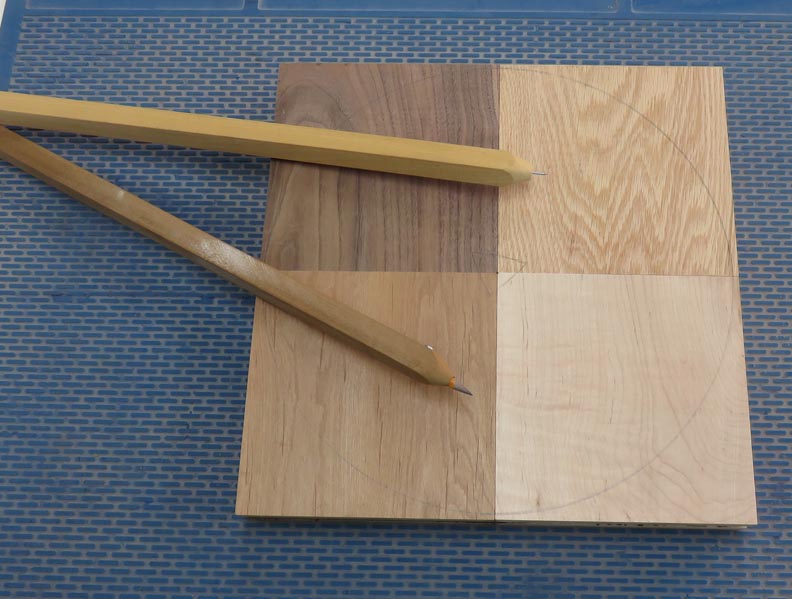
With all my pieces now glued together, I drew a 13 3/4"circle on my work
piece to see how everything looked. And yes, I only need 13 1/2" but I
was just checking.
|
|
 |
|
1
2
3
4
5
6
7
8 |