|
Assembly Continued
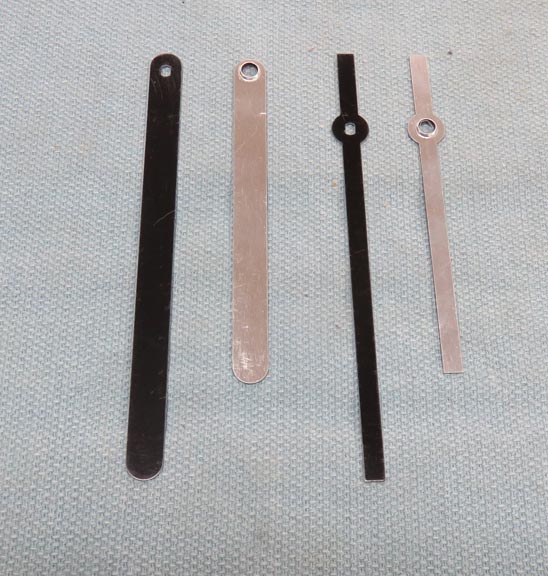
I bought some different hands but they only came in black, which
doesn't contrast well with my project. Time to do some modifying.
|
|
 |
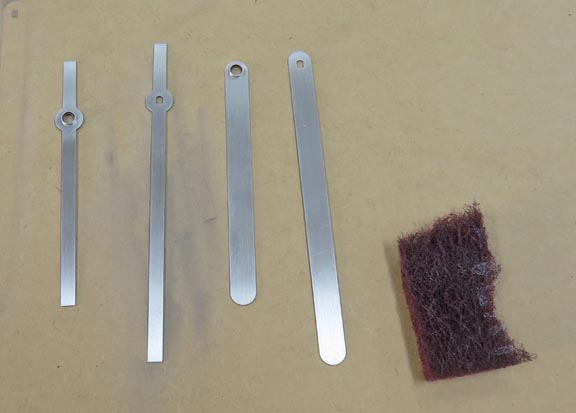
I used some Scotch Brite and roughed up
the raw aluminum surface (the back) of all the hands.
|
|
 |
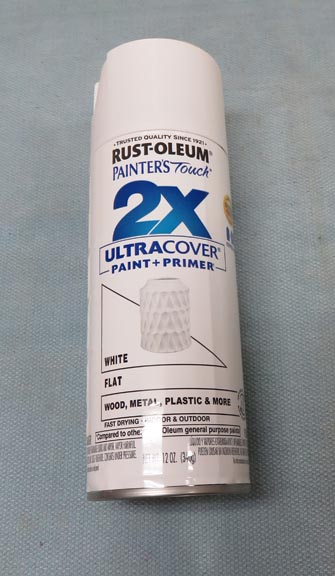
I cleaned all the hands with lacquer thinner and then used some white paint on
them.
|
|
 |
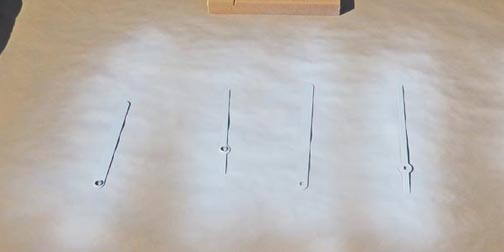
These hands don't weigh much and when I first shot some paint on them,
one of them flipped over. This meant I had to hold my paint can a little
farther from my pieces.
|
|
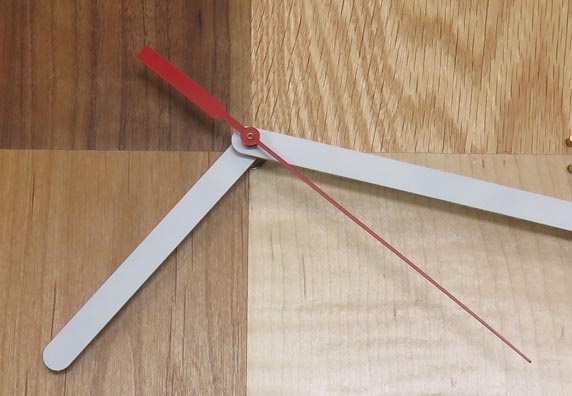
These are the larger of the two new ones. Once I put the clock on the
wall, I didn't like them because they were just too big and didn't look
right.
|
|
|
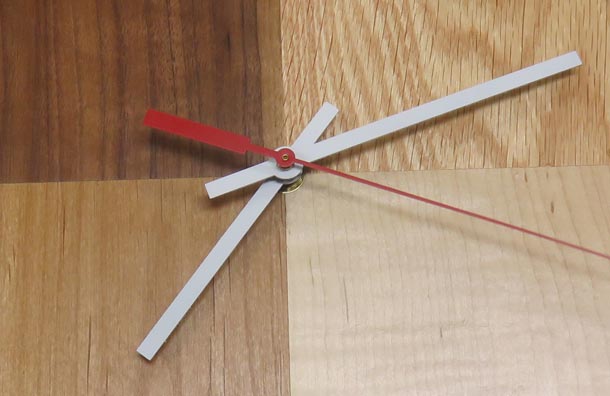
But the the other ones seemed to be just right, so these are the ones
I'll be using.
|
|
 |
|
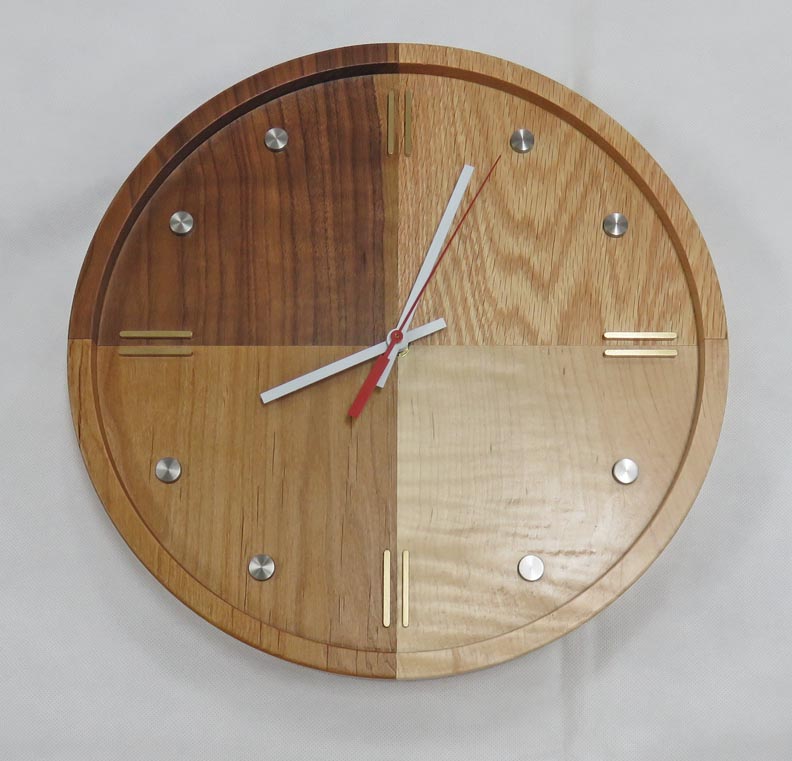
It's Finished
Here it is all finished.
|
|
 |
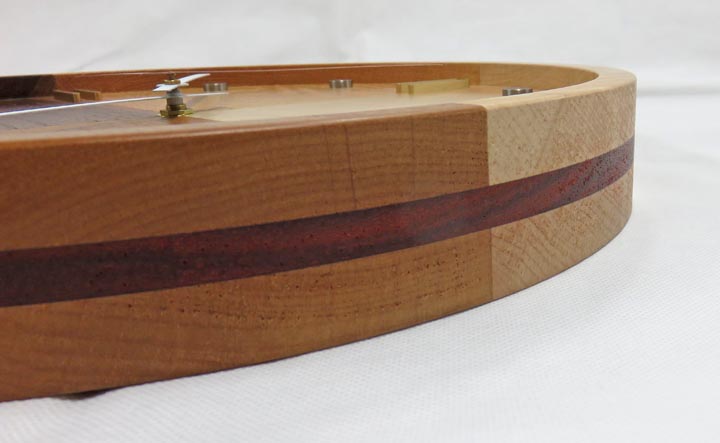
The picture doesn't do the bubinga justice.
|
|
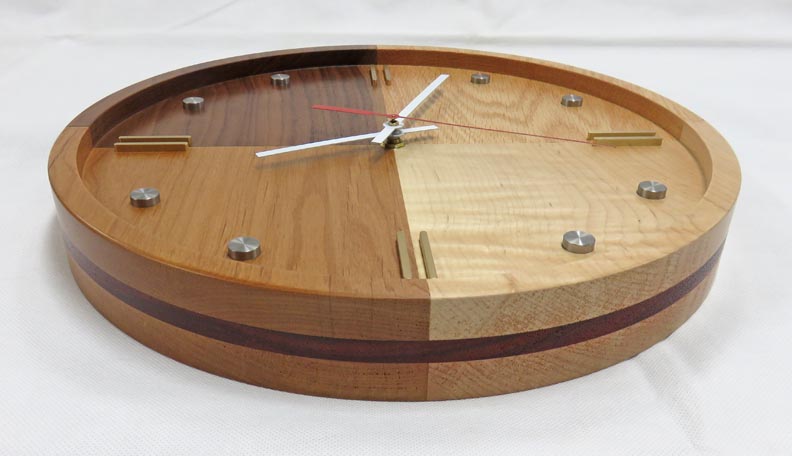 |
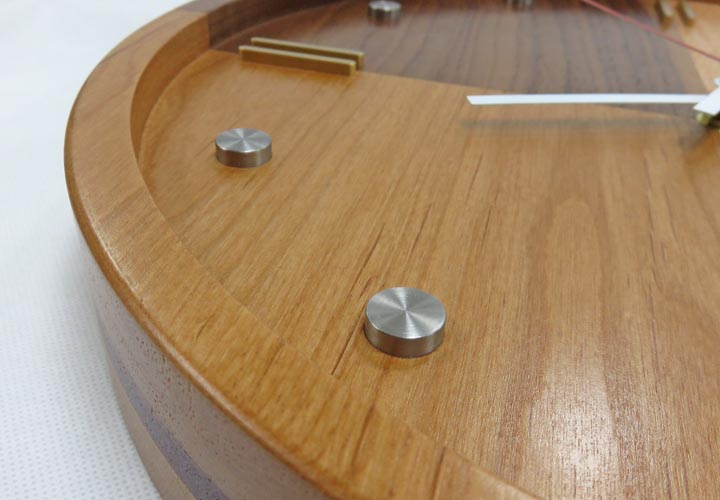
I like the contrast between the brass and stainless together.
|
|
 |
Each quadrant looks so different, which is what I wanted.
|
|
 |
Here is a better look at the bubinga, which looks great with the other
species of wood.
|
|
 |
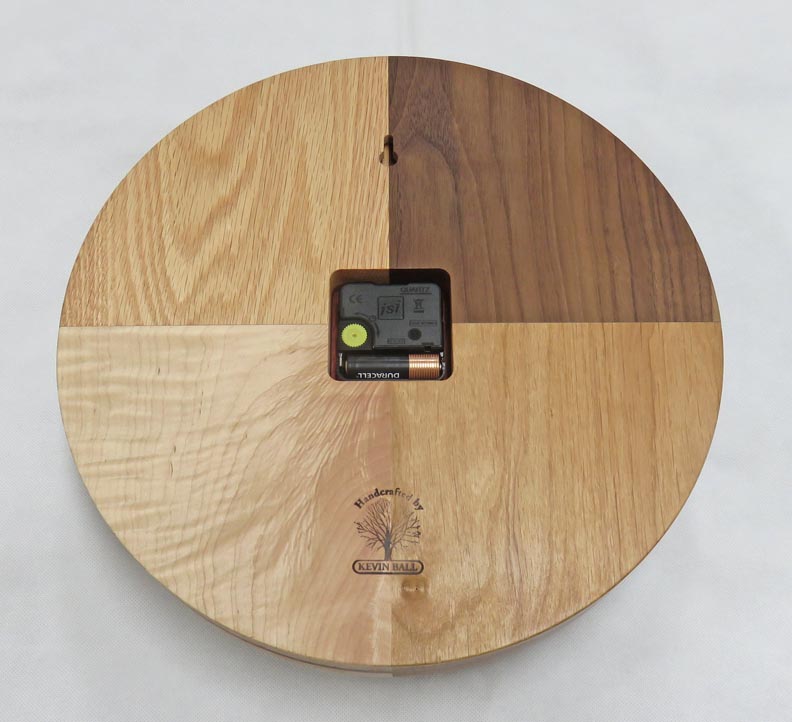
The clock works and my brand.
|
|
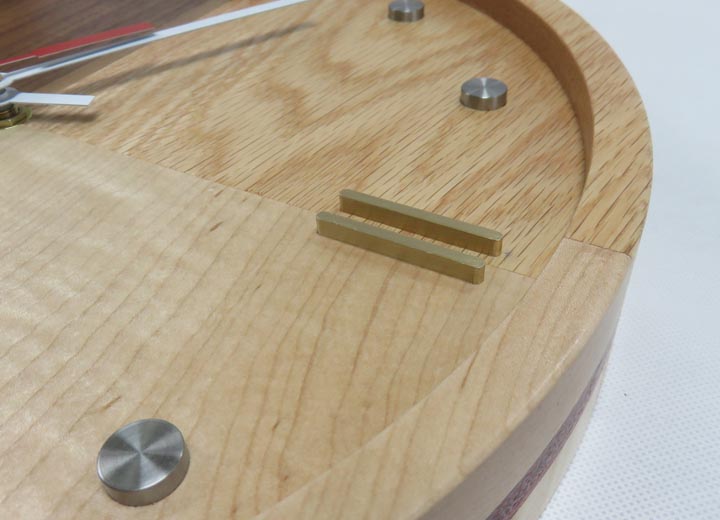
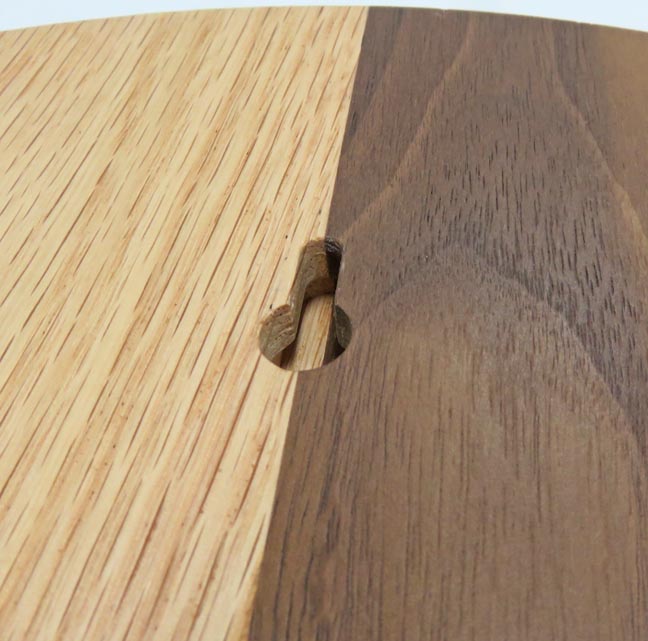
A close-up of the mounting slot.
|
|
This was a really fun project and it looks great in our home.
|
 |
|
1
2
3
4
5
6
7
8 |