|
Working With Wood Again
The last thing I'll be doing is making a slot to hang
the clock. The red tool is a key-slot cutter and is made to cut a hole
(going straight down approximately 1/2" deep), then you move either
forward, backward, left or right a small amount to cut your slot length.
Now I've used this tool once before on my router table and it's
worked great. However, those projects had straight sides that I could
slide along the fence on my router table. But with my work piece being
round, I'm not able to do that. So I'll be using my milling machine to
cut this slot. However, to make it easier on my key-slot tool, I'll be
using two other cutting tools to remove excess material before I use the
sloting tool.
|
|
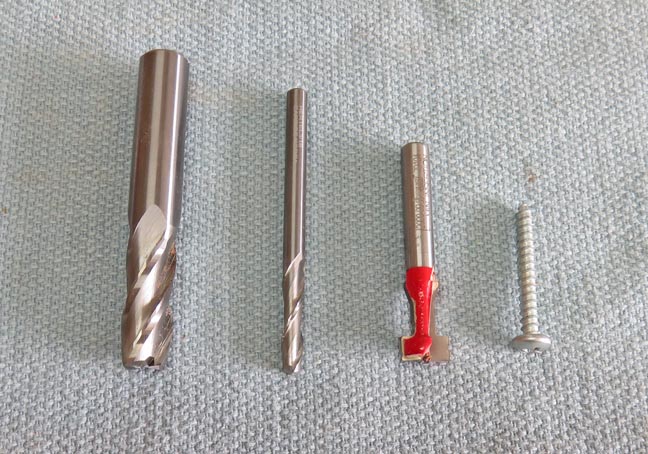 |
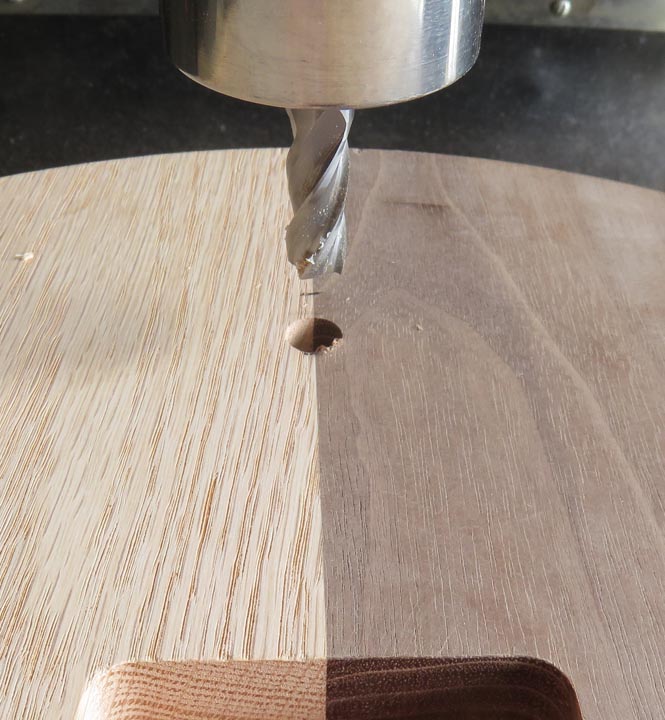
This is a 1/2" diameter end mill and I'm going 1/2" deep.
|
|
 |
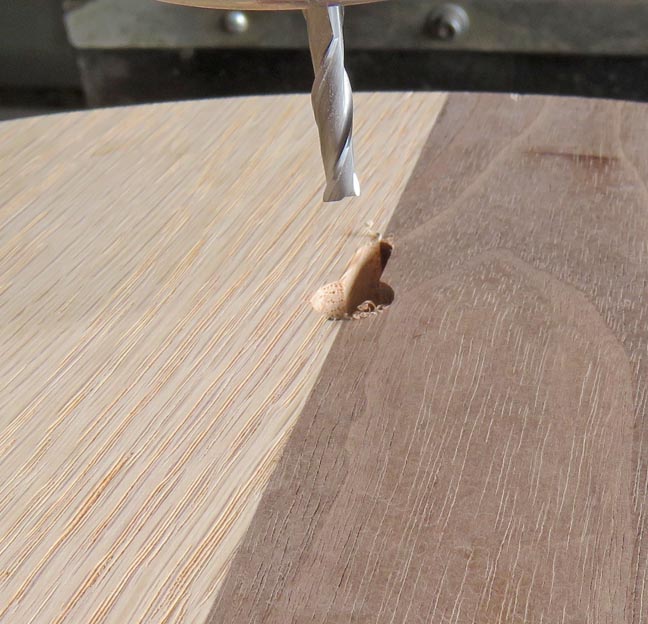
This is a 3/16" diameter end mill that I'm producing a slot 1/2"
deep and about 3/4" long.
|
|
 |
|
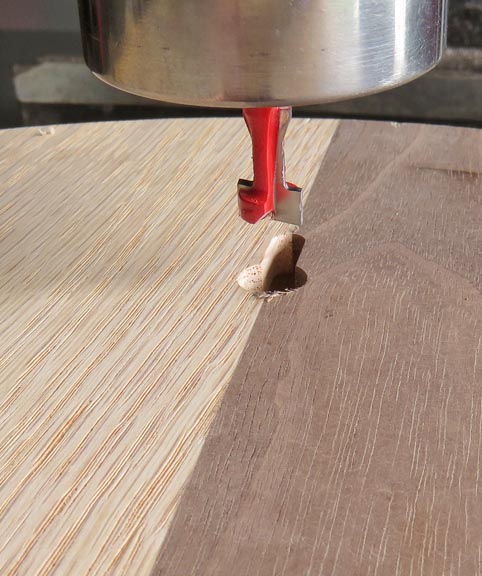
And last I'm using my key-slot cutter. The cutter at
the bottom is 1/2" diameter and then it transitions to 3/16" diameter
farther up. All I had to do is set my depth to 1/2" deep (like the first
tool) and then move it 3/4" following the path as the second
cutter (3/16" end mill). This worked out great and went smoothly.
|
|
 |
|
Assembly
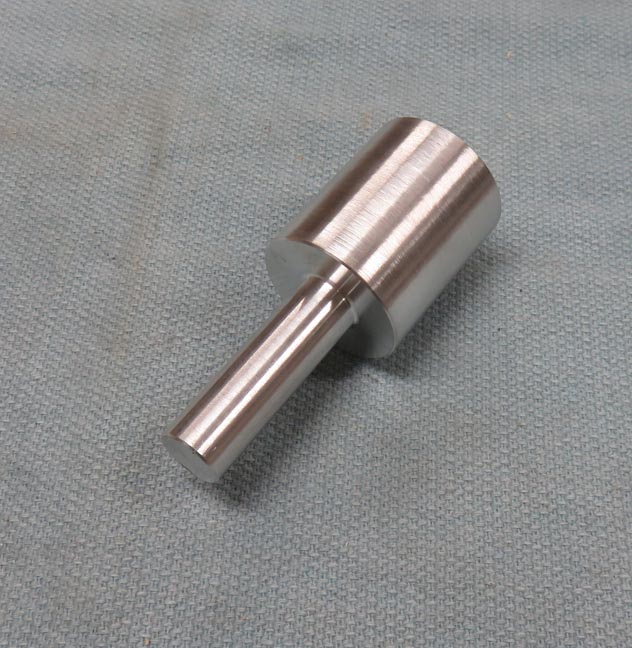
I made this piece of tooling to help me press in my
brass and stainless pieces. This is made out of aluminum and didn't take
long to make. The shank is 1/2" diameter which I'll use in a collet on
my milling machine.
|
|
 |
|
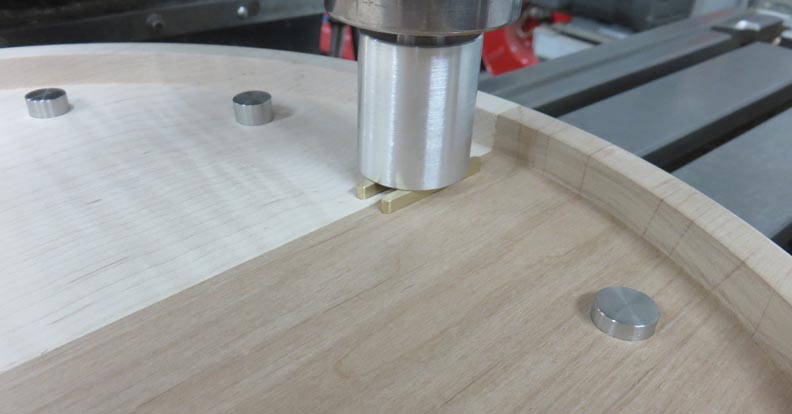
Here you can see I'm working my way around pressing in all
the pieces
into the clock face. Also notice the other stainless pieces aren't
pressed in yet, but will be next. All of the metal pieces
will stick out .150".
|
|
 |
|
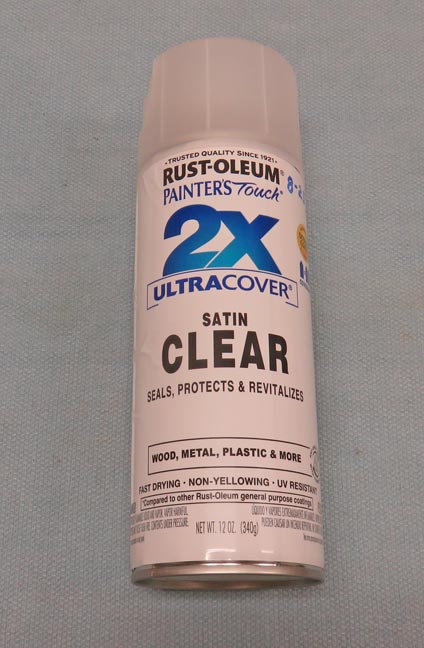
Clear Finish
I'm using some satin clear to protect everything on the clock,
except the clock works.
|
|
 |
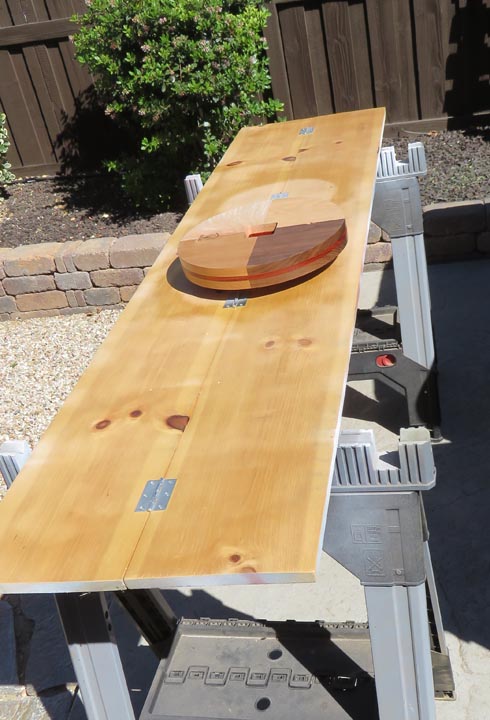
Side yard paint booth once again.
|
|
 |
|
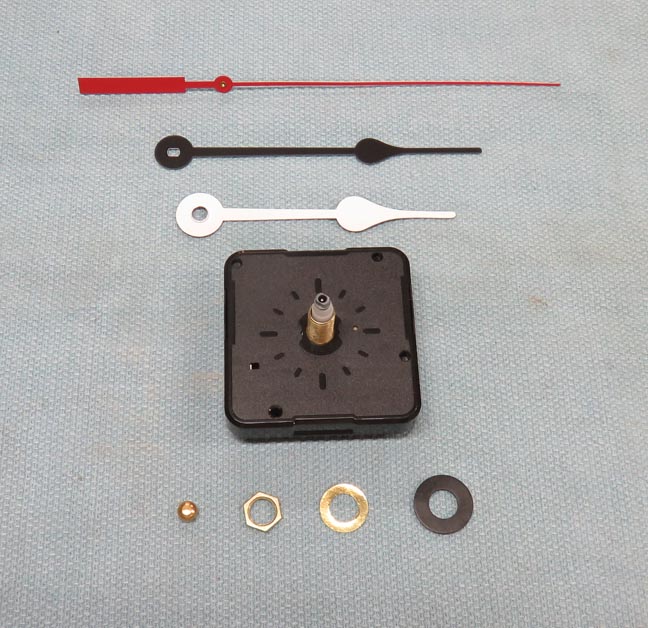
Assembly
Now it's time to assemble the clock works. As you can see I have a
choice of black or white for the hour and minute hands. I'll be using
the white hands because I think that will contrast better with the clock
face.
|
|
 |
|
Here is what the hands look like. But after hanging it
up in the kitchen, I didn't like them. What I mean is they were hard to
see when the lights were low compared to the one we took down. What I
really need are some hands that are a little longer and wider.
|

|
|
1
2
3
4
5
6
7
8 |