|
Working With Steel Continued
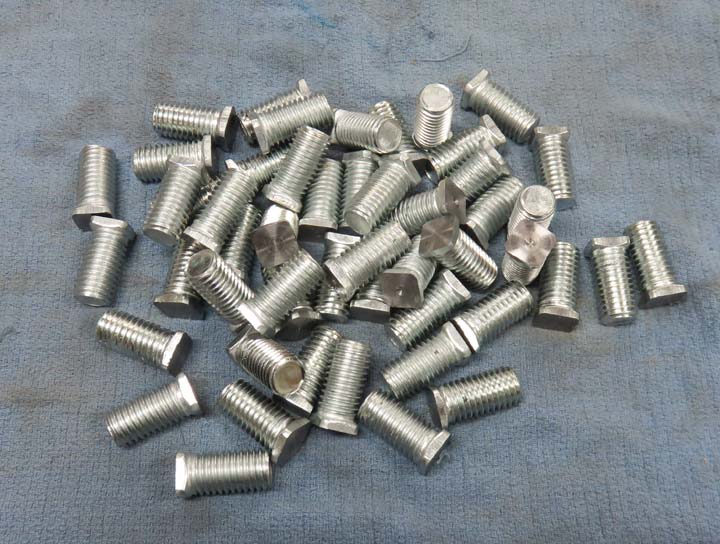
Here is the scrap pile that will be thrown away. It's a shame, but I
don't have a use for them.
|
|
 |
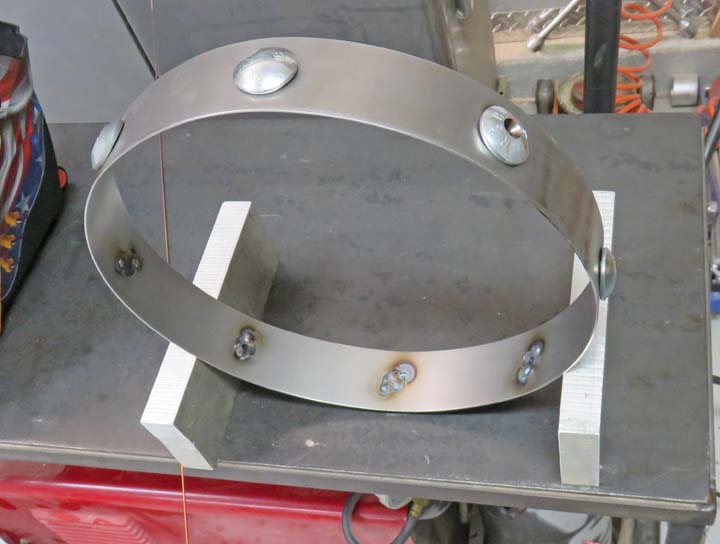
I'm putting two tack welds per bolt head
here. This is more than enough to keep them glued to the ring. The bolt
heads are staggered so that every other has a hole in them.
|
|
 |
|
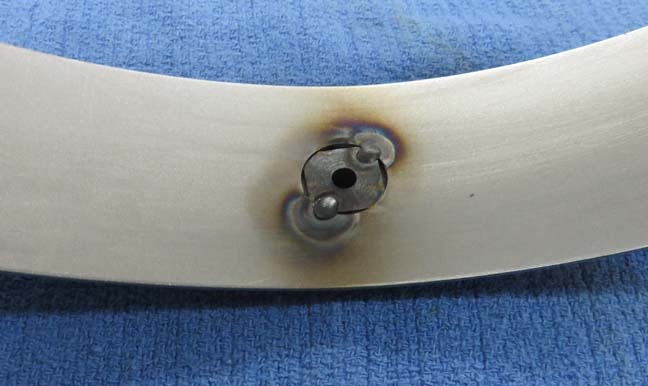
One drawback to welding bolts like this is that they're
galvanized. The galvanize plating doesn't play well when you're TIG
welding because it gets hot and spits on the electrode which
contaminates it. Then you have to stop what you're doing and regrind the
tungsten to a nice sharp point again. Very frustrating!!
|
|
 |
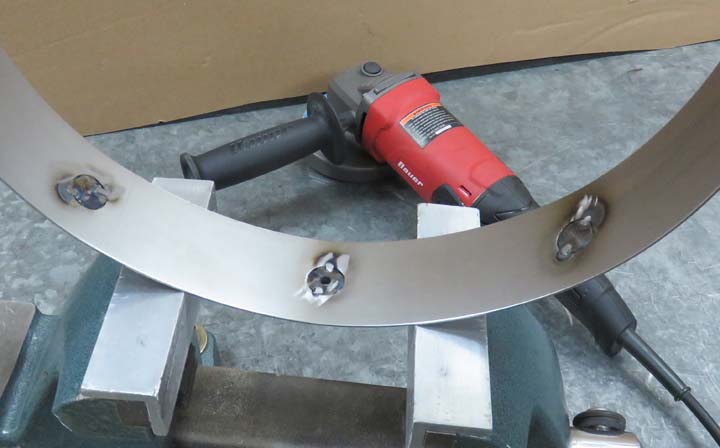
Once all the welding was finished, I lightly ground all the welds.
|
|
 |
One of the last steps was to weld the large and small rings to the
bases. The two on the right will be going in the middle of the tube.
|
|
 |
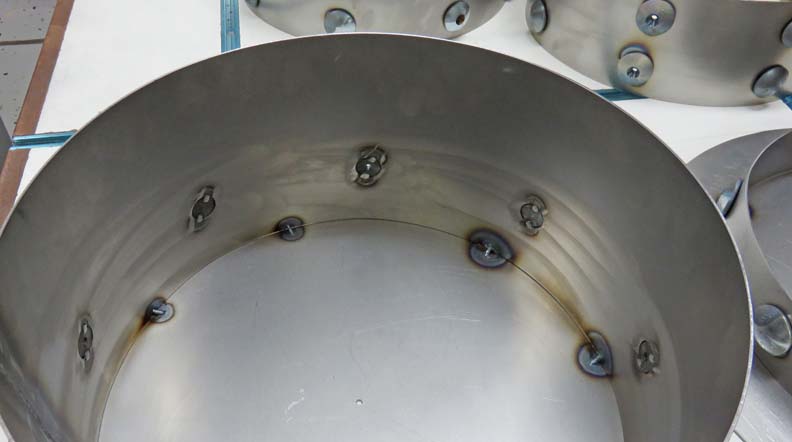
I put a eight tack welds on the inside, which should be more than
enough.
|
|
 |
|
Painting
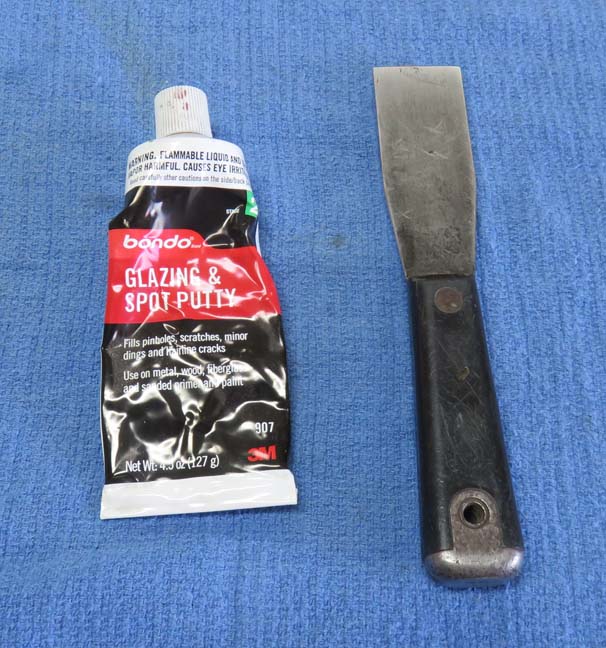
I'm using some glazing putty to fill in some of the low areas and pin
holes on the welds. I've used this stuff before and it works great.
|
|
 |
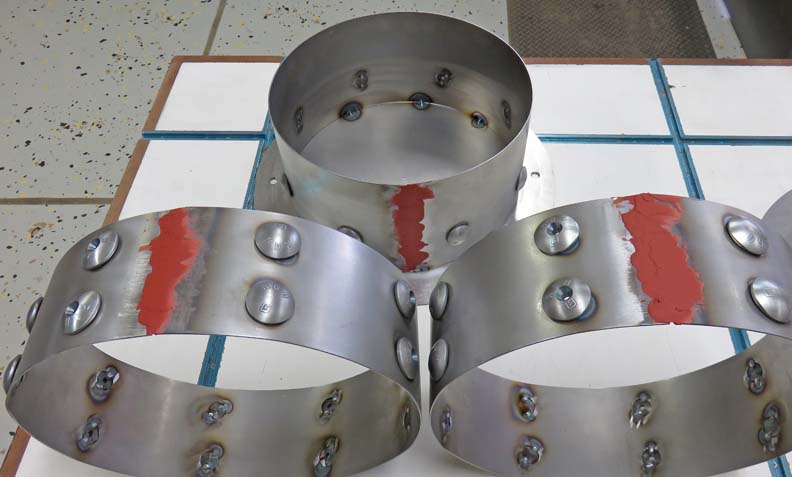
I spread in on all the welds and then sanded it off a few hours later.
|
|
 |
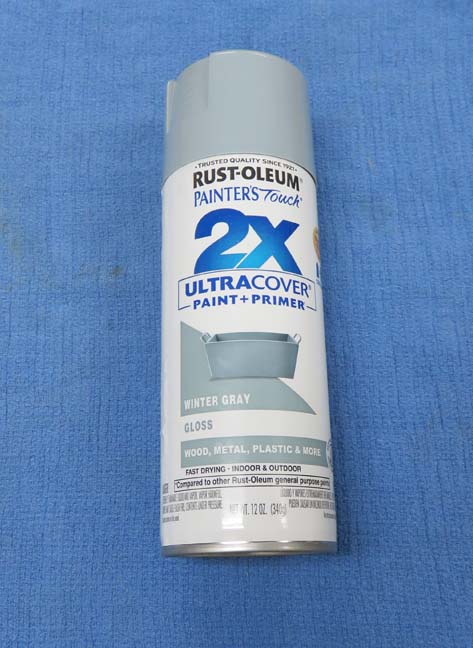
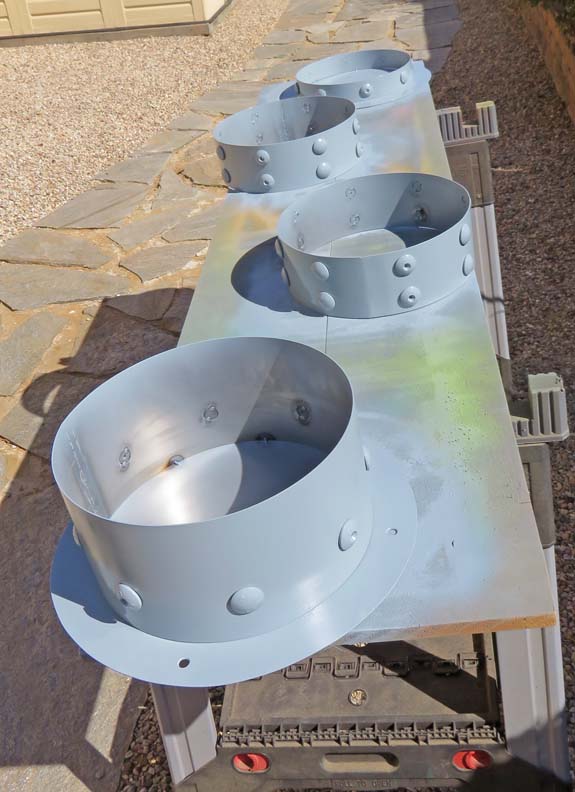
Here is the color that my daughter picked out for the rings. It's gray
and it's glossy, which should contrast nicely with the other colors in
the Escape Room.
|
|
 |
I had trouble painting these because of the extremely hot weather. I
wanted to have the paint go on wet but that was really hard to do on the
day I painted them.
|
|
 |
|
Working With Wood Again
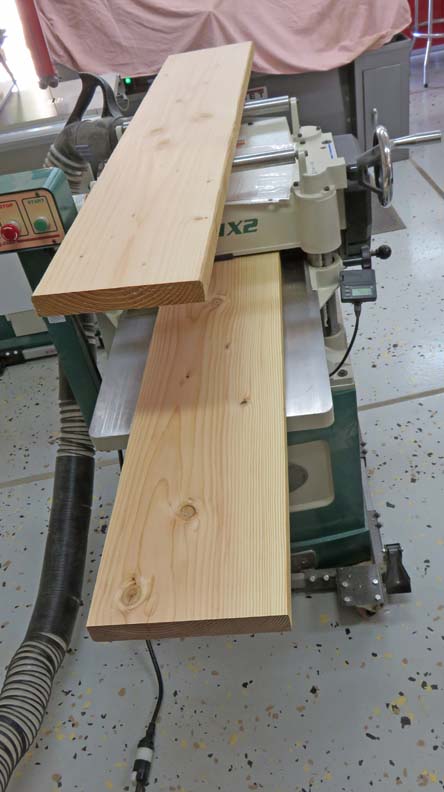
One more item that I'm helping with is a small headboard for our little
doggy. I'm using a 2" X 10" for this and the first thing I'm doing is
running it through my planer.
|
|
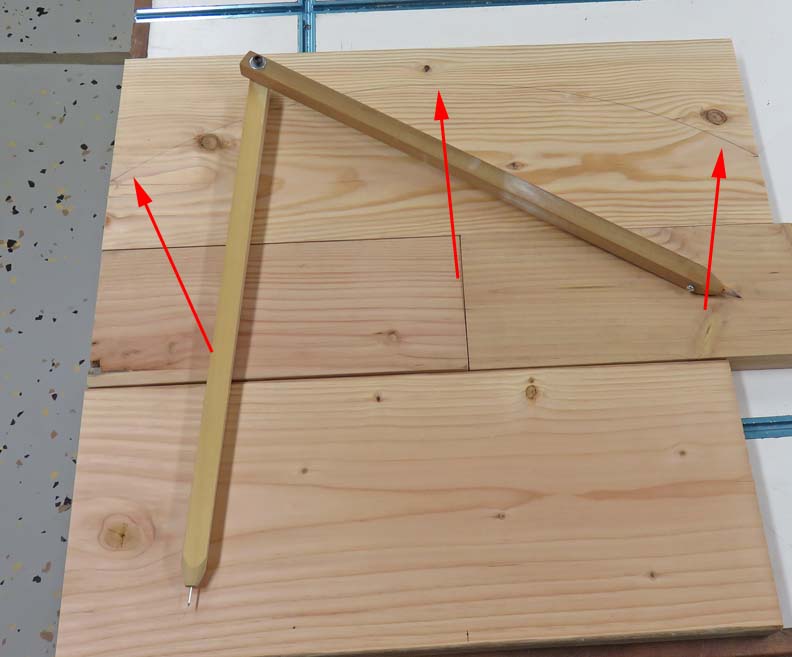
Next I'm drawing a big radius (arrows) with the use of my large
compass. The top piece of wood is what I'm laying out, the others are to
get the right distance for my radius, which is 18.0".
|
 |
|
1
2
3
4
5
6
7
8
9 |