|
Working With Wood Continued
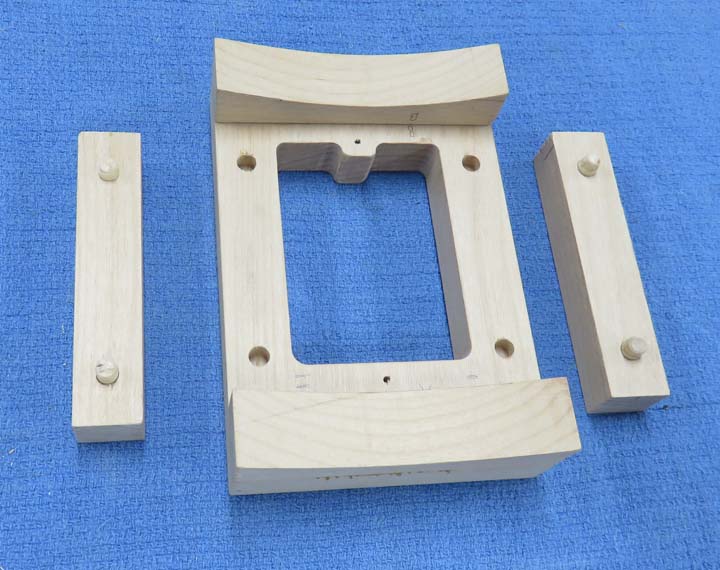
I'm fitting the side pieces next and again I'm using dowels for this.
Is this necessary? No it's not. But I figure...why not.
|
|
 |
|
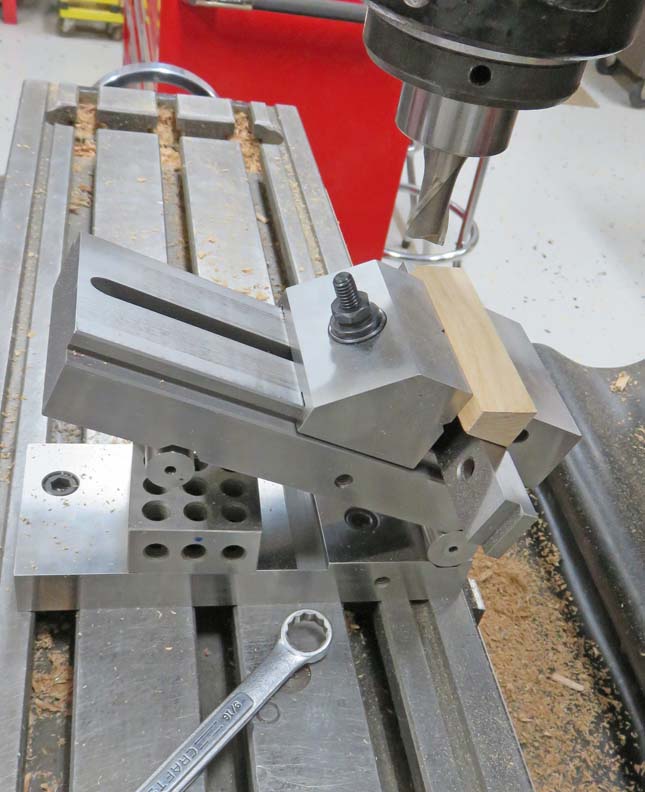
I'm cutting a 20 degree angle on the two
side pieces so it will clear the radius on the tube. I could have used
my table saw for this but smaller pieces can be dangerous so I opted to use
my milling machine and my sine vise.
|
|
 |
Once the glued dried, my box was complete.
|
|
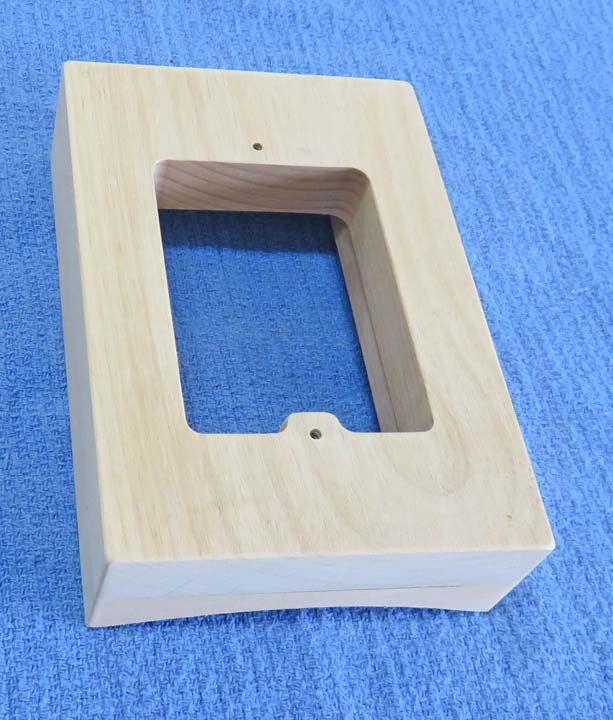 |
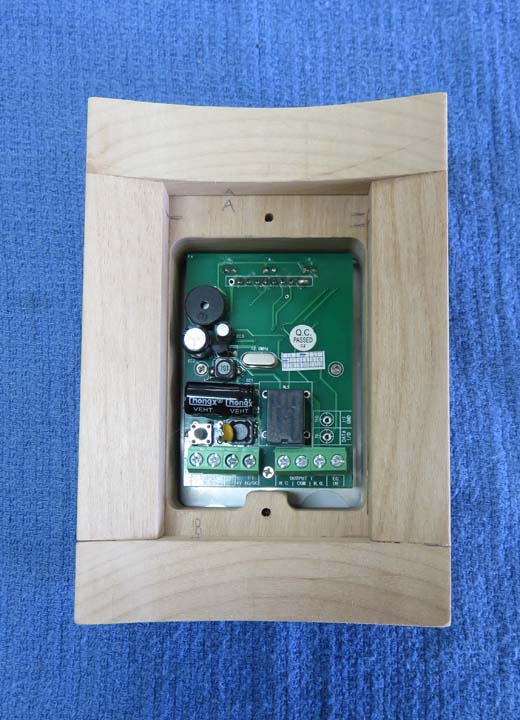
Here you can see the clearance for the tube on each side of the box.
|
|
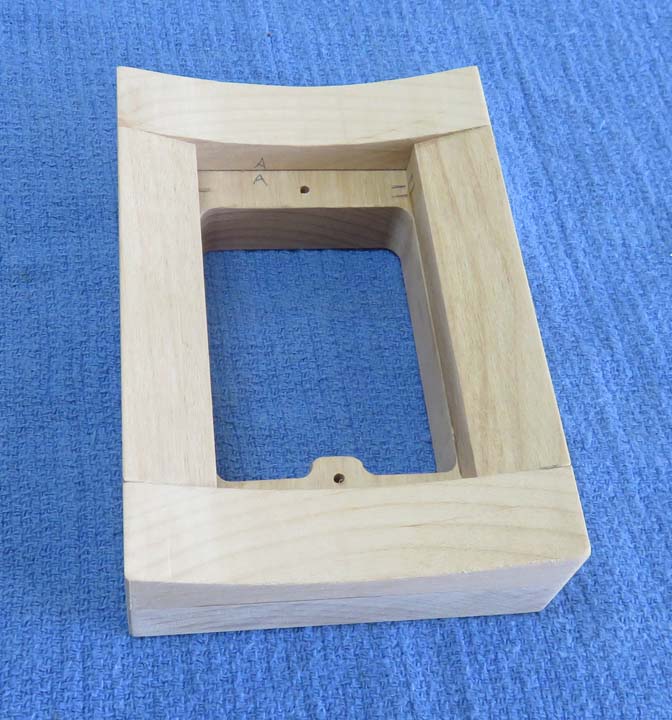 |
With the extra room for the wires, my son-in-law should have no problem
making the connections now.
|
|
 |
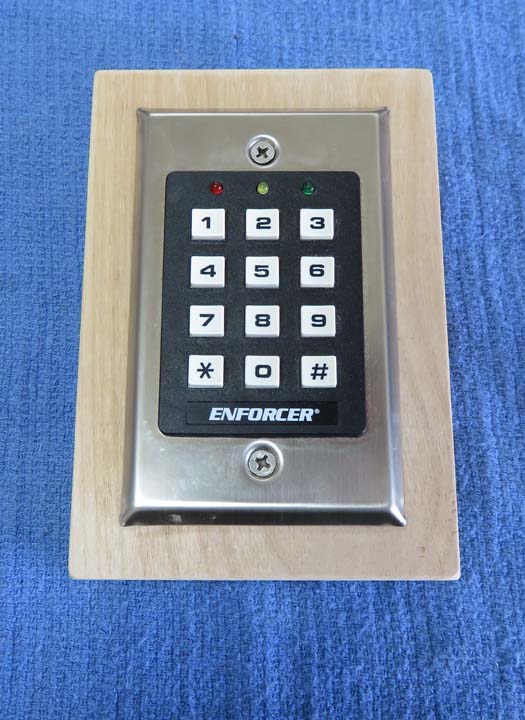
I even provided the screws as well.
|
|
 |
|
Once I had the keypad box finished, I was asked to make
a larger one that will be 17" tall X 5" wide. However, this one will
have a bunch of switches in it. And again, I'm using alder for the wood.
Now there is one thing I'm changing on this box, I'm going to
make my side pieces taller because I won't be using a front face
like the other box. In place of a front face, I'll be using a metal face that
will have hinges so it can be opened with a lock and key.
|
|
 |
|
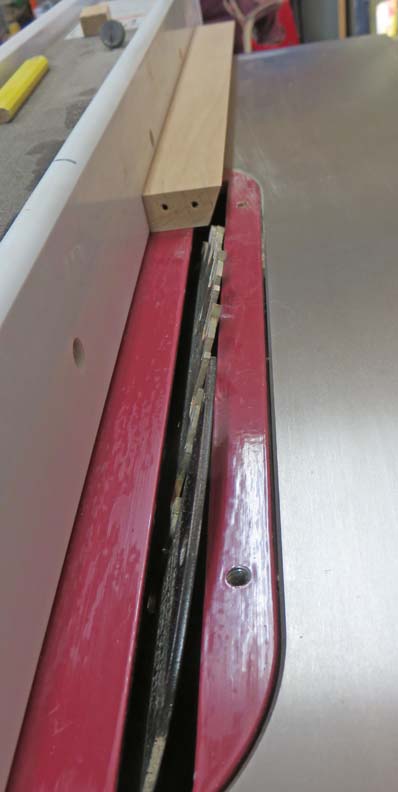
I used my table saw for the 20 degree side pieces
because these are much longer, which equals safer. In place of dowels
I'm using pocket hole screws, which is why you see two holes in the end
here.
|
|
 |
|
Working With Aluminum
I'm using aluminum for the door, which is 3/32" thick and came
from a street sign.
|
|
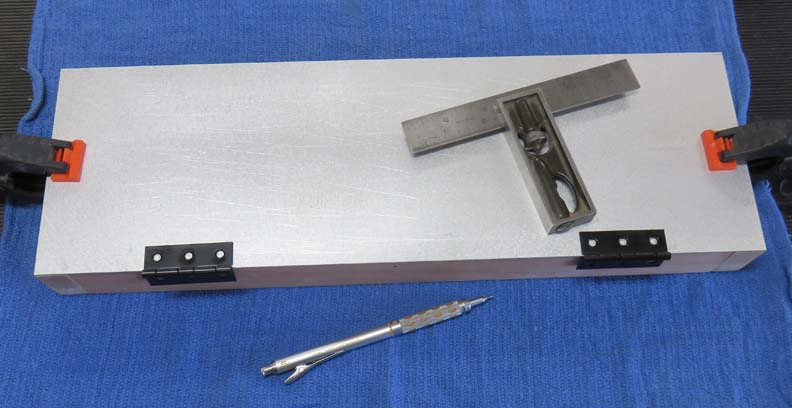 |
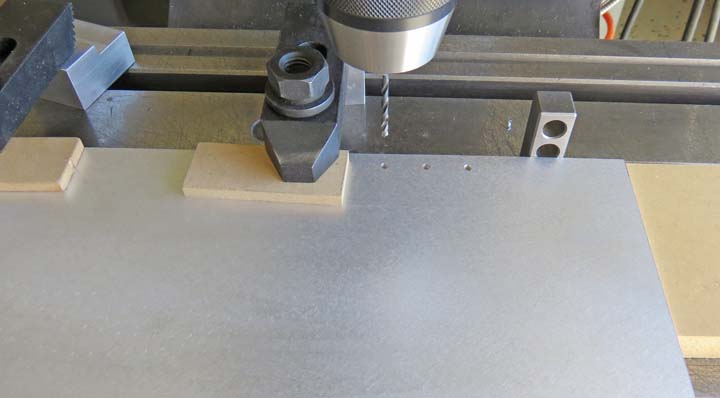
I wanted the screws to be exact so I used my milling machine.
|
|
 |
|
1
2
3
4
5
6
7
8
9 |