|
My granddaughter, Eliza is turning three years old and
I'm going to make her a bank that she can keep coins in. I've made two other banks similar to this
for
Audrey and
Juju awhile back and they
both loved them so this will be the project that I'll be working on this
time.
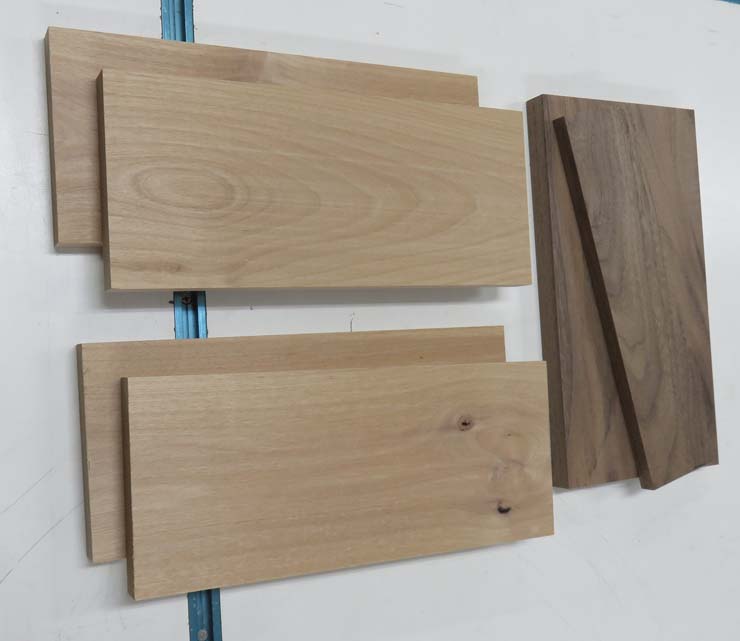
The wood I'll be using will be alder and black walnut,
which should like nice together. This bank will be in the shape of the
letter 'E' and will have a clear plastic front so she can see the money on the
inside (think 'Piggy Bank' and you'll get the idea). With all that being
said, let's get started.
|
|
 |
| Working With Wood
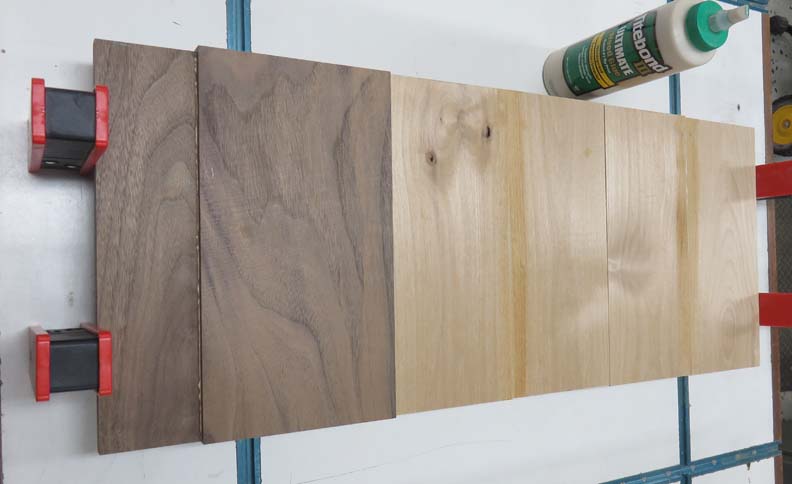
I jointed the edges on my table saw and now
I'm doing my glue-up. Note: I have three separate pieces here so there isn't glue on every edge.
|
|
 |
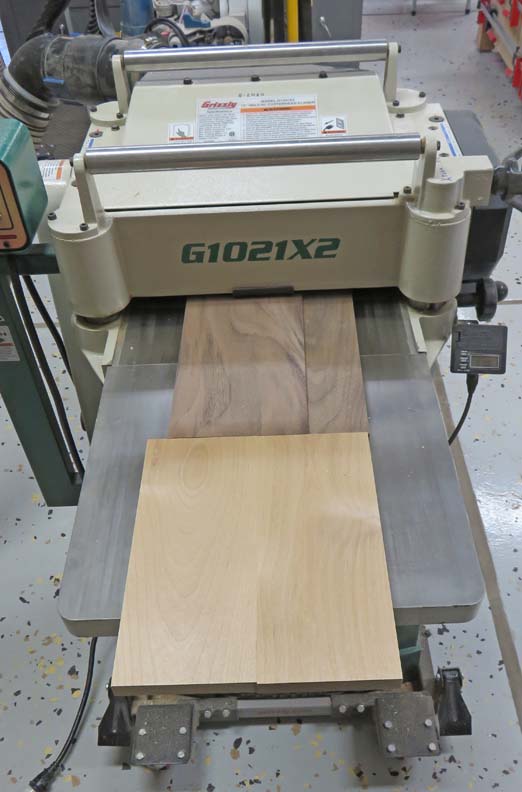
The next day I ran the three pieces through my thickness planer.
|
|
 |
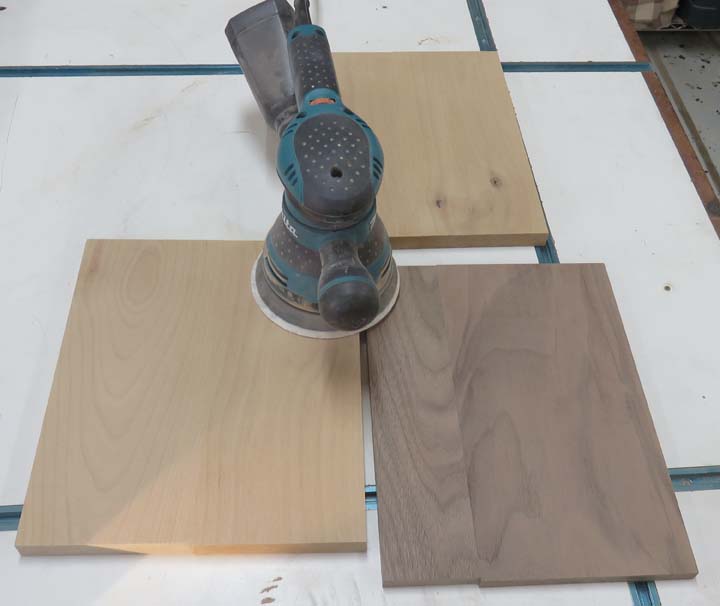
Then I sanded both sides with some 80 grit paper.
|
|
 |
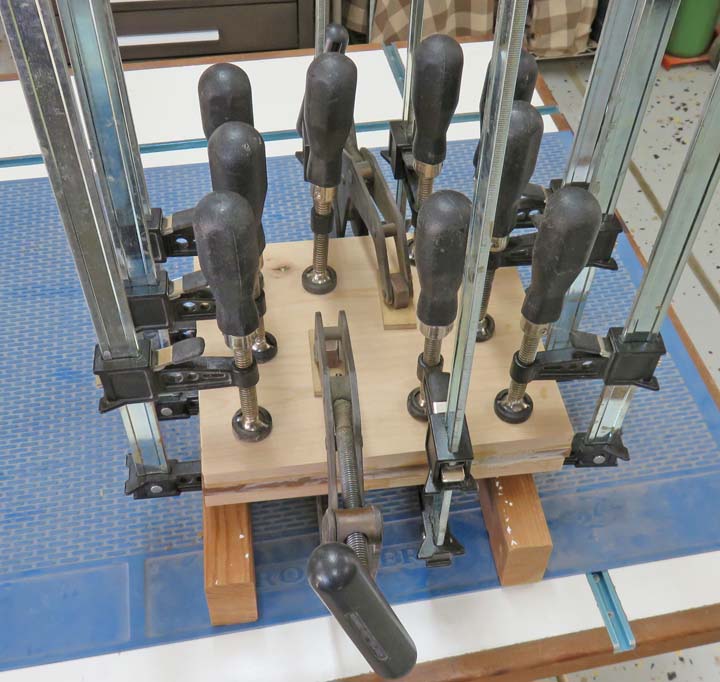
Last I glued my three pieces together using all sorts of clamps. This
gave me a thickness of about 1.800"
|
|
 |
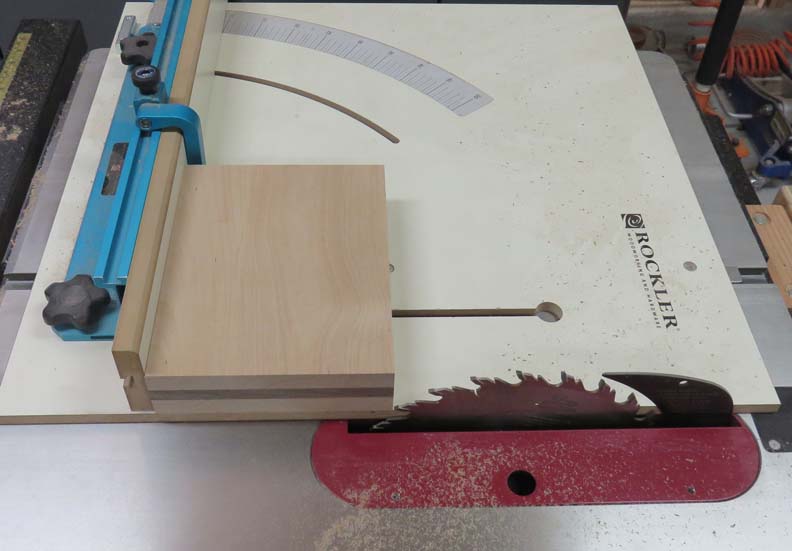
The next day I squared up my block of wood to 9" X 7".
|
|
 |
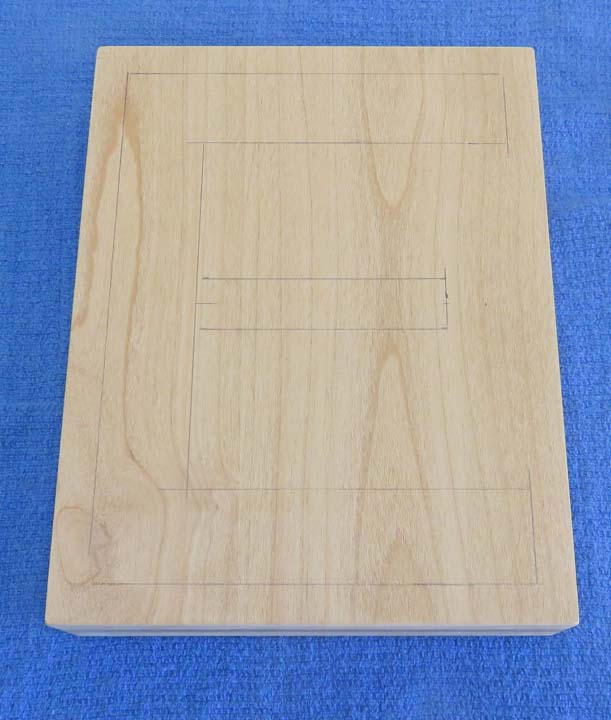
I laid out the letter E using pencil. This makes cutting out everything
much easier this way.
|
|
 |
|
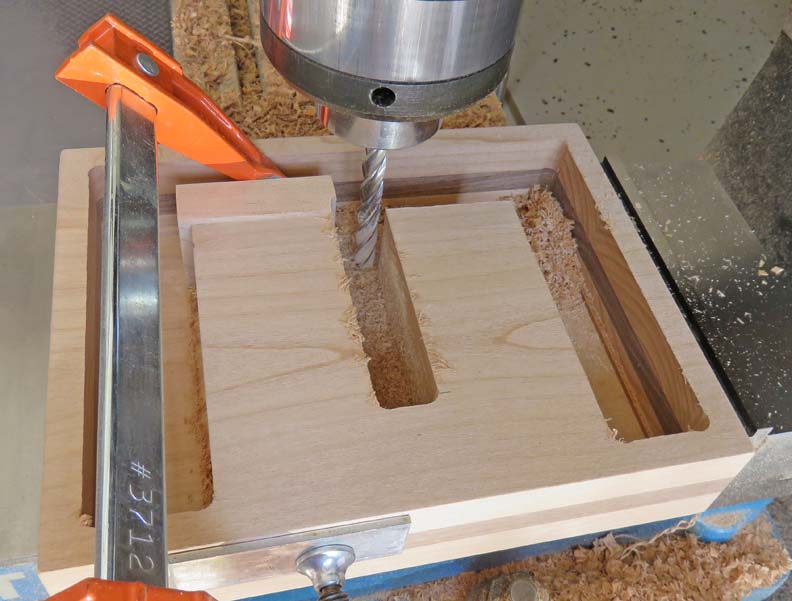
Here I'm using my milling machine to cut out the waste
while I'm holding my work piece in my vise. The clamp is holding a scrap
piece of wood so I don't get tear-out at the corner, which I had to do
in one other location.
|
|
 |
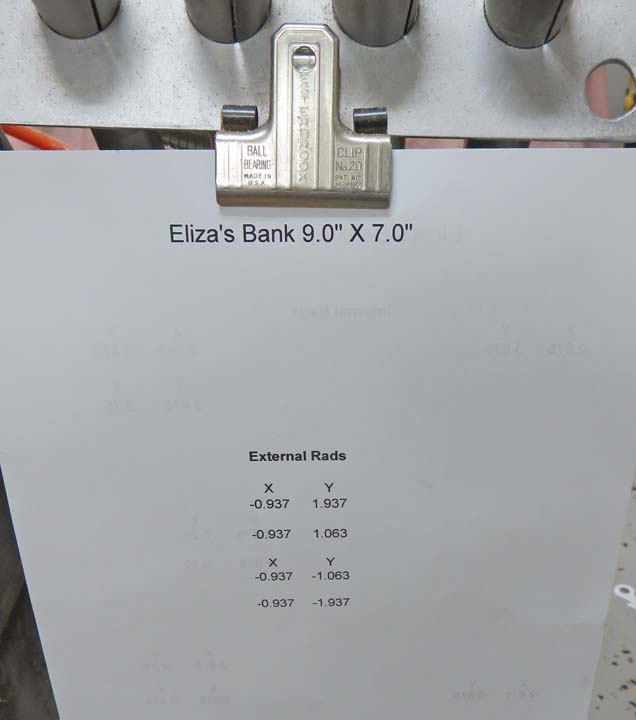
I made two cheat sheets depending on what area I was working on. The one
below has all my external radii on it, which is what I'll be working on
next.
|
|
 |
|
1
2
3
4 |