|
Working With Wood Continued
I'm using two clamps to hold my sacrificial piece in place. Next I
found my center and now I'm ready to machine my coin slot. I'm using a
1/2" end mill.
|
|
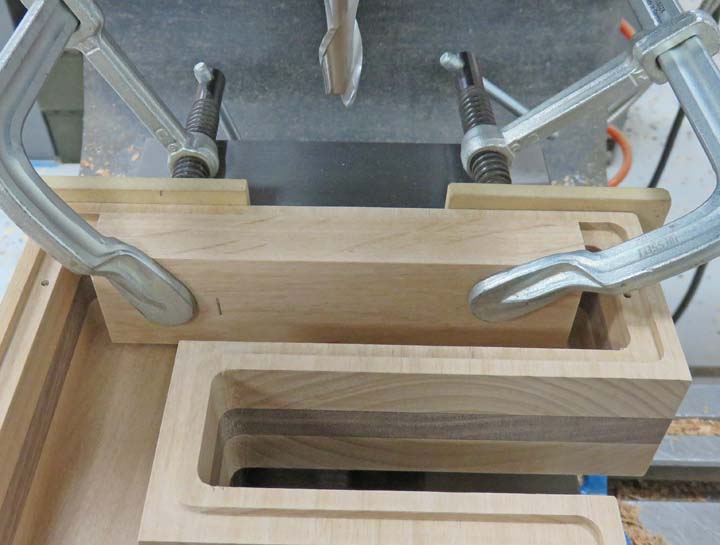 |
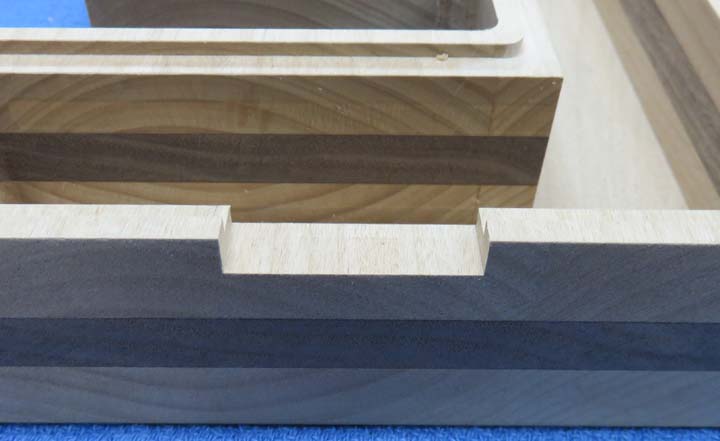
And there we go, both surfaces are nice
and clean with no tear-out. Mission accomplished! Now it's time to do
some corner rounding on the inside again.
|
|
 |
|
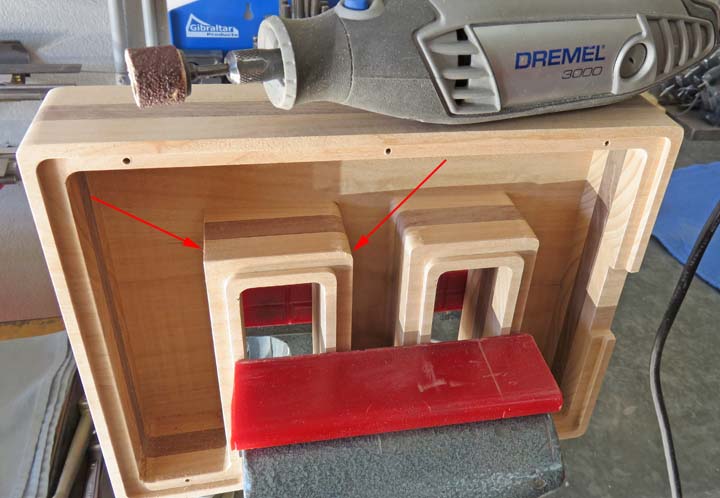
I'm using my Dremel and a sanding drum to round the
corners on the inside (arrows). This goes pretty fast but it takes a
steady hand and you have to keep the sanding drum from touching the
bottom. Otherwise you'll be doing some extra sanding.
|
|
 |
|
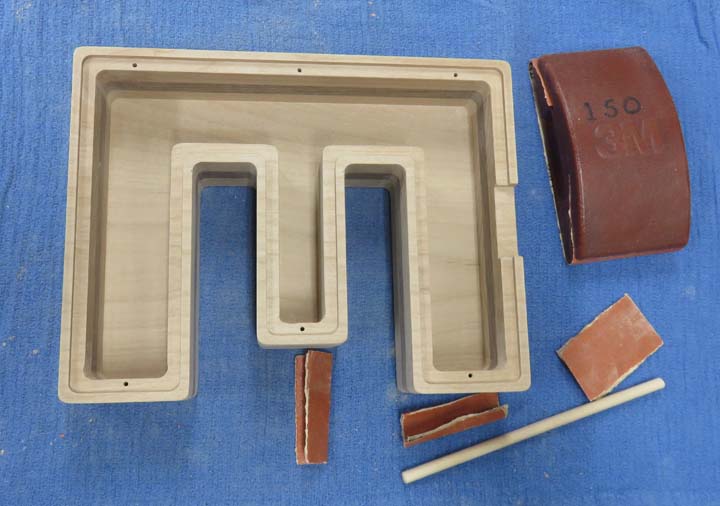
Speaking of sanding, this is the final step before
putting a nice finish on the project. This step takes awhile if you want
everything to look nice. And at this stage of the project, I'm glad to
take my time here.
|
|
 |
I'll be using some semi-gloss clear spray for this.
|
|
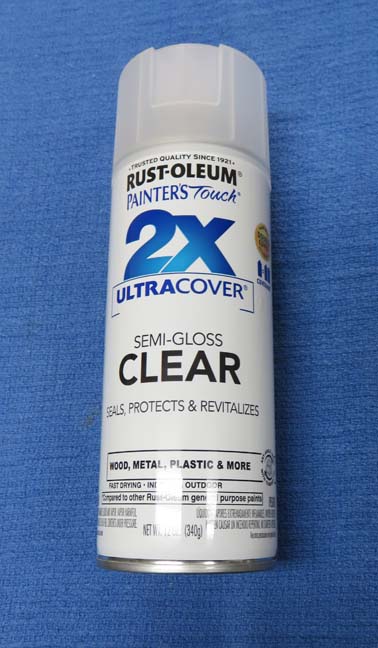 |
My paint booth is the top of my trash can. Nothing but the best ya
know...
|
|
 |
|
It's Finished
Here it is all finished. However, it's really hard for
me to take decent pictures of a project with clear plastic because it
reflects any and everything around it. Keep that in mind when you see
some strange looking things in the reflection.
|
|
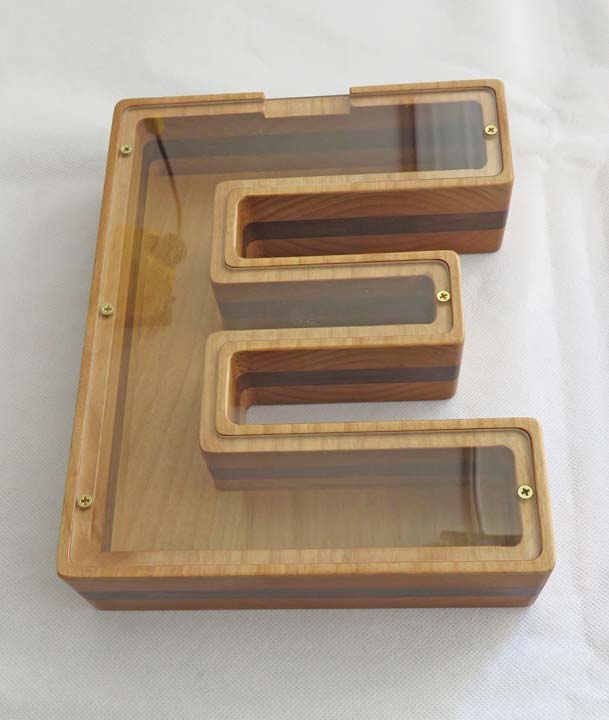 |
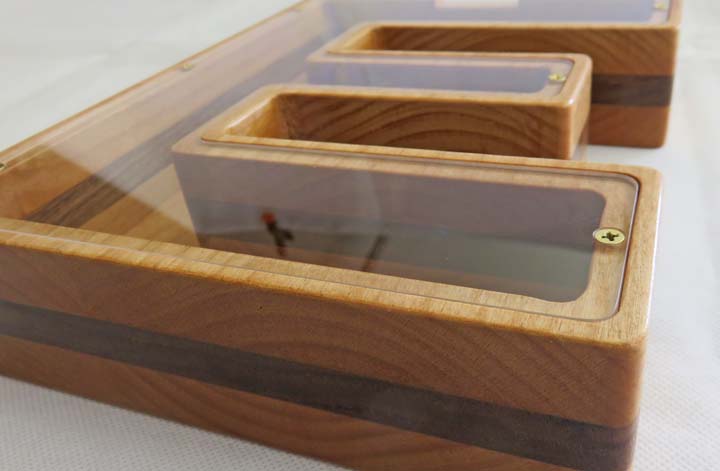
I like the contrast of these two species of wood.
|
|
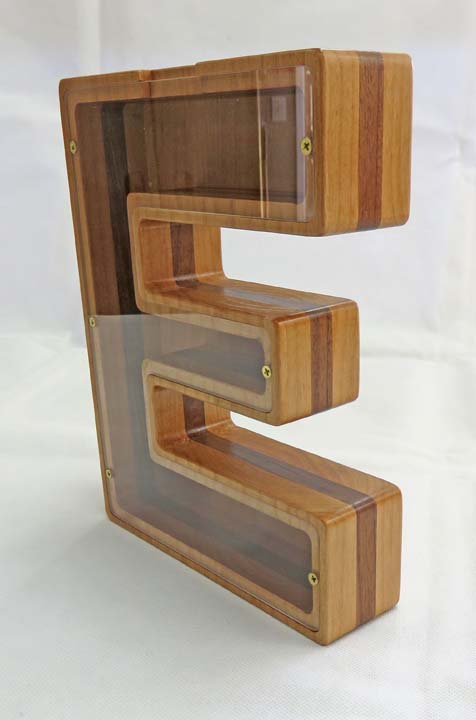 |
Someday when I'm gone, Eliza will have something to remember me by.
|
|
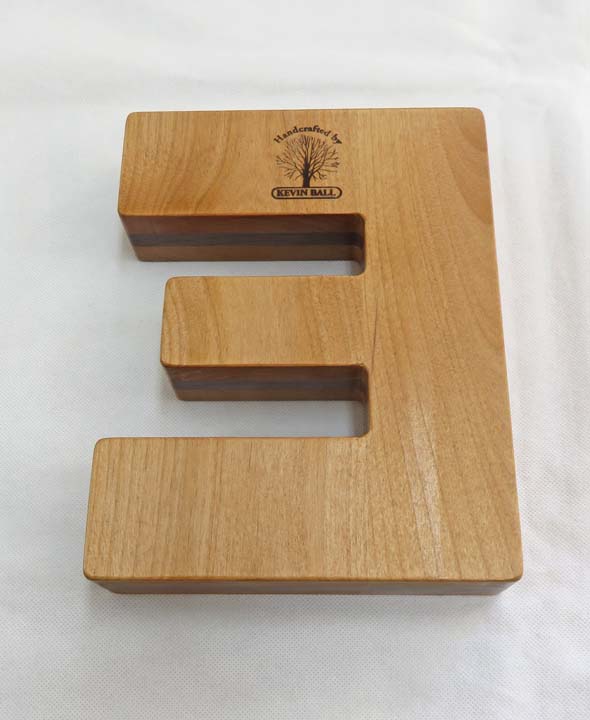 |
Here you can see how the plastic sits just below the wood surface.
|
|
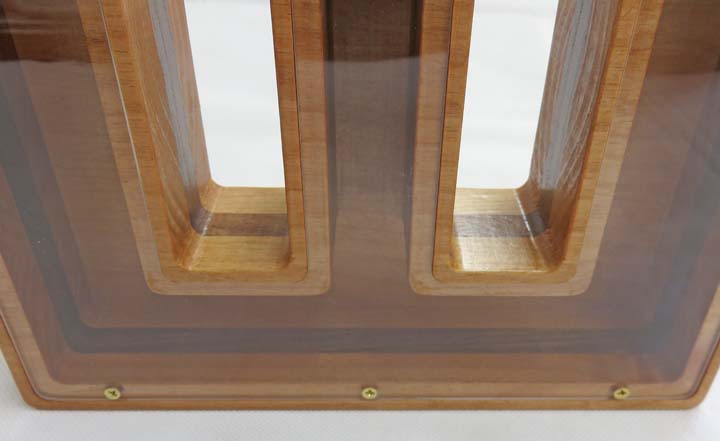
Lot's of hand work getting everything to fit correctly.
|
|
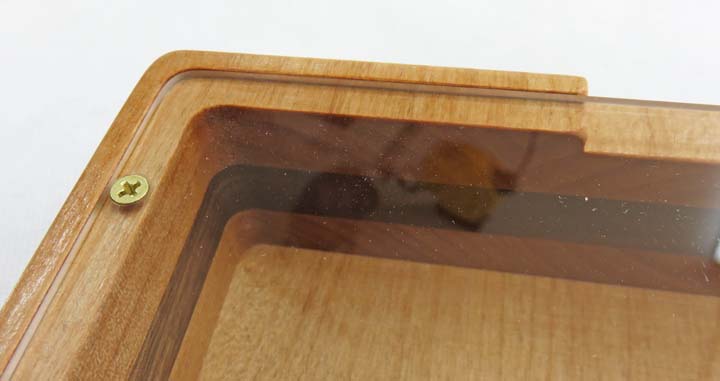
You can see things on my ceiling reflecting here.
|
|
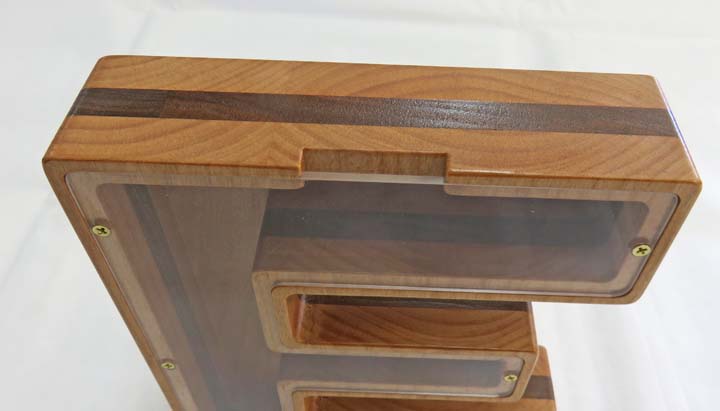
The coin slot is larger enough to except a silver dollar, along with
paper money as well. This was a fun project and I hope my granddaughter
gets many years of joy out of it.
|
 |
|
1
2
3
4 |