|
Work With Plastic Continued
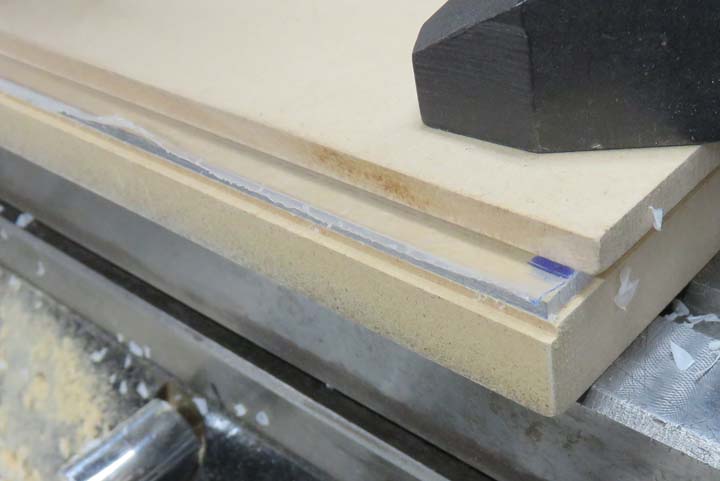
Here you can see what it looks like a little easier. The
step below the plastic is how deep my cutter was, making sure it cut all
of the plastic. Once the front and back were to size, I turned it 90
degrees, indicated the cut surface making sure it was square and then
cut one of the sides. Once I had one of that side cleaned up, I placed
that surface against my work stop and machined the opposite end to size.
|
|
 |
|
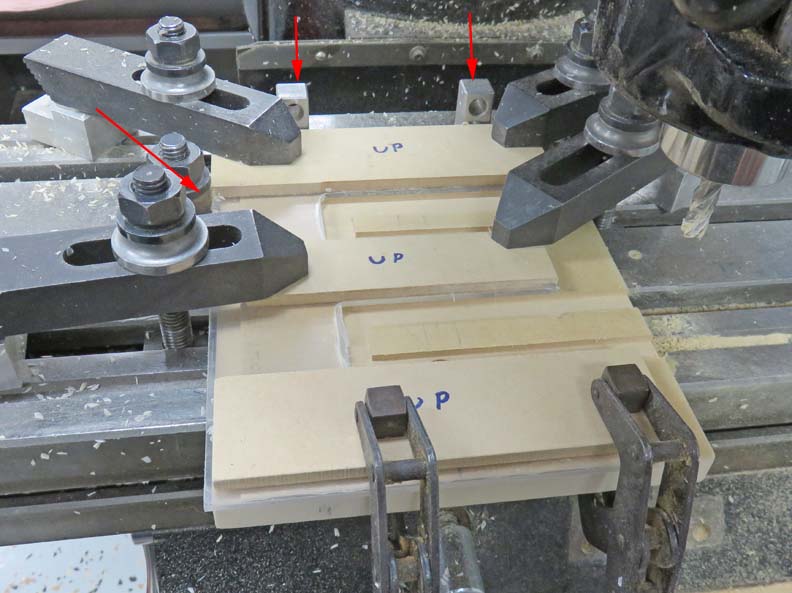
That was the easy part, now comes the harder part,
fitting everything. The arrows are pointing to my work stops, two in the
back and one on the left. This way I can remove my work piece, check the
fitment, and then it will go back exactly in
the same place as it was before. I'm using a 3/8" end mill for this.
|
|
 |
|
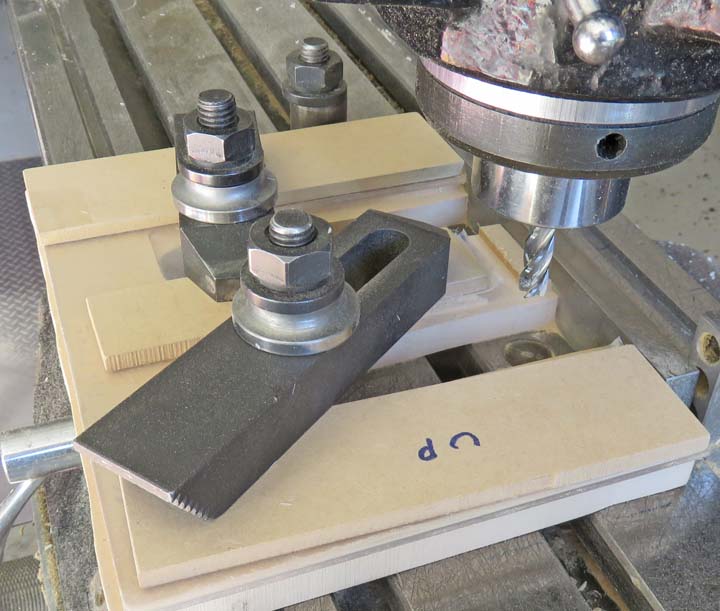
Here I'm machining the center portion of the E making
sure it was clamped down properly so it doesn't move. I've machined this
type of material many times before and if you don't have a ridged setup, the
cutter will chatter and break or chip your work piece. Everything went
smooth and the plastic fit really well when I was finished with about
.004" to .005" clearance per side.
|
|
 |
|
Working With Wood Again
The one area that I wasn't able to check the fitment was
at the corners because they were all square. What I need to do next is
put a 3/16" radius on all these square corners so the plastic will fit.
I used a file for this part, which is slow but it works.
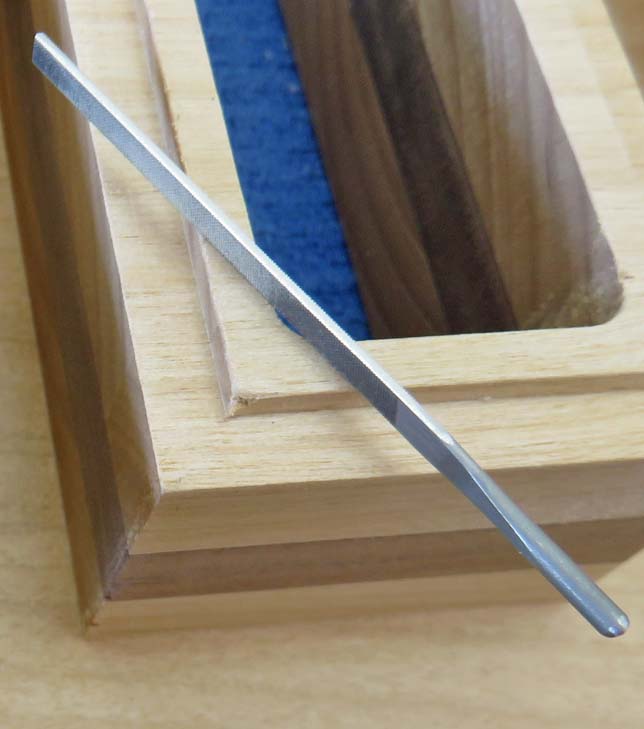
And besides, I only had a few corners to put a radius on. Speaking of my
file, I removed the teeth from one edge so it didn't cut into any wood
from the bottom surface. This worked great as it just slid along that surface
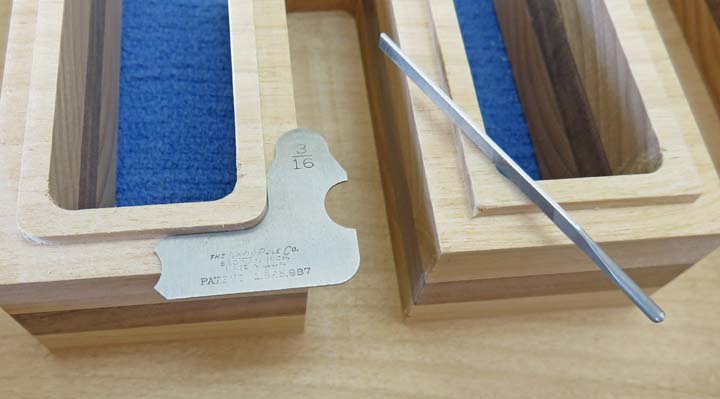
without making a mark. I checked the
size of my radius with a radius gage until I had the size I needed.
|
|
 |
|
Here is a close up of the file without any teeth on that
thin surface. That thin edge was face down (where the plastic will sit)
while I was working on all of the corners. Once I had
all my corners finished, the plastic piece fit like a glove.
|
|
 |
|
Now it's time to drill and countersink for some #4
screws, which you can see on the left. The smaller drill is the
pilot hole for the screw and the larger drill is for clearance. And last
is the 82 degree countersink so the flat head screws will sit flush.
|
|
 |
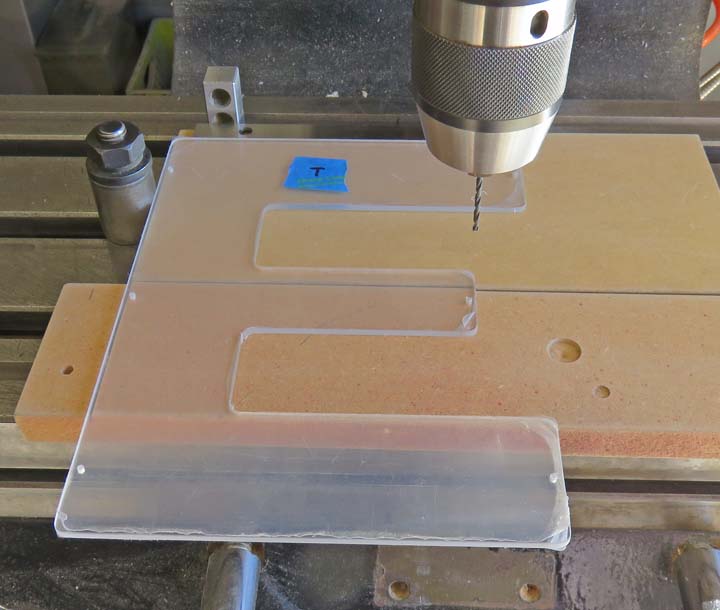
First I used the smaller drill and drilled six holes in the plastic.
|
|
 |
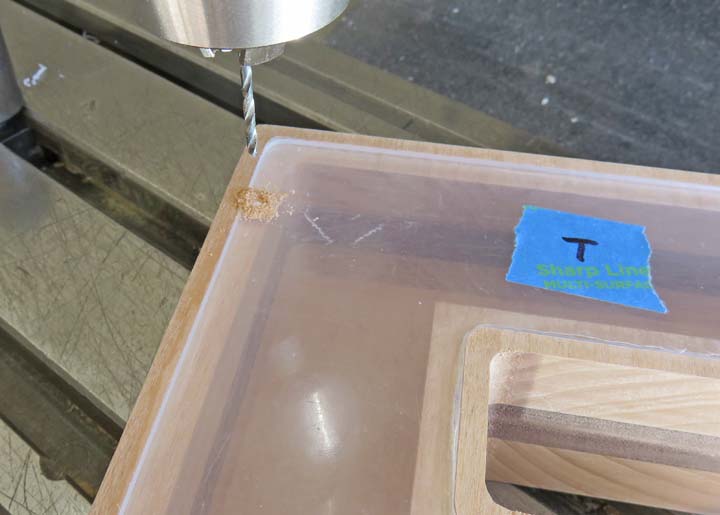
Then I placed the plastic into the wood bank and used those previous
holes as a drill guide. The depth of the pilot holes are 1/2" deep.
|
|
 |
|
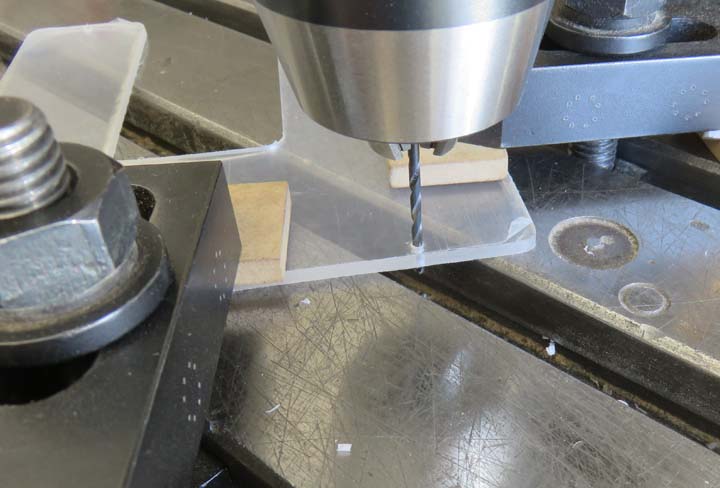
Then I used the small drill again, lined them up with my
previous hole, clamped my plastic down, removed the smaller drill and
replaced it with the larger one which would produce the clearance hole I
would need for my screw. Once I had all my holes drilled, I chamfered
them all so the flathead screws would sit flush.
|
|
 |
|
Working With Wood Again
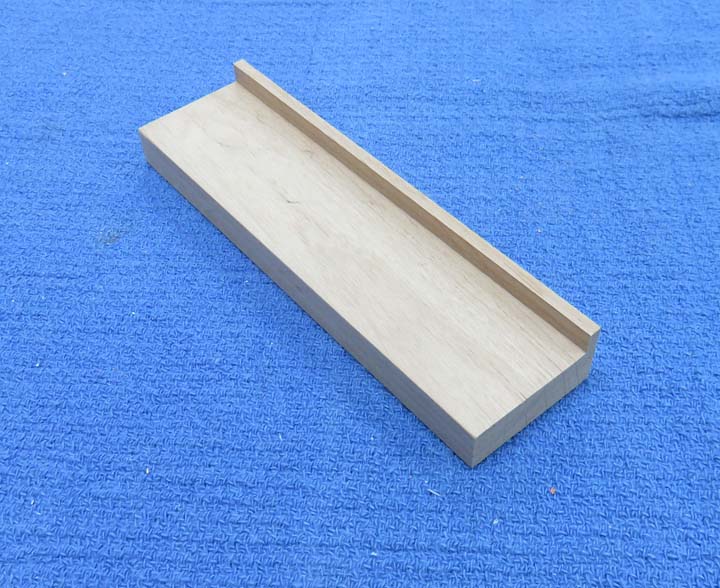
Now it's time to cut a slot for the coins to pass
through. However, In order to cut this slot, I'm making a sacrificial
piece of wood that will protect the bank from tear-out while I'm
machining. This piece is a little more complex than my previous piece
(which was only flat) but this is what I needed to make sure I had a
clean cut in the end.
|
|
 |
|
1
2
3
4 |